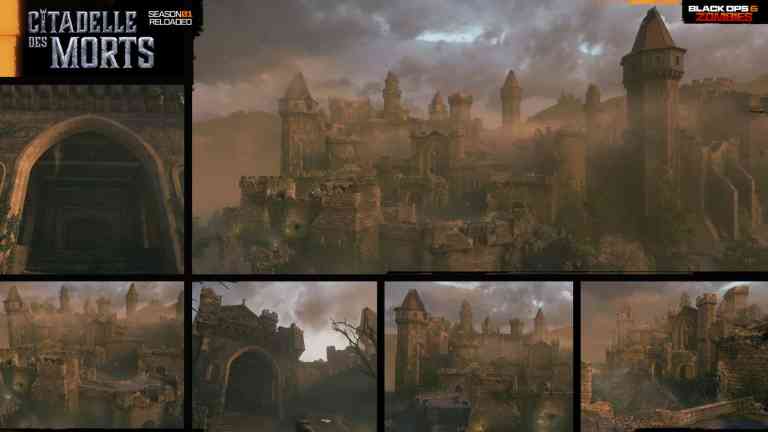


After the events of Terminus, Weaver, Maya, Carver, and Grey—along with Peck, Raptor One, and Strauss—embark on an expedition to the European principality of Avalon, hoping to rendezvous and ally with a luminary named Gabriel Krafft. There the Operators hope to learn more about an ancient relic known as the “Sentinel Artifact,” which in turn, when its power is harnessed, may be able to save Samantha Maxis from her aethereal imprisonment. Today, we’re going over how to complete the ‘Citadelle des Morts’ Main Easter Egg. Here’s what you need to know:
Step 1 – Enter The Castle & Unlock Pack-A-Punch
Make your way through the village & up to the Castle. The main entrance will be locked so you’ll need to use the Lion Cannon to blow the doors open.
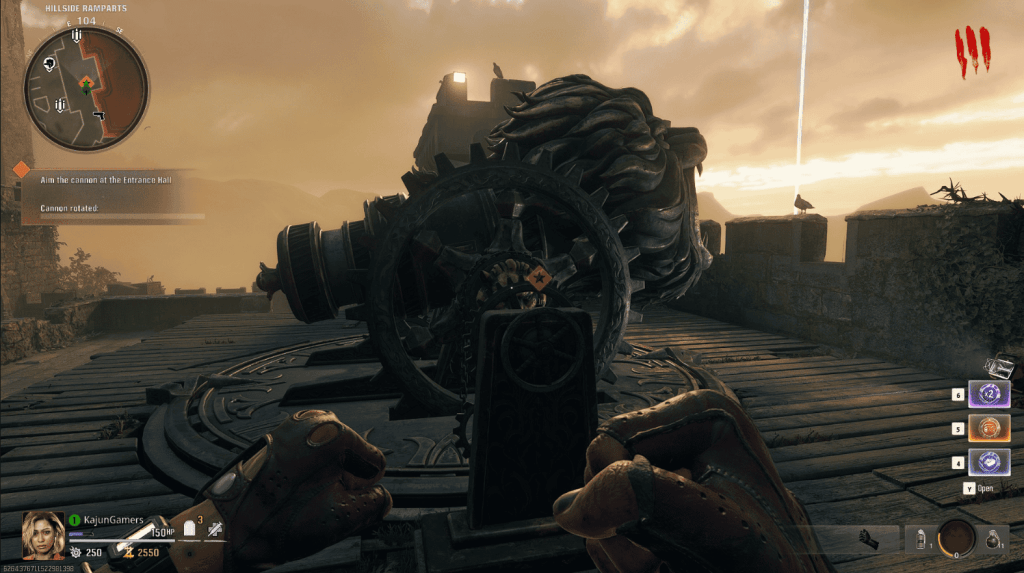

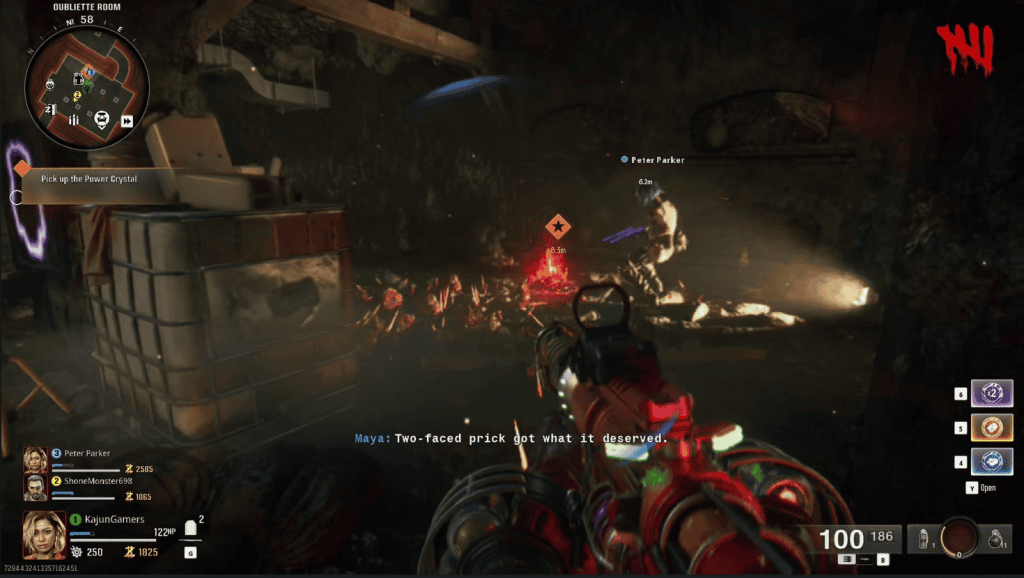
Upon doing so, you’ll gain access to the castle. Make your way through it & down below into the ‘Oubliette Room’. There, you will find a locked crate. Interacting with the locks on the crate will unleash a Doppleghast.
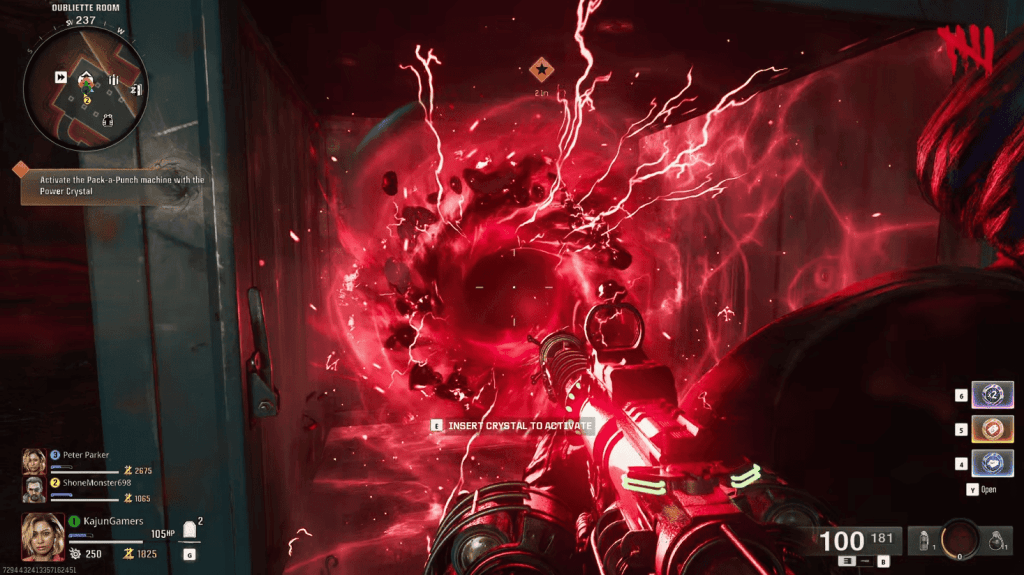
Upon killing it, pick up the ‘Blood Aetherium Crystal that he drops. Bring it over to the crate the Doppleghast came from & use the crystal to unlock Pack-A-Punch.


Step 2 – Talk to Krafft
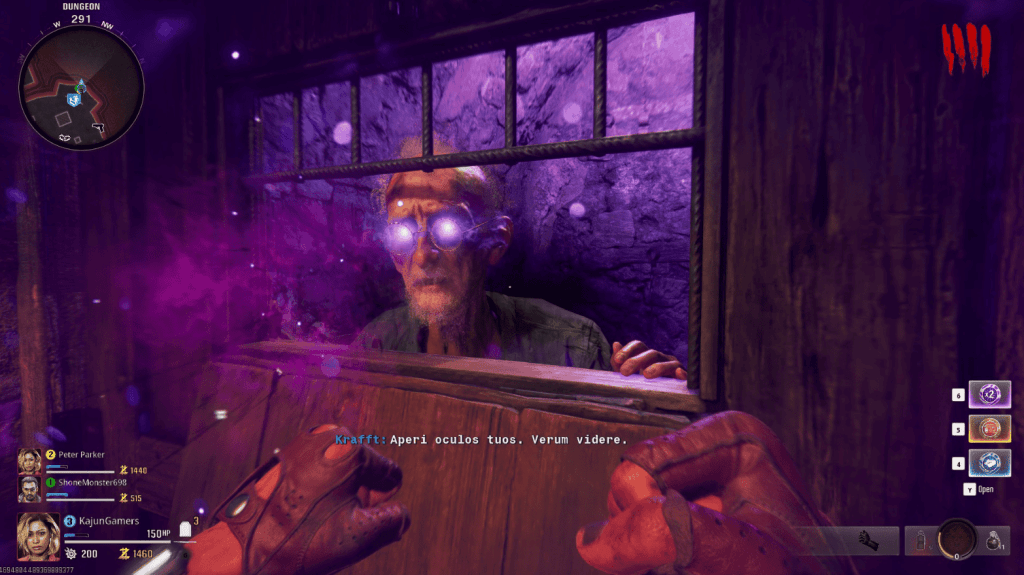
Head down into the Dungeon & talk to Gabriel Krafft. He will inform you of an amulet you must find, the Obscurus Altilium.
Step 3 – Attain The Swords & Incantations
You’ll want to obtain the Sword as well as obtaining each upgrade for the swords. You’ll also need to unlock their incantations. You can check out our guide for obtaining the base sword, as well as their upgrades Here: https://detonated.com/all-4-sword-upgrades-on-citadelle-des-morts-in-black-ops-6-zombies-lightning-void-fire-light/
Step 4 – Discover the Runes
Using Melee Macchiato, destroy a false wall down in the undercroft. This will reveal hidden Runes for the Quest.

Head into the Tavern, there are 6 vases, each with Roman numerals on them. Interacting with each will reveal a symbol.
You’ll want to remember what symbol appears & its corresponding numeral on that vase. Head back to the wall with the Runes once you have all the symbols & input them in numerical order. You are timed between inputting symbols, so act quickly but with accuracy.
Step 5 – Repair the Book & Cast the Traps
A book will now become available for interaction. One small problem however, some pages are missing. If you search through the Alchemy Area /Stamina Up Room, you’ll find different pages scattered around. These pages will have symbols on them.
One-page spawns at a time & will always spawn in the order you need. After finding the 4 pages & placing them back into the book, the symbols will appear in each of the 4 corners of said book.

The magic traps on the ground will have the same icons as the symbols within each of them. You’ll need to activate the traps in a specific order. This corresponds to the symbols within the book. The order is as follows:
- 1. Top Left
- 2. Bottom Left
- 3. Top Right
- 4. Bottom Right
Say a symbol appears in the top right of the book. You’ll want to find the trap that contains that symbol & activate it 3rd in the order. Activate the traps & get kills within it. Completing this successfully will remove the symbol from the book. Note: You MUST complete these in the correct order listed above.
Step 4 – The Mystic Orb
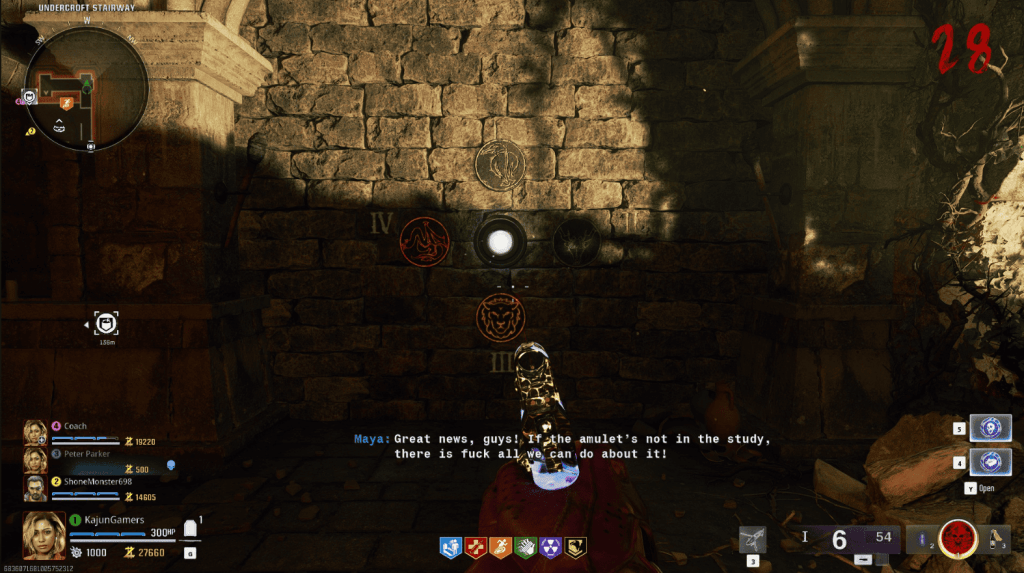
Within the Sitting Room Passage is a wall with that contains the order in which you need to interact with the Knight Statues. Roman numerals next to the elements will reveal which statues you need to interact with first, second, third, & fourth.
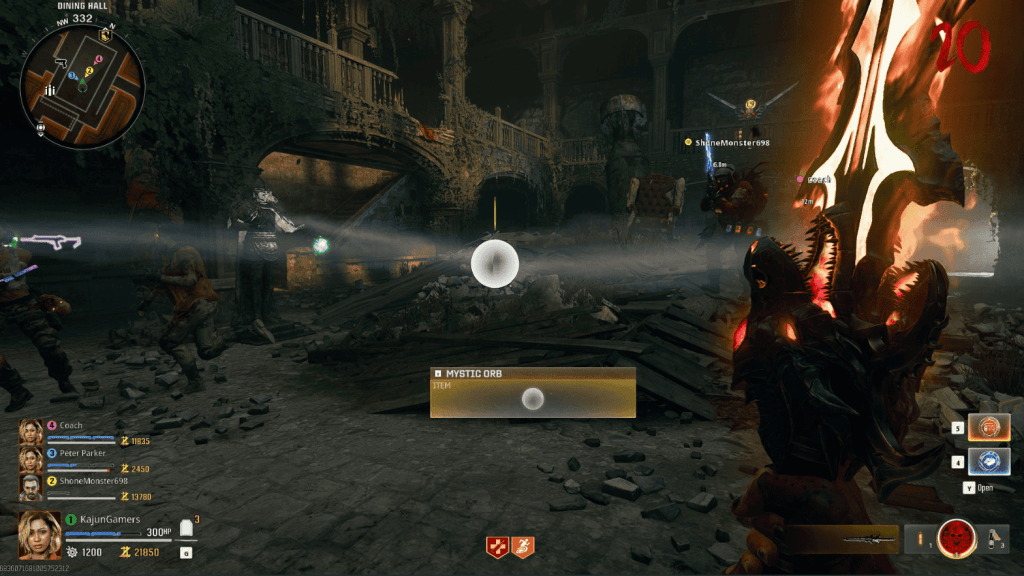
Make your way back into the sword room, grab the matching incantation, hit the corresponding statue, then inspect the matching elemental sword in-front of the statue which will complete that part of the step. Repeat this for all 4 swords. Successful completion will reward you with the Mystic Orb.
Step 5 – Complete the Trials
Take the orb & complete a set of trials around the map. There are 4 different trial locations to interact with.
- First Trial is near the Arsenal Machine outside the circle. There will be a slot you can insert the orb in. This trial will turn the orb a specific color. Use the corresponding elemental sword to get kills & complete the trial. This trial likely is centered around the Fire Sword.

- Second Trial is in the Statue Room. Look across from Vulture Aid to find the second orb insert. This trial involves killing zombies with the Light Sword while standing in the green orbs until they vanish.


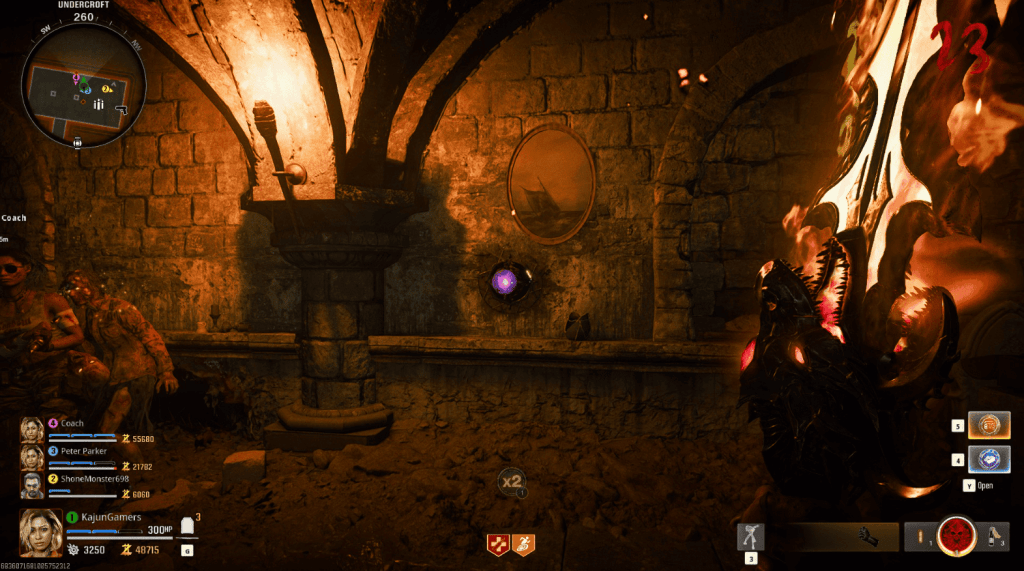
- The third trial is located in the Undercroft. Like the first trial, the orb will change color. Use that color to determine which sword you must get kills with. This trial is likely centered around the Void Sword.
- The fourth Trial is inside the Spawn Room. There will be a fourth insert for the orb. Like the first & third trials, look for the orbs color, kill zombies using the corresponding elemental sword. This trial is likely centered on the Lightning Sword.

Step 6 – Retrieving the Key
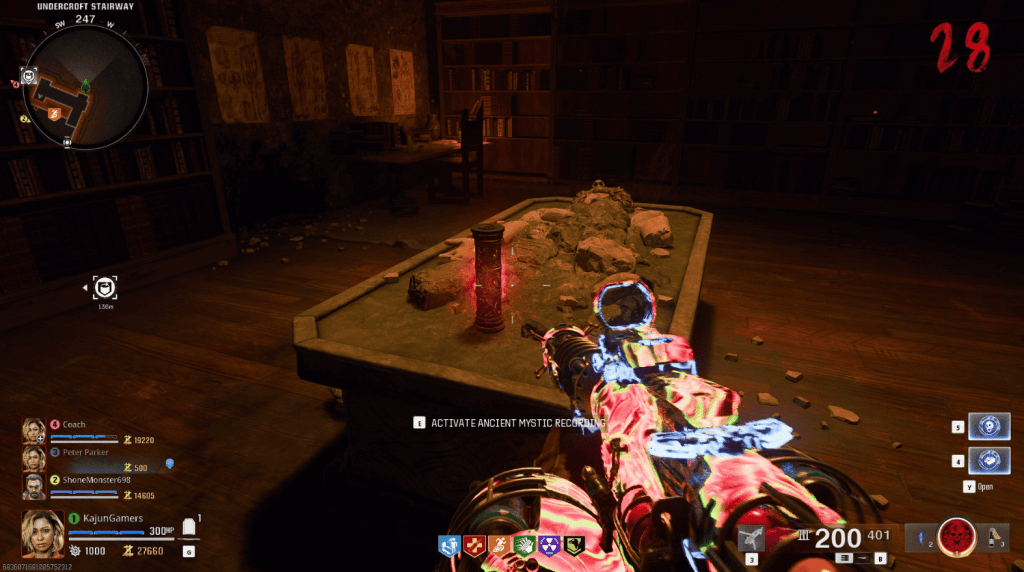
After completing all the trials, head back to the wall you interacted with earlier (with the numerical symbols). Insert the orb into the wall & pick up the recording that’s present. This will cause a key to appear.
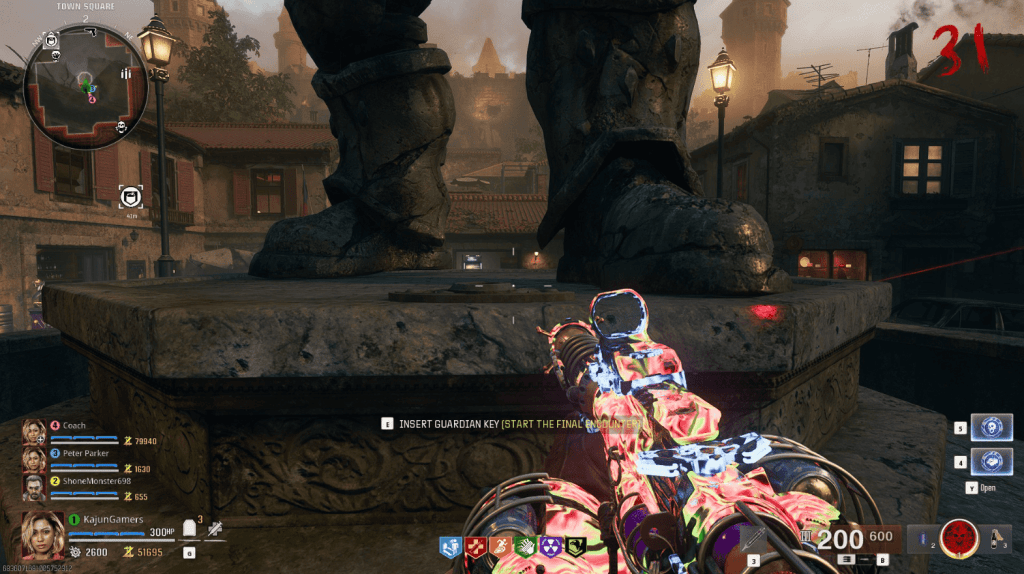
After picking the key up, head to the spawn room & interact with the giant statue in the center. That will trigger:
Step 7 – The Final Boss
You’ve entered The Guardian’s Territory now. A solid setup to run would be 1 Bullet Based Weapon, possibly bring the Mustang & Sally as your secondary. Also, bringing a sword definitely wouldn’t hurt. Make sure you have all the perks you need, a self-revive, as well as Tier 3 Pack & Legendary Rarity on your guns. Bringing in a lot of points also helps if you need to buy ammo.
Coordination is key as the Boss Fight Arena will get smaller as the fight goes on. Using Incantations against the hordes is huge. While fending off the Zombies, look for weak spots on the boss. They will be glowing bright red. Recommended you use your Mustang & Sally’s or an upgraded LMG on the weak spots for decent damage.
After dwindling the Boss’s health down to 0, relax, take a deep breath, you did it! The cutscene will begin to play, you can rest & enjoy the cinematic show. Be sure to enjoy the ‘Jackknife’ Operator Skin for Weaver, 5,000 XP, & an exclusive EE Completion Calling Card that you can only earn until Guided Mode releases for Citadelle Des Morts.
THE END
Congratulations! You’ve now completed the Citadelle Des Morts Main Easter Egg. For a full video guide on how to complete the Easter Egg, check out video below:

Stay connected with any new updates on Black OPs 6 as they release on our Twitter, and our YouTube Channel!