


New to Cold War Zombies in 2023 and want to do the Mauer Der Toten Main Easter Egg? Here’s a guide thanks to DETONATED Writers Pax and ShoneMonster! Here’s Everything you need to know about Mauer Der Toten:
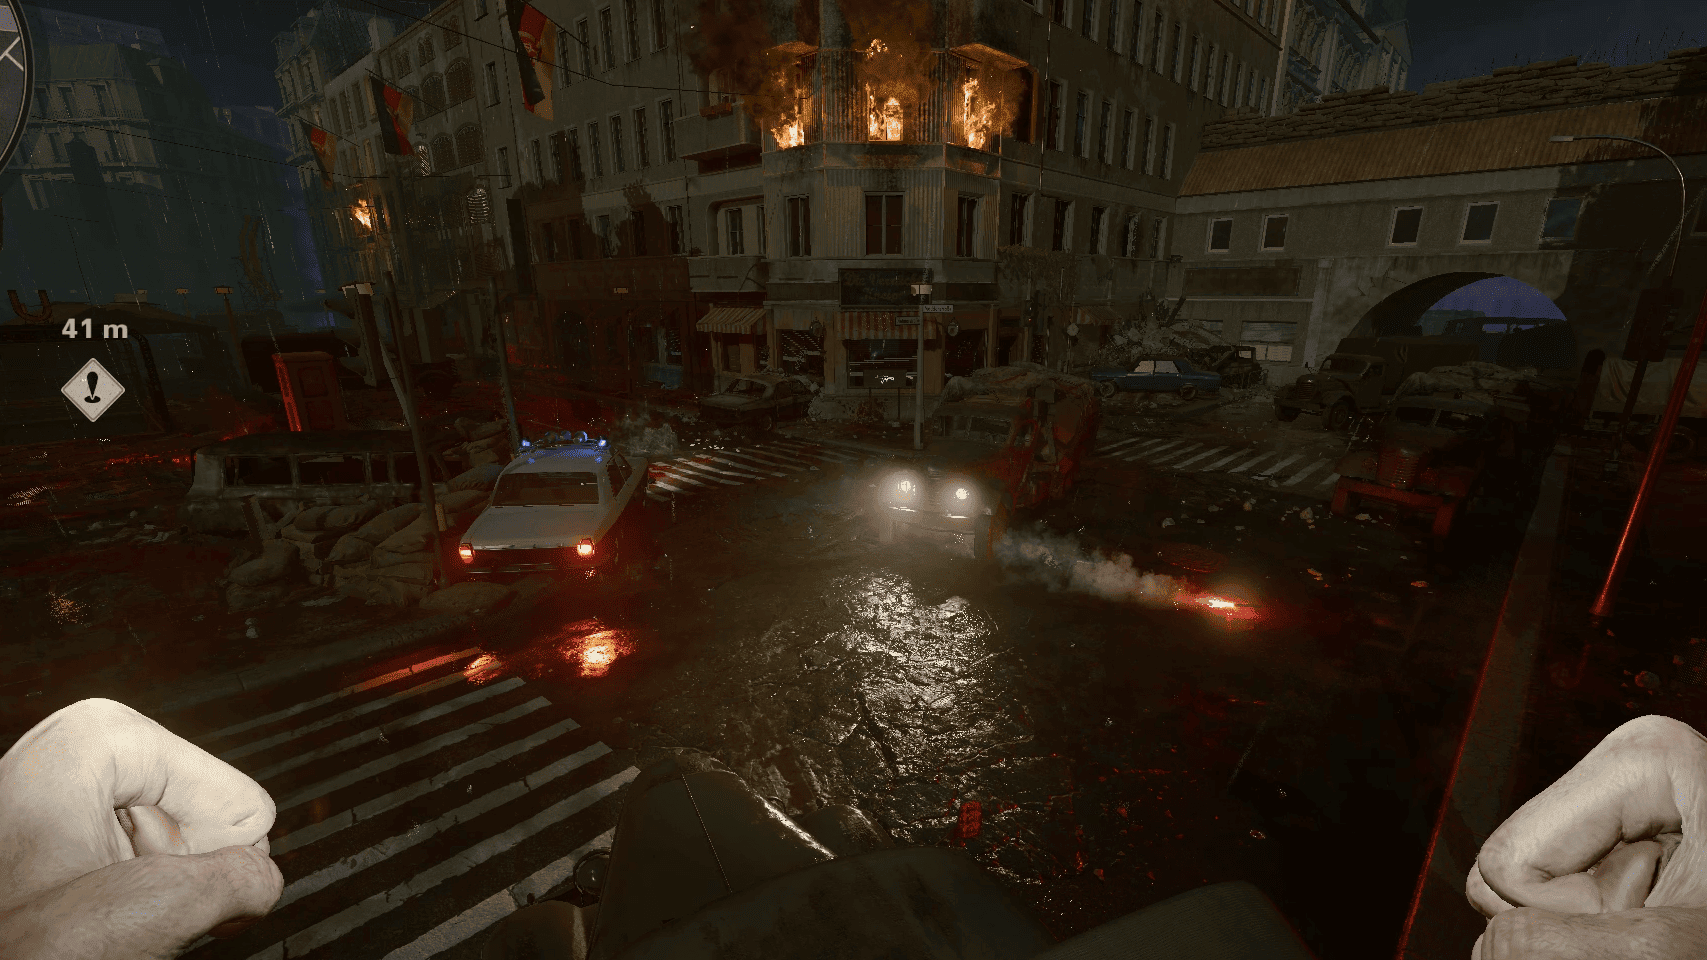
Fight your way out of UNDEAD Berlin under Kravchenko’s control in order to save Raptor-1…
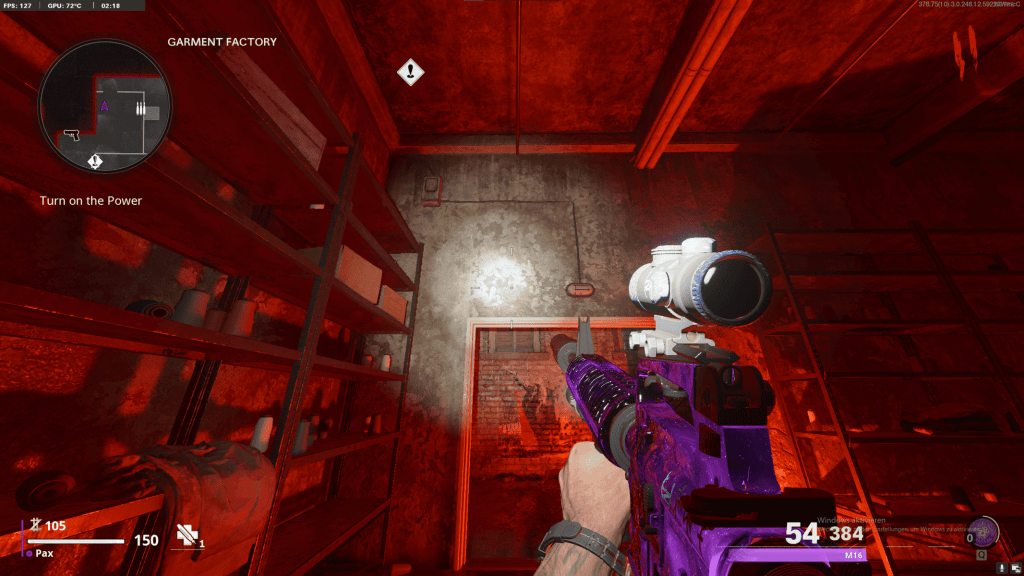
Turning On Power
- After following the zipline from spawn down to the East Berlin Street’s, a tempest will spawn in the following areas, which you can kill for an Electrical Fuse:
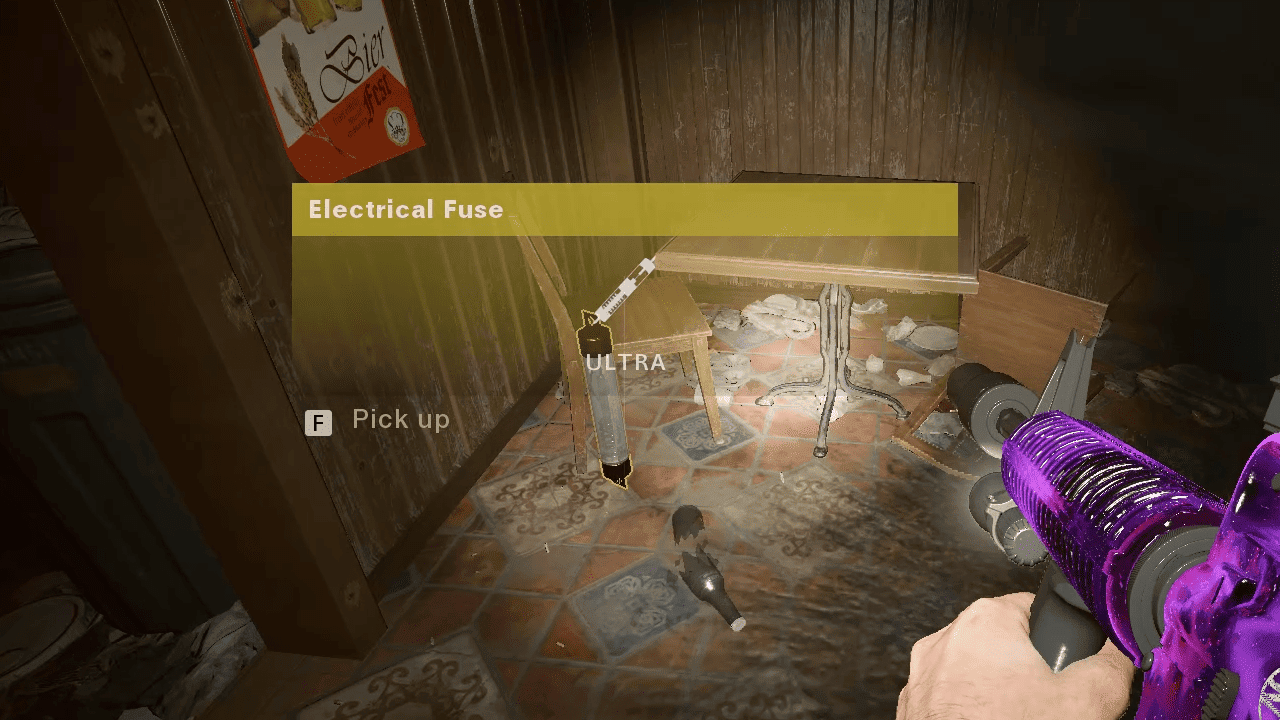
- In the bar, near Juggernog
- Near the tent area / the end of the street
- Around the storefront area
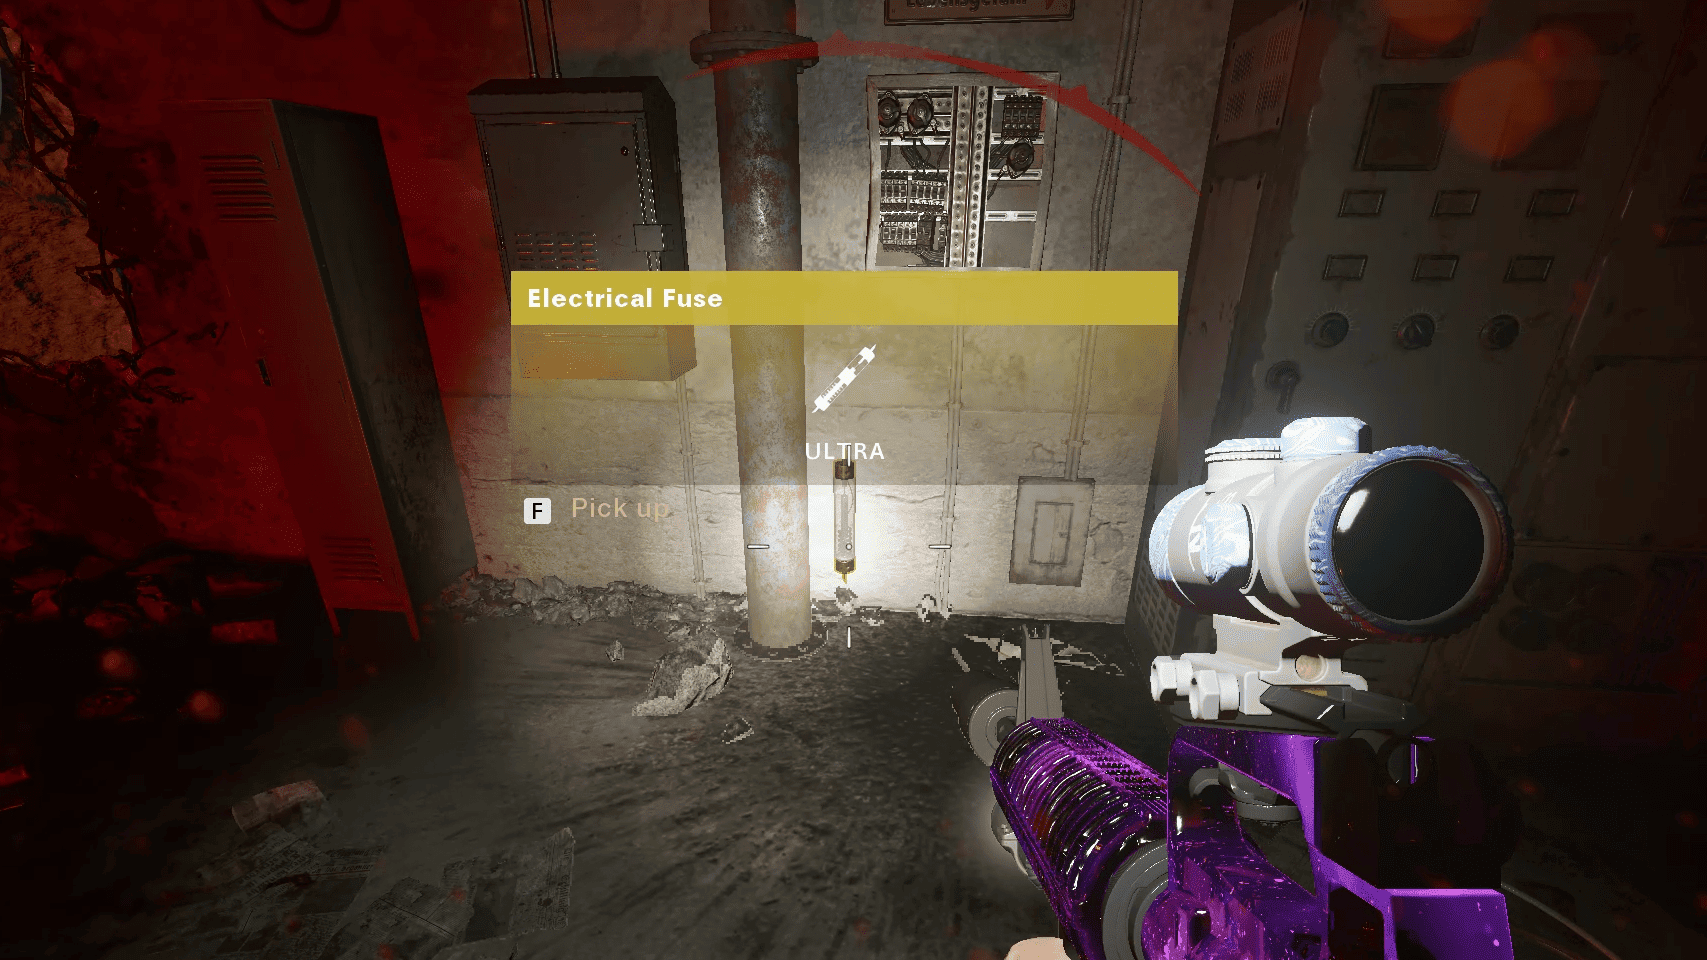
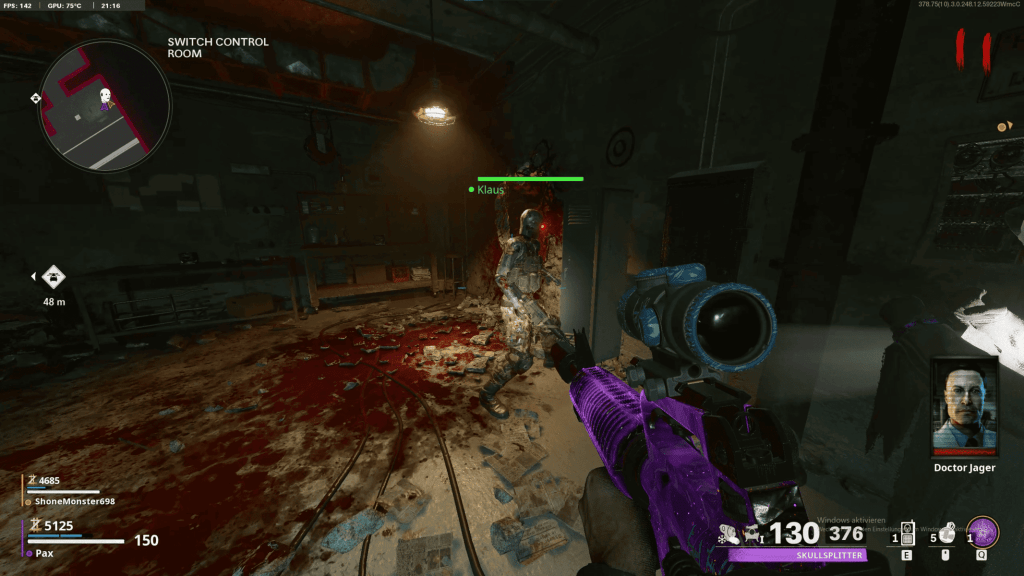
- Once retrieving the first Electrical Fuse, head down to the underground area and navigate to the Switch Control Room, where the second Tempest will spawn, giving you the final Electrical Fuse.
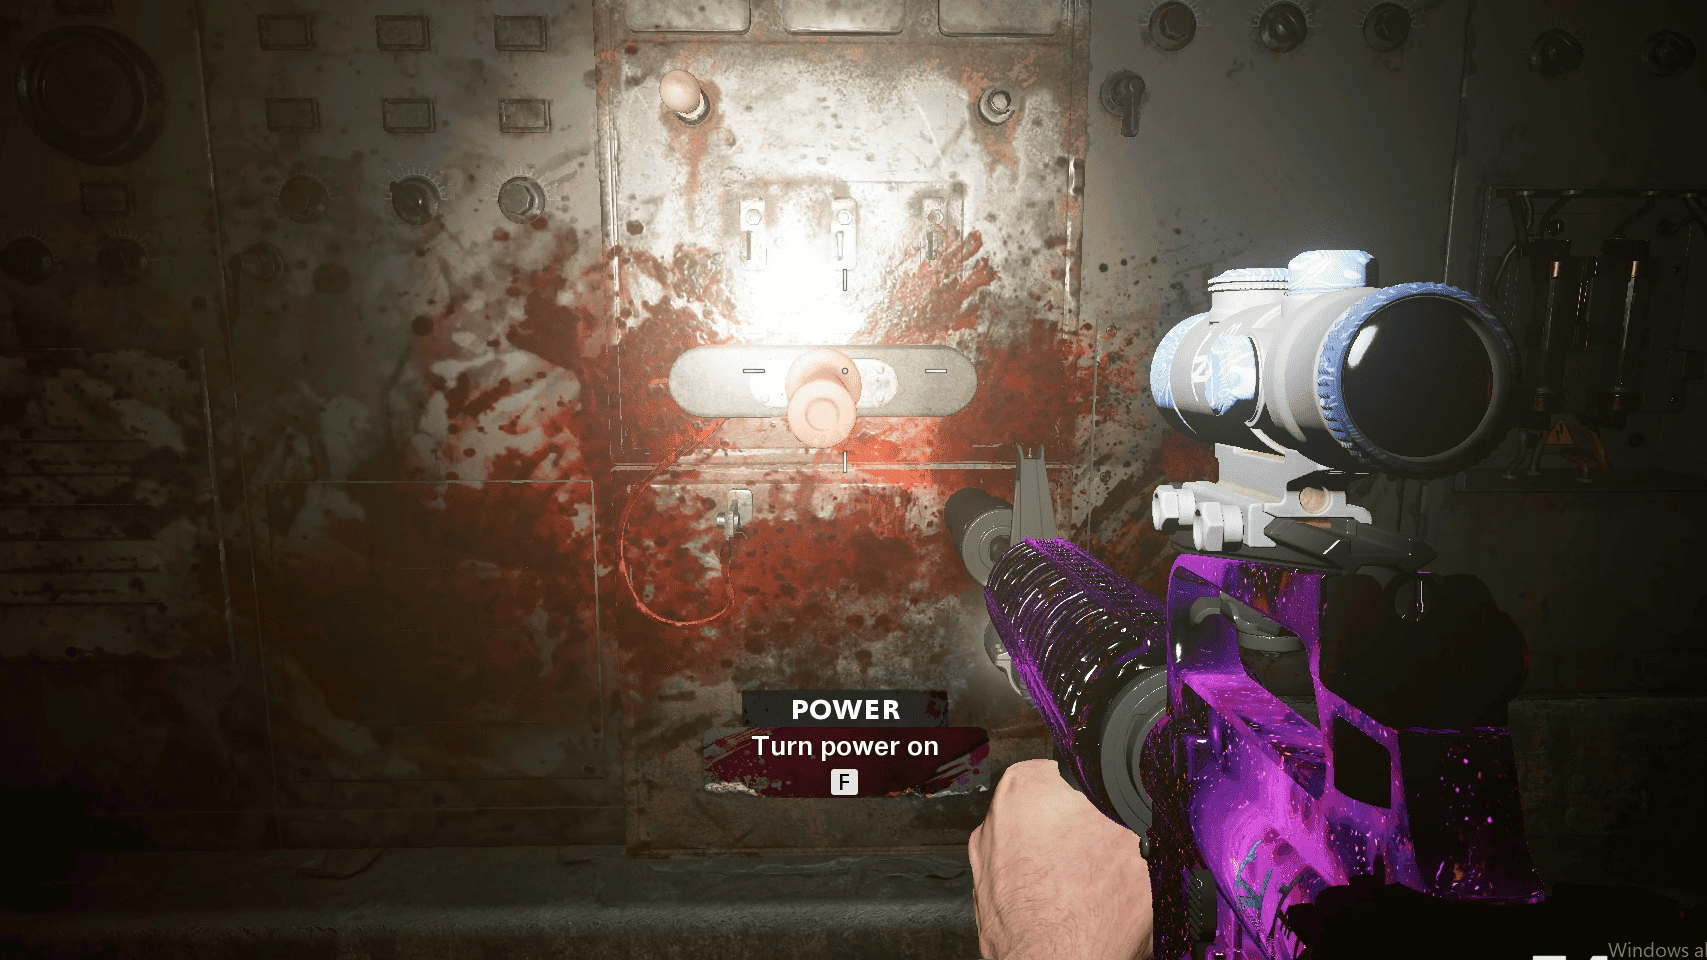
- Once obtaining both Electrical Fuses, head to the Power Room, located underground near the second fuse, place the fuses and you’ve turned on the power!
Pack-A-Punch
- After turning on power, take the zipline up to Checkpoint Charlie where you’ll see a ritual taking place around the Pack-A-Punch, stopping it from working.
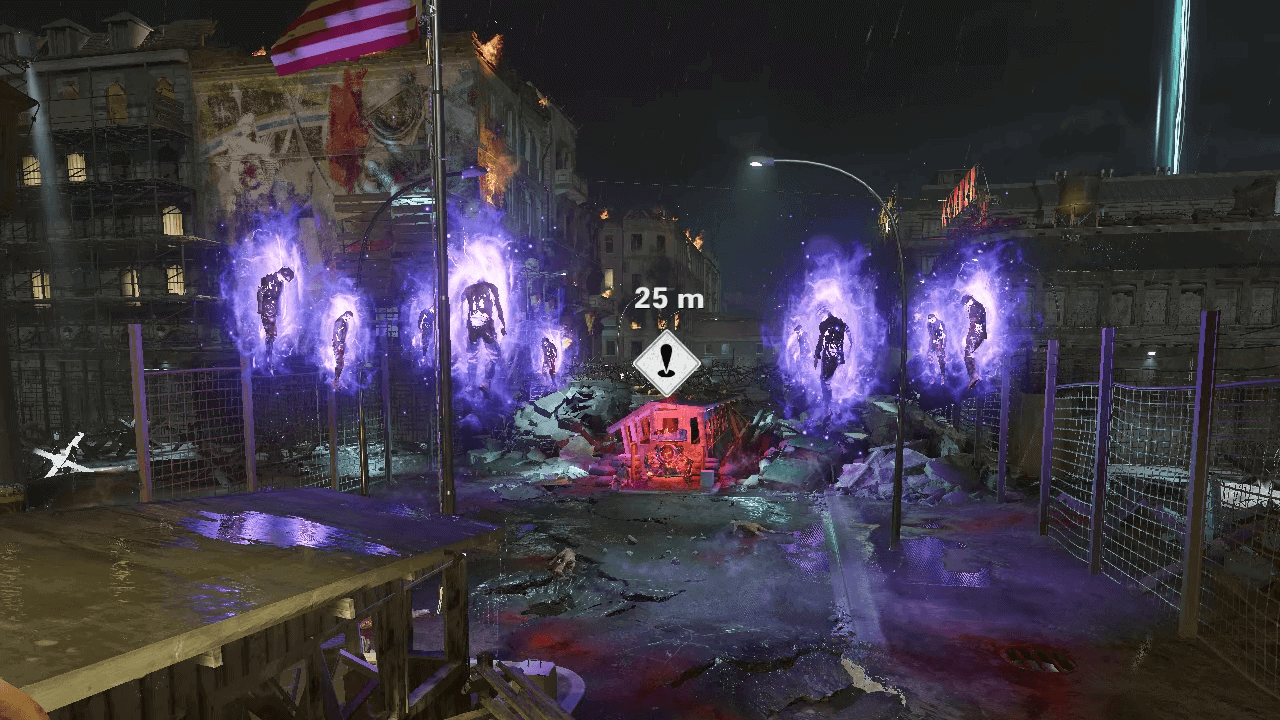
- Head over to the Pack-A-Punch where you will be prompted to prove your worthiness to the Dark Aether.
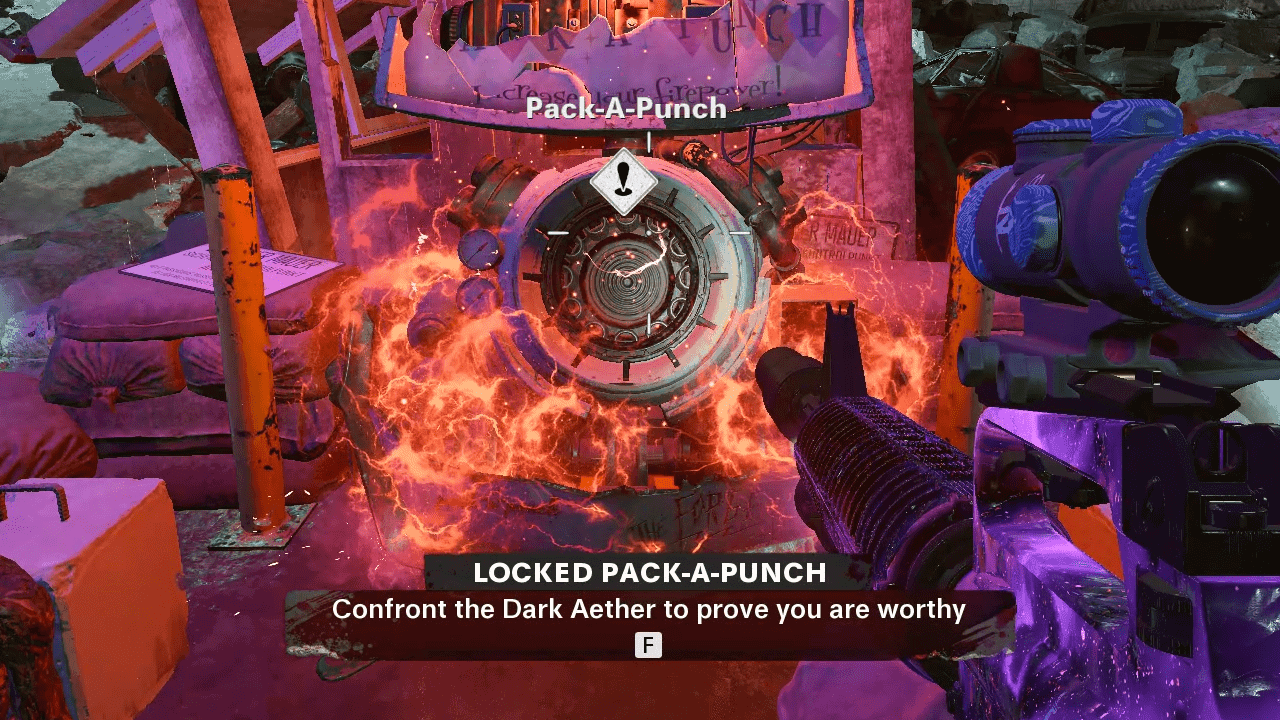
- Interact with it and kill all the zombies in the area to unlock the Pack-A-Punch.
Building Klaus
To build Klaus, you must:
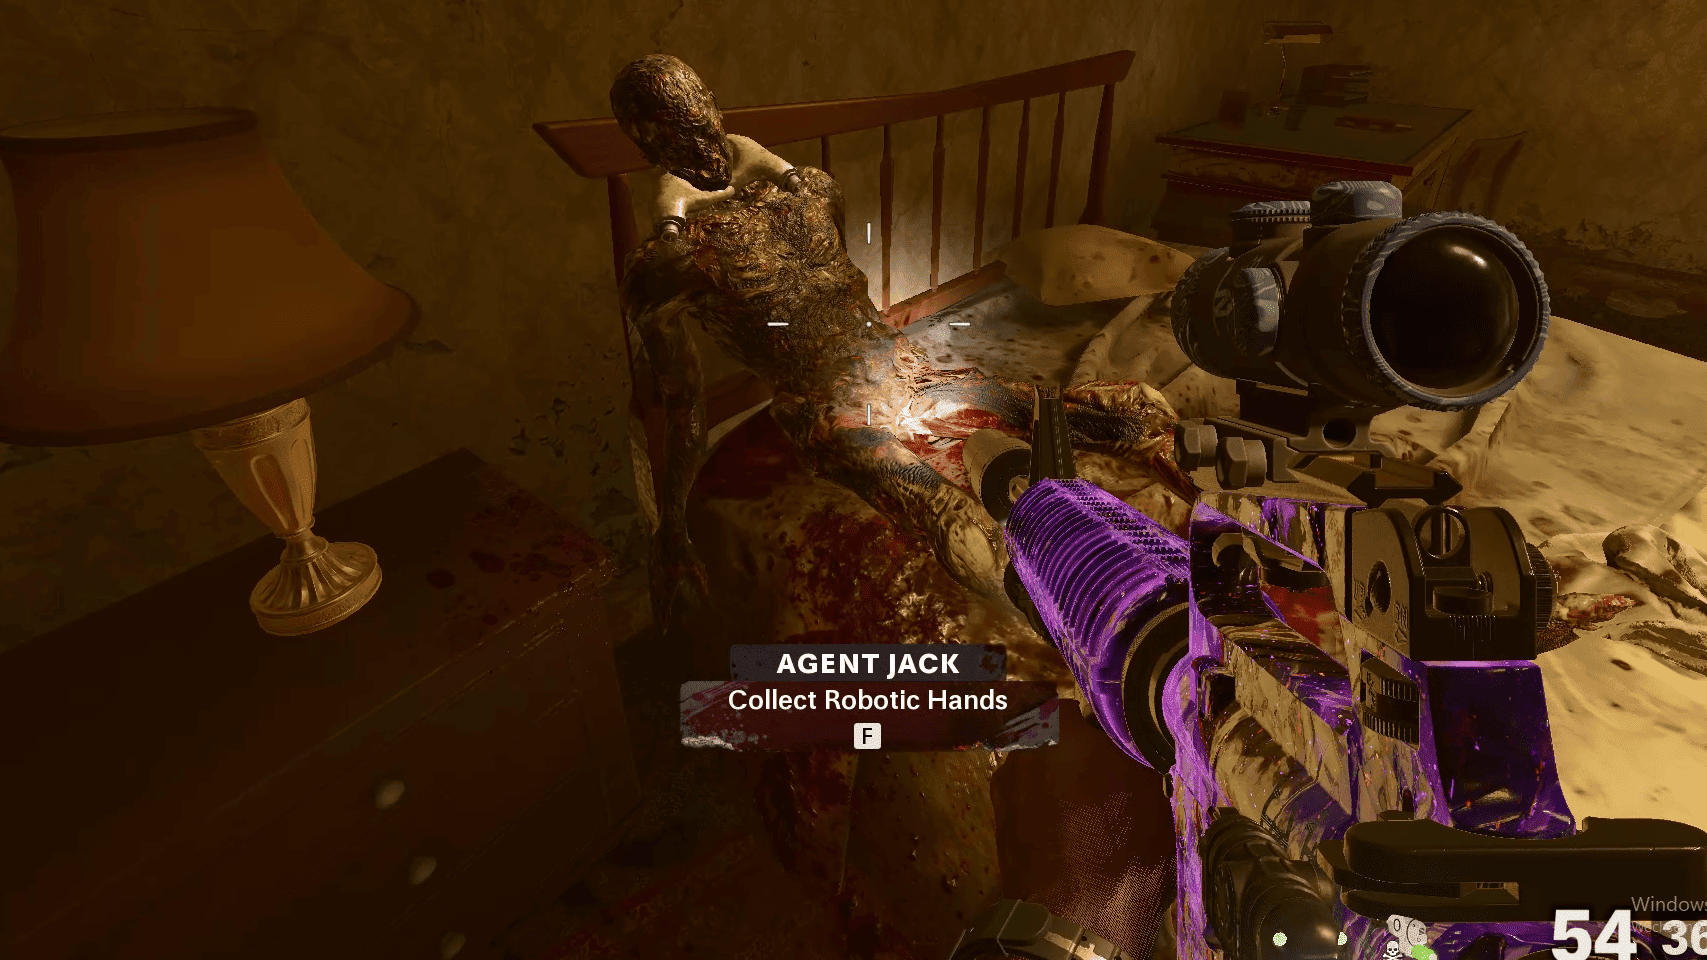
- Add the Brain Rot AAT to your weapon from Pack-A-Punch, then head over to Hotel Room 305 and turn a zombie with Brain Rot.
- After the Zombie turns & swipes the door down, collect the hands of Klaus from the bed

- For the final part, you will need a Panzer to spawn. Kill him and collect the Battery he drops.
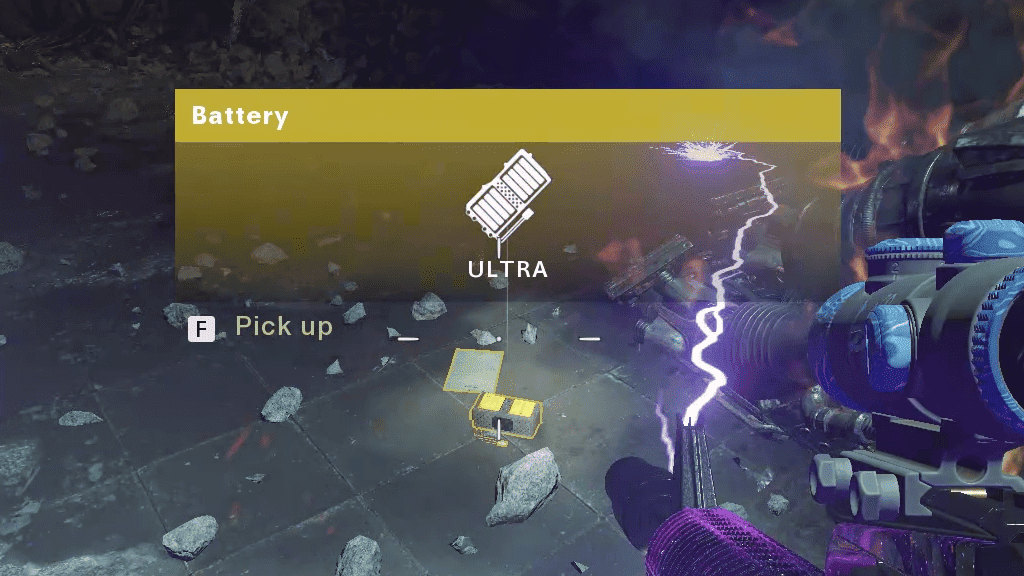
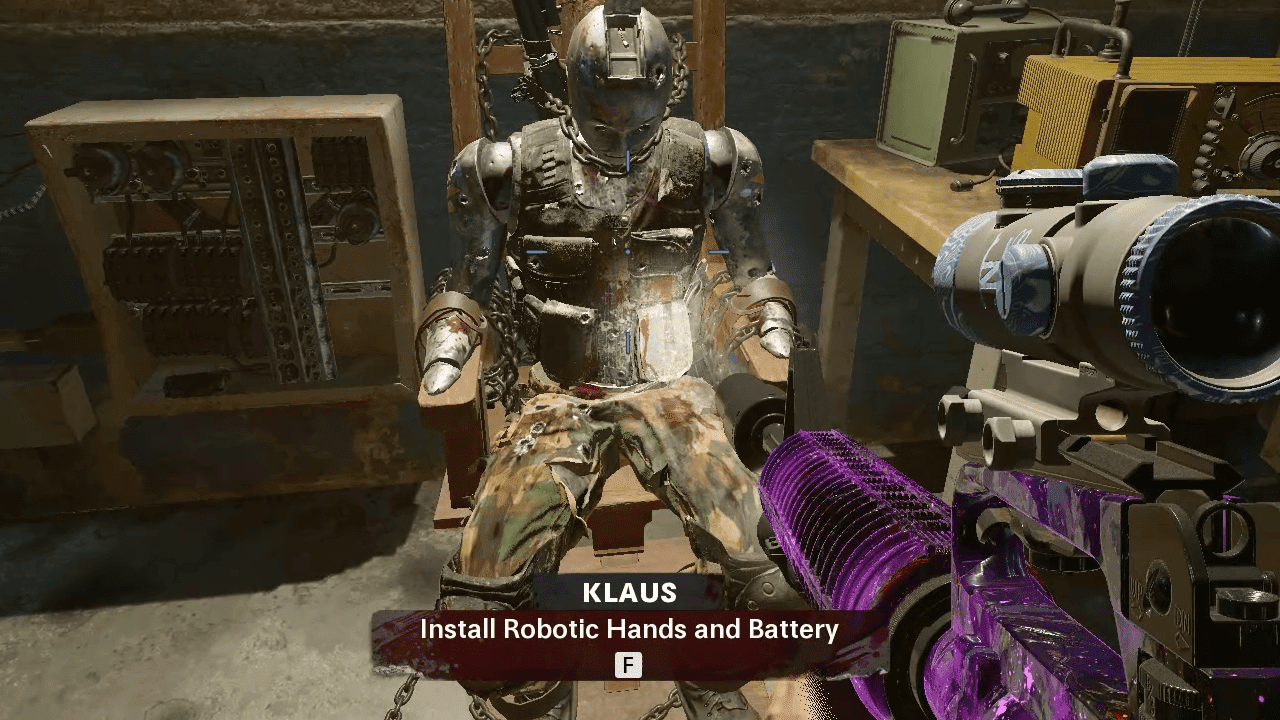
- After picking up the battery, go underground to the Safe House room where you will see Kraus sitting idle, interact with him to turn him on and enable him for use around the map.
Obtaining The Free Wonder Weapon
NOTE: before starting the free wonder weapon side quest, you need to unlock Hotel Room 305’s hidden room with a Brain Rot zombie.
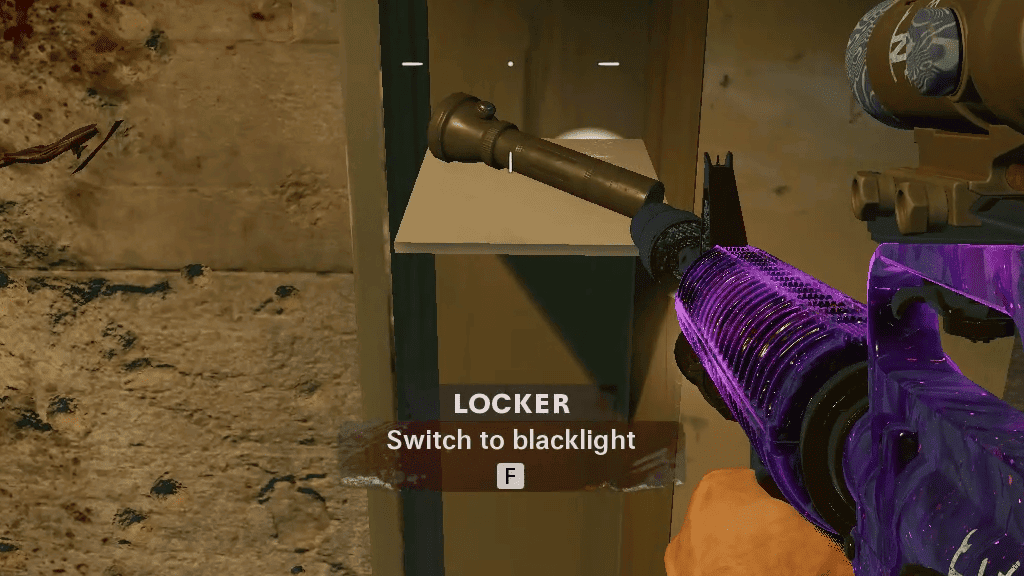
- After you have built Klaus, activate him & command him to the Locker in the Switch Control Room. He will destroy the locker door, revealing a purple flashlight needed for the next step.
- Now you need 3 numbers in order to unlock a locker in Hotel Room 304, revealing the CRBR-S.
NOTE: each location (Store, Garment Factory & Service Passage) has its own corresponding number which is the order the numbers are entered in.
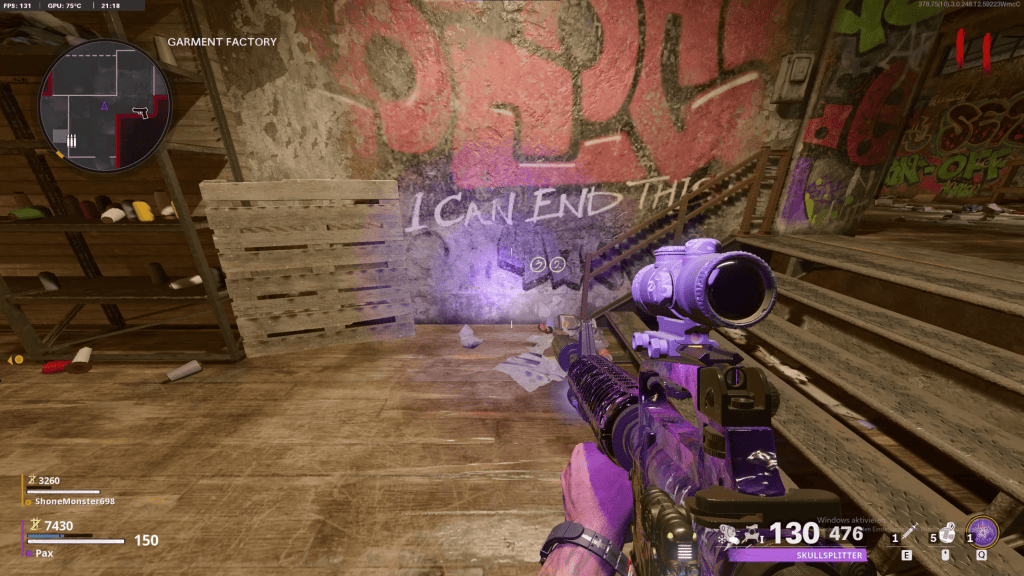
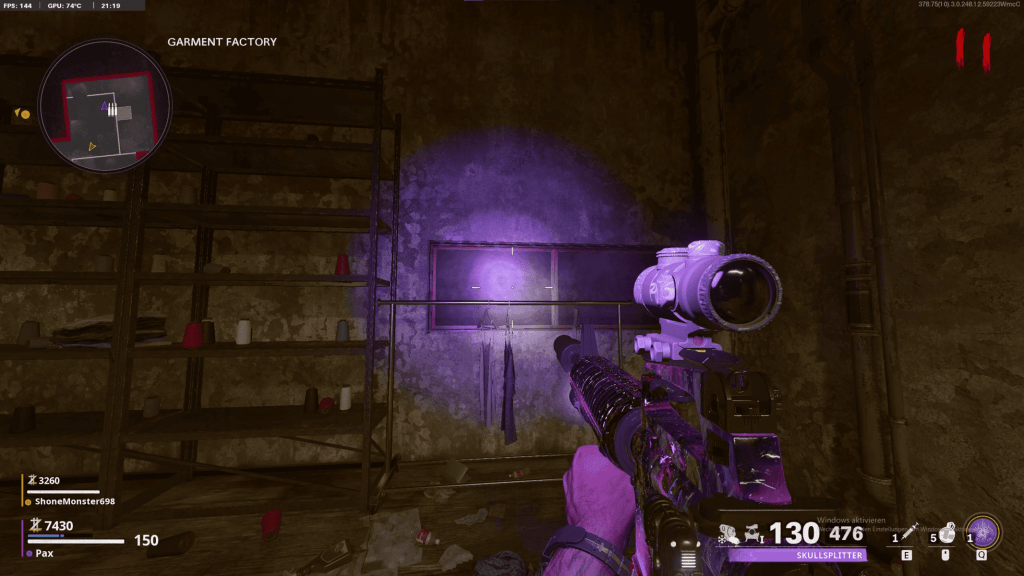
Garment Factory: 1st Number
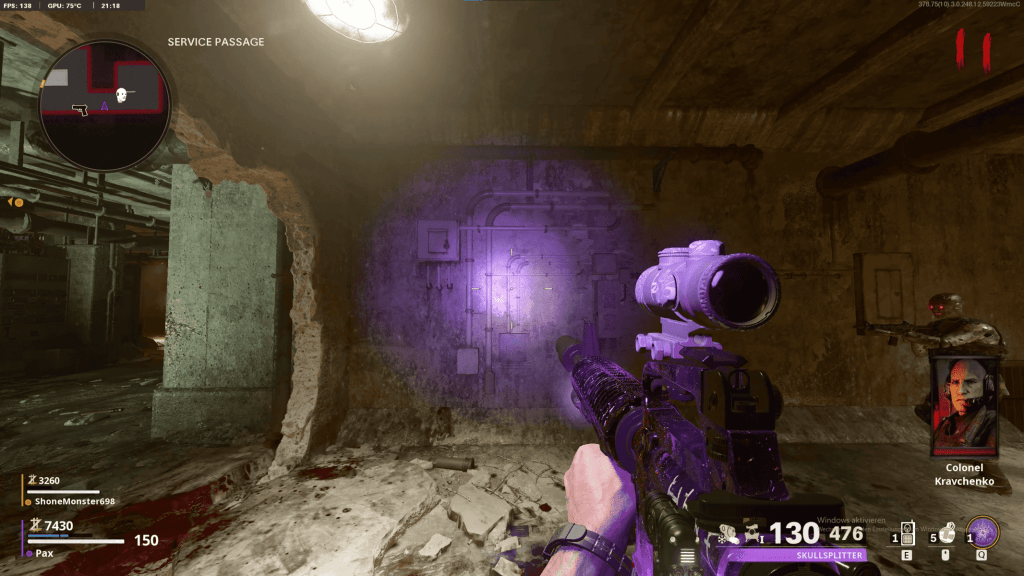
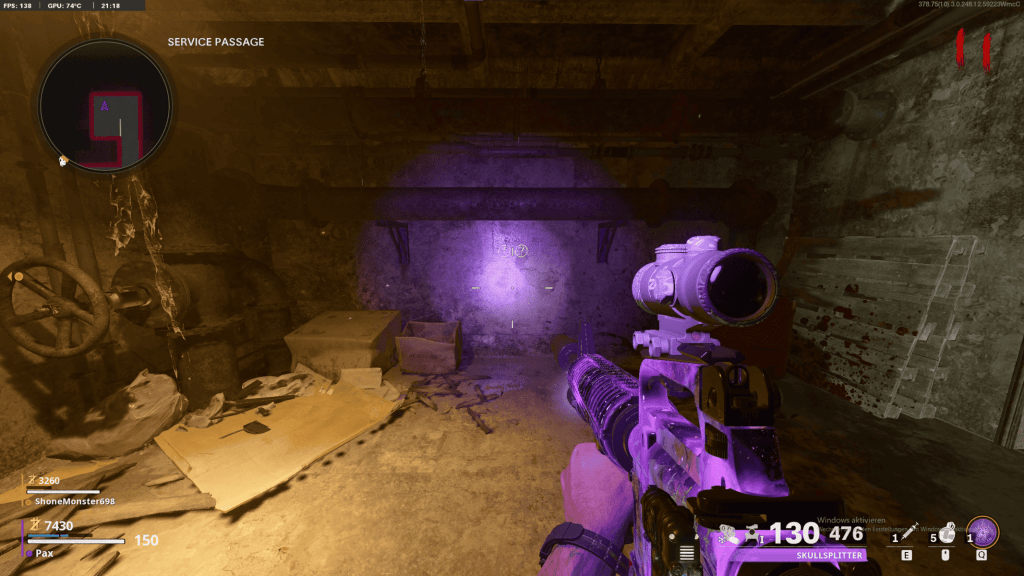
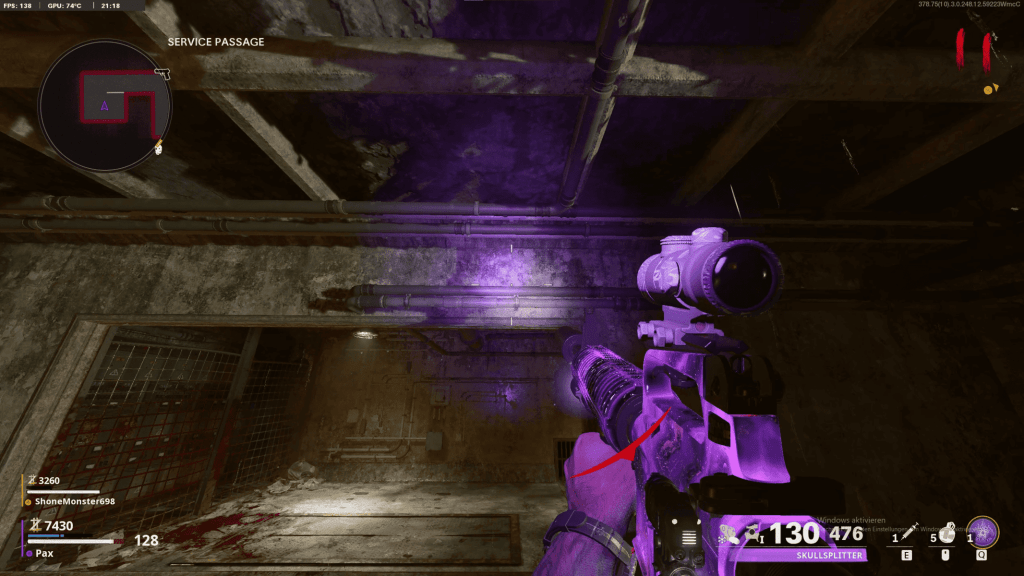
Service Passage: 2nd Number
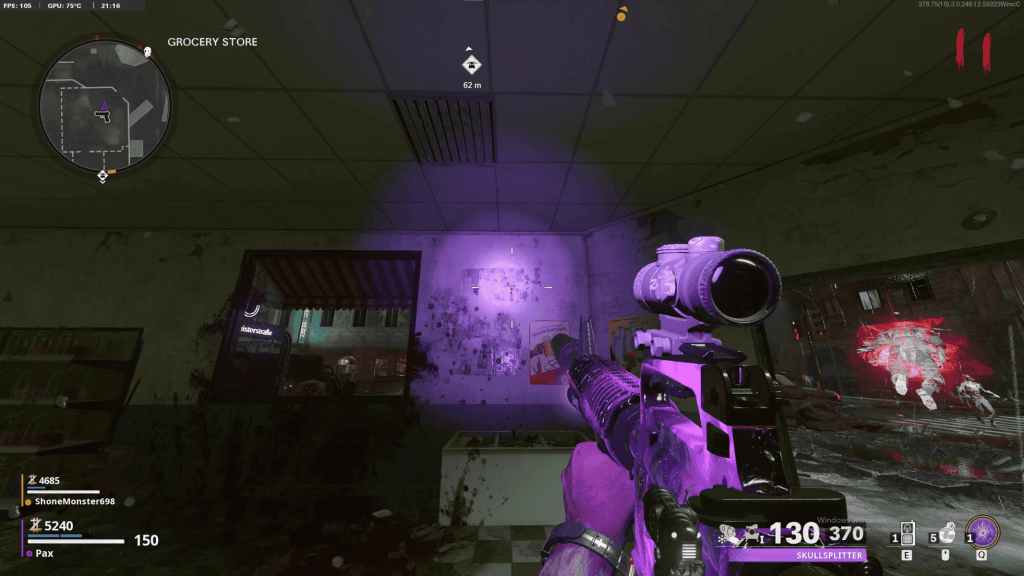
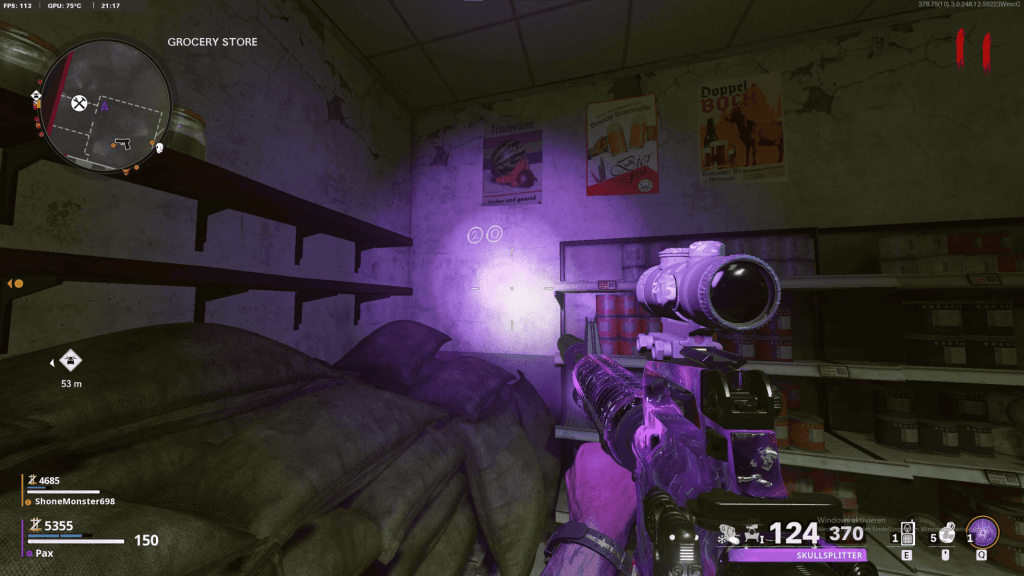
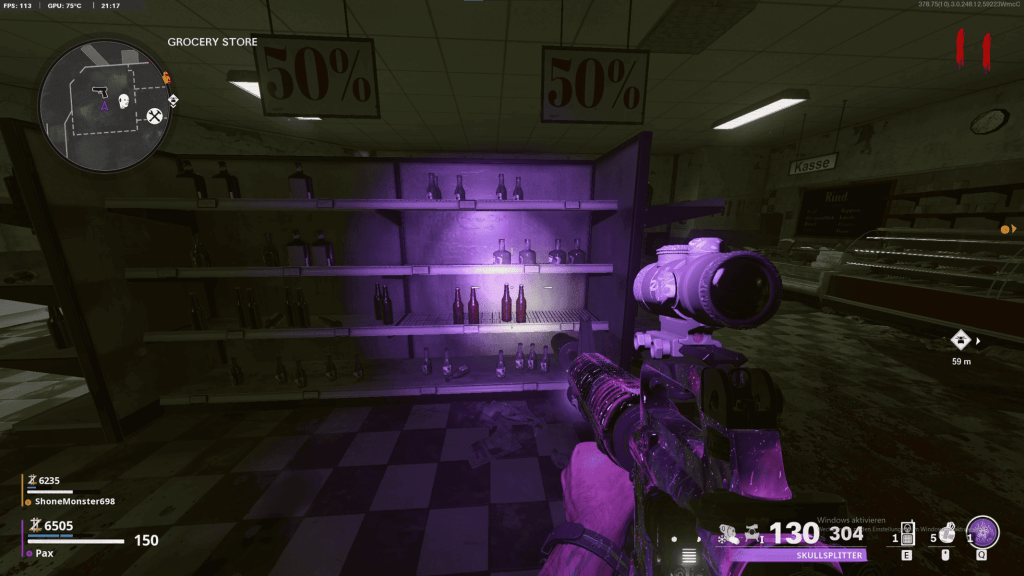
Store: 3rd Number
For example, in our game we had:
32 in Garment Factory (1st number)
17 in Service Passage (2nd number)
20 in Store (3rd number)
Therefore, the codes are entered into the locker (from left to right) as 32, 17 & 20.
IMPORTANT: Your codes will be generated differently every game!
- The first number can be located in the Garment Factory, which has 3 locations:
- The second number can be located in the Service Passage, which also has 3 locations.
- And finally, the third number in the Store also has 3 locations, shown below:
- Once you have arranged your order of numbers, head over to the locker in the hidden room you unlocked in Hotel Room 305 and enter the code, from Left to Right.
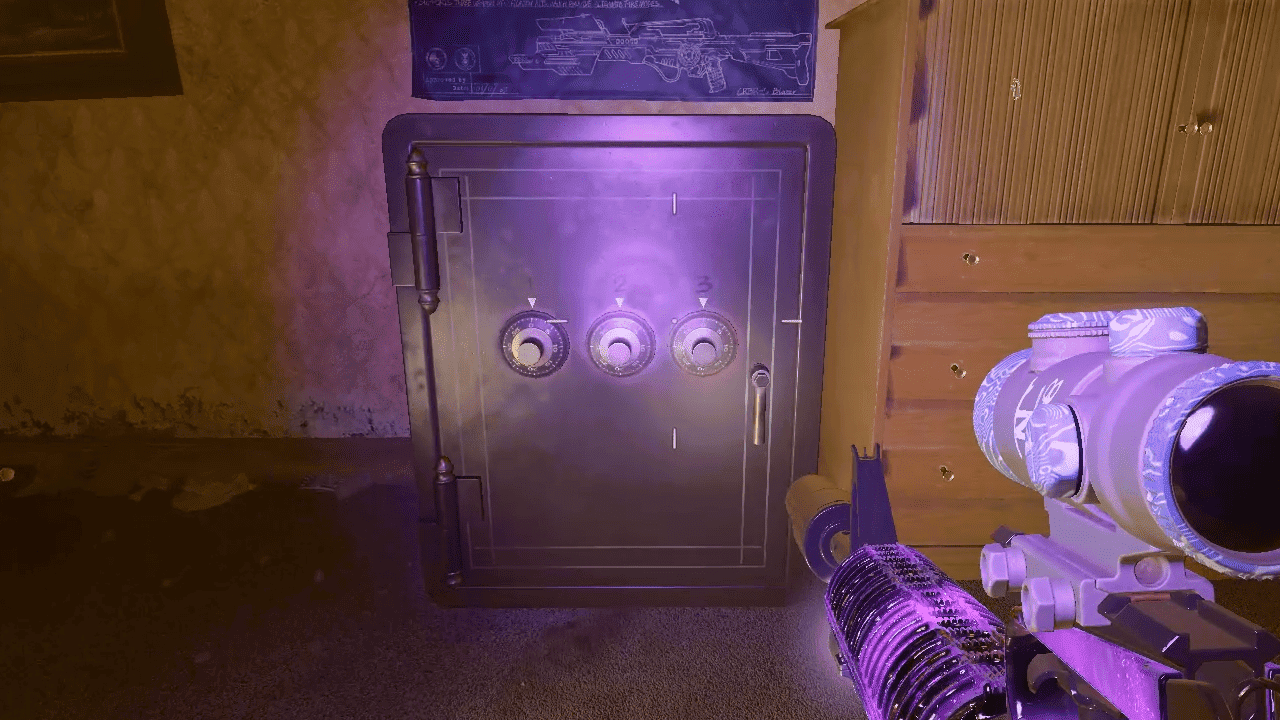
- Assuming the code you entered is correct, once you exit the locker, it will open and the CRBR-S can be picked up.

NOTE: the free wonder weapon is only available to one person. If you are playing co-op, the other players will have to get it from the mystery box or from redeeming legendary rewards from the Trials.
Wonder Weapon Upgrades
- There are four upgrade variants of the CRBR-S, and there are no specific steps to unlock them.
- All you need to do is obtain the original CRBR-S to stop getting drops of the upgrade variants from zombies you kill.
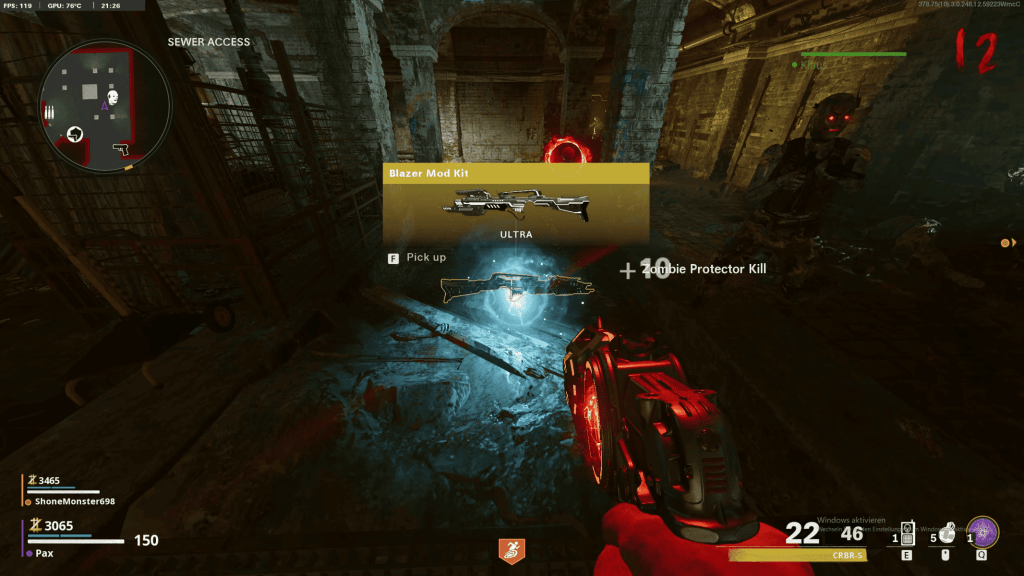
NOTE: you don’t have to get kills with only the CRBR-S for the upgrade variants to drop. This is what they look like when they drop on the ground. There are 3 variants that can drop on the ground:
- Blazer Mod Kit
- Swarm Mod Kit
- Diffuser Mod Kit

STEP 1 | Main Easter Egg
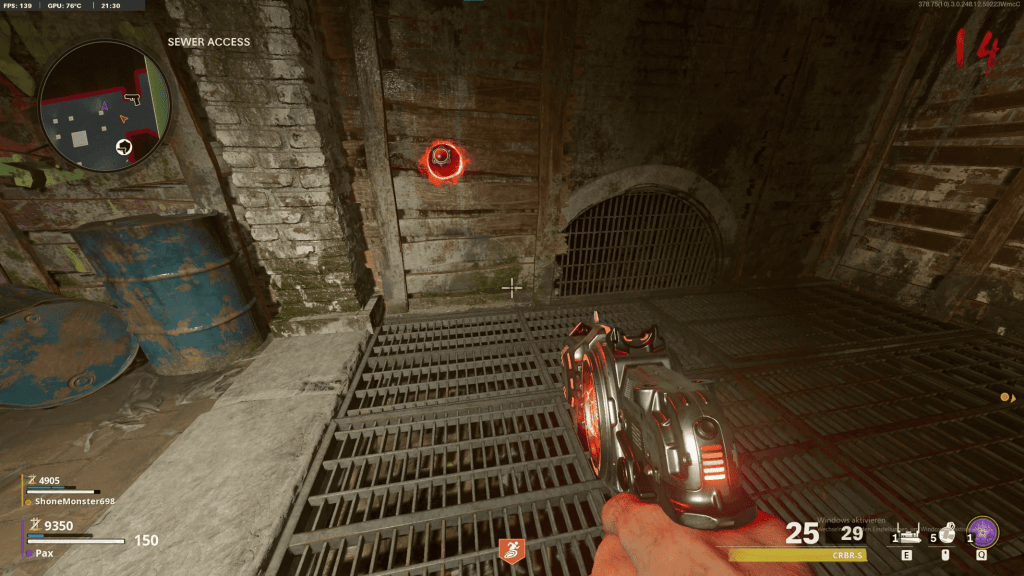
- Call in Klaus from ANY Radio Station, then call him over to the Sewer Access where you will see a brick wall. Once Klaus is close enough to the brick wall, he will destroy it revealing a Metal Wall.
- You will now need the Blazer Mod Kit variant of the CRBR-S. This can be acquired by killing zombies until they drop it.
IMPORTANT: you must have the base CRBR-S for the other variants to drop!
- Fire the CRBR-S Blazer Mod variant at the metal door, and you will be able to access the secret room, then wait a round and you will see these force fields around the machines disappear
- You will now be able to pick up 3 canisters from the Central Machine, each canister needs to be taken to three Canister Holders that are around the map.
NOTE: There are Seven canister locations, shown below:


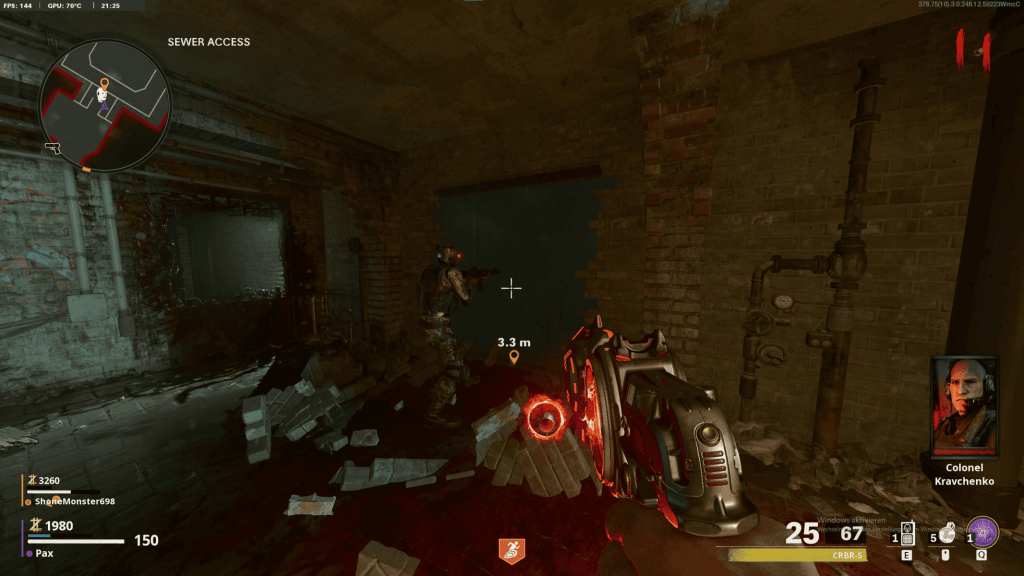
- After picking up a canister go over to the trap machine and shoot it with your CRBR-S, it will pop open revealing a trap inside.
- Go to one of your Canister Holder locations and throw the trap in front of the Canister Holder, which will spawn in 2 Tempests, you then need to kill them around the Canister Holders which will suck their souls into it.
NOTE: You will know when it’s done once the canister holder turns purple.
- Pick it up and take it back to the secret room, then bring it to the central machine, and rinse and repeat two more times.
STEP 2 | Upgrading Klaus:
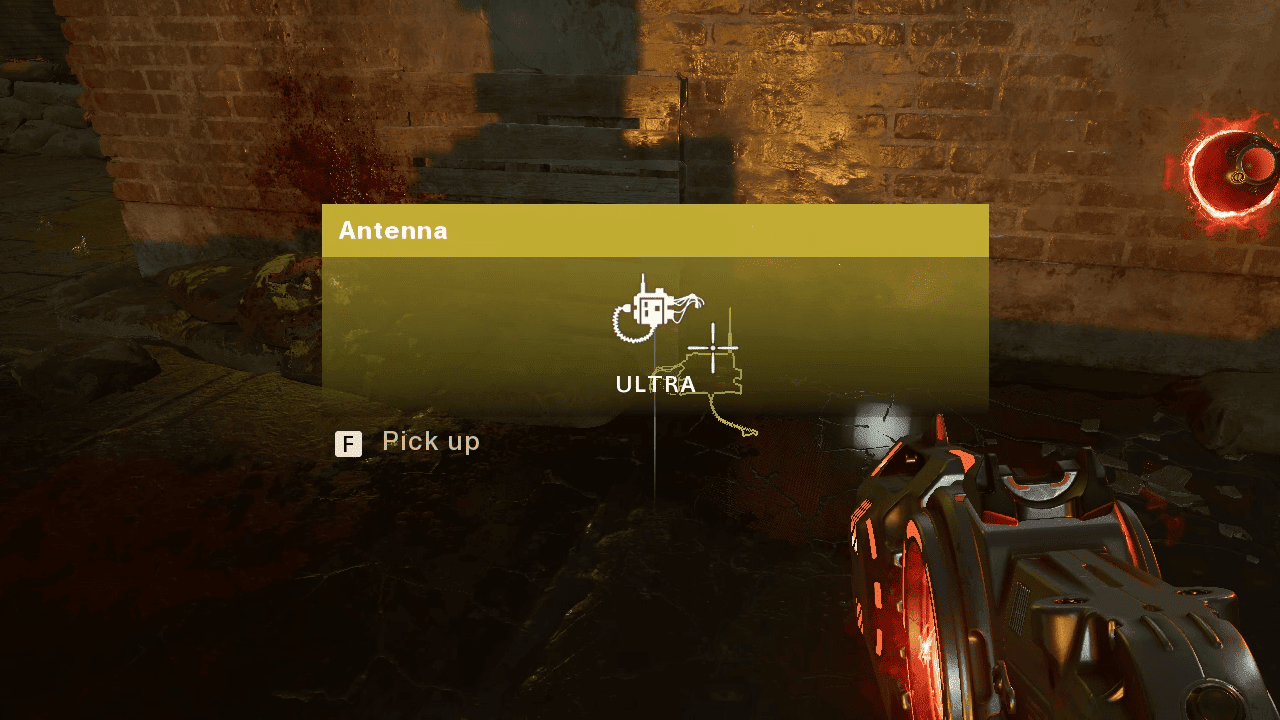
First you must obtain 3 parts to build the headgear for Klaus: an Antenna, an Electronic Board & a Transistor.
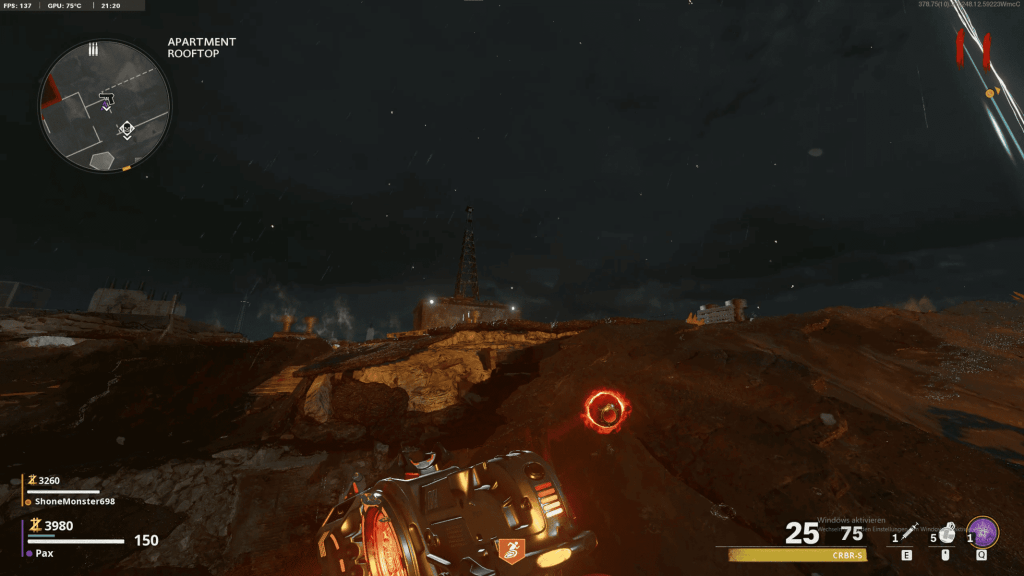
The Antenna can be found on the Apartment Rooftops (Spawn Room), on top of a Satellite. Shoot the top of the Satellite with the CRBR-S (any variant) to drop the Antenna part.
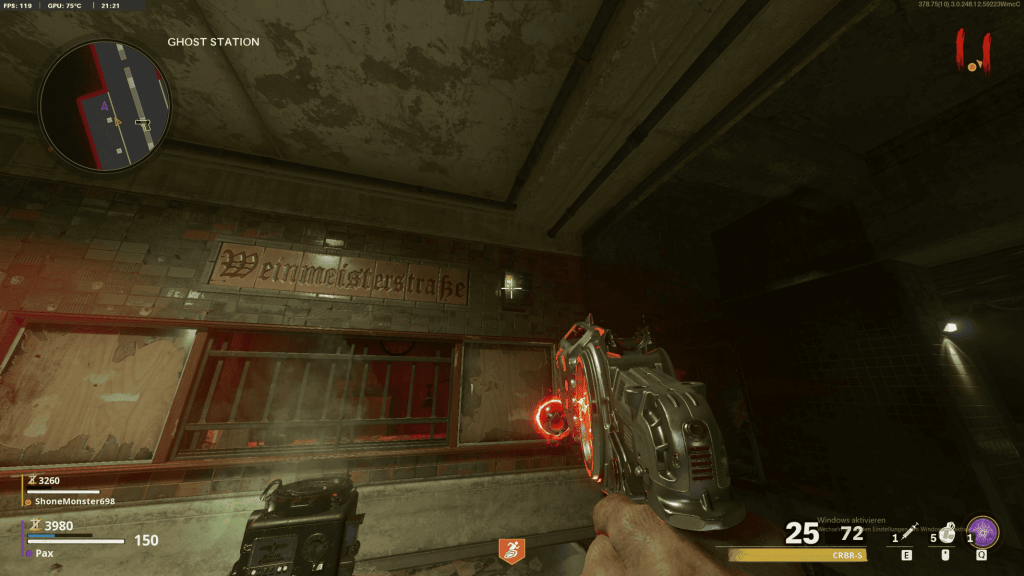
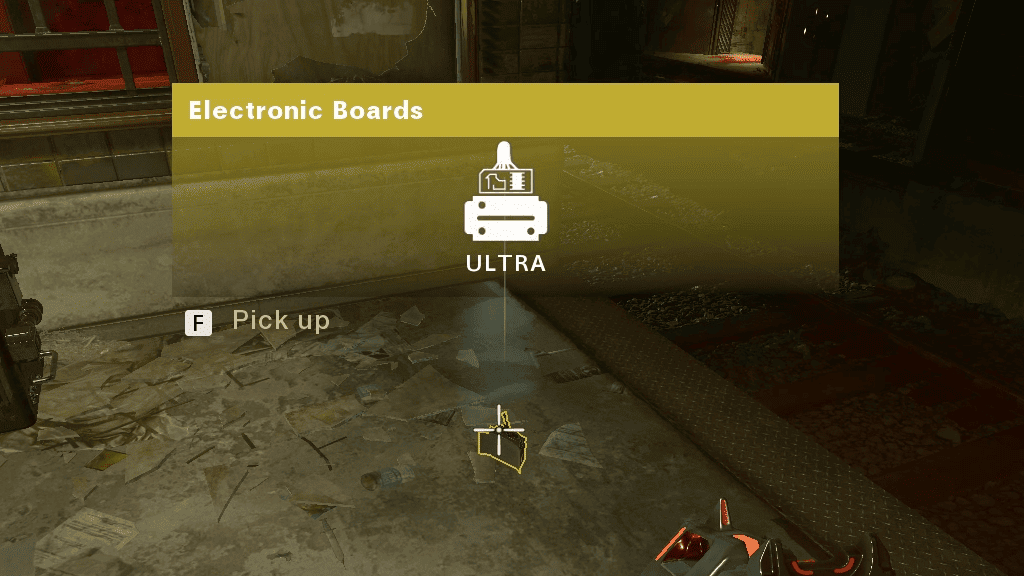
The Electronic Board can be found in the Ghost Station on an Electronic Box with a green light. Once again, shoot it with the CRBR-S to make it fall.
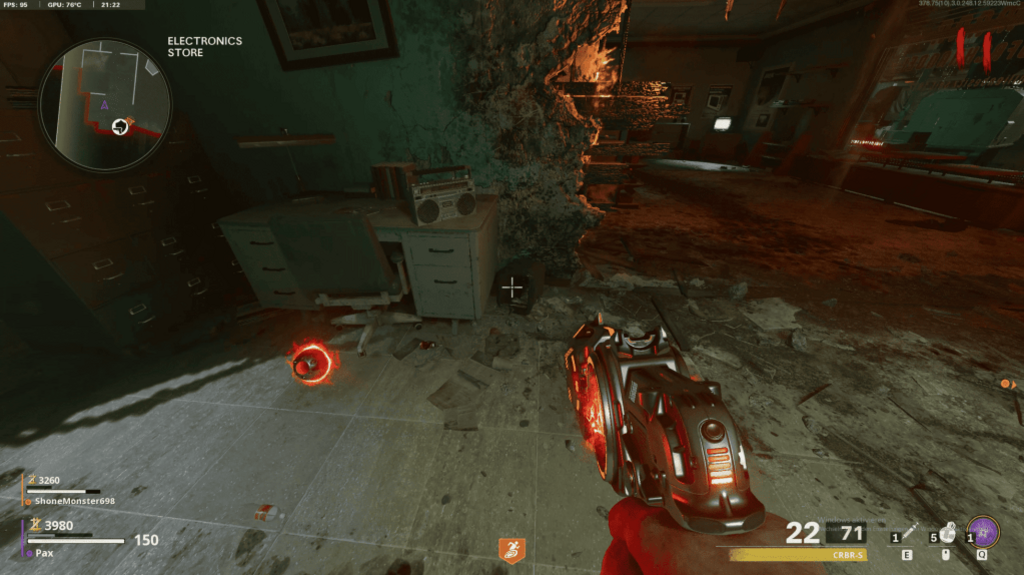
Finally, to get the Transistor, you must go to the back of the Electronics Store and shoot a radio with the CRBR-s until it drops the part you need.
- After obtaining all 3 parts, head down to the Safe House (where you built Klaus) and interact with Klaus to attach the Head Gear to him.

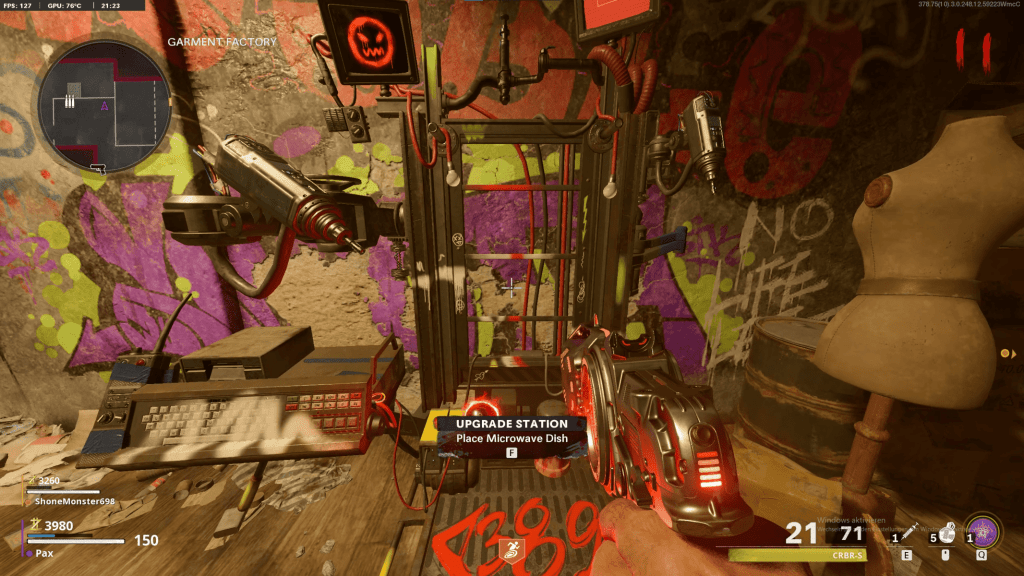
- After building the Head Gear, go to the Death Strip and dig all of the dig spots until you get the Microwave Dish. Then pick it up and go to the Garment Factory where you will see an Upgrade station. Place the Microwave Dish on it.
- Command Klaus to stand near the Upgrade Station, where he will need at least 10-30 Zombie kills. Once he gets enough kills the light above his upgrade station will turn green.
- Order Klaus to stand in front of the upgrade machine, where he will then climb inside and trigger a one minute lockdown.
NOTE: Do not let Klaus’ health reach 0 or you will fail the step and will have to wait before calling him in again & retrying the step.
- Once the lockdown has ended, Klaus will have a Pack-A-Punched weapon.
STEP 3 | Stopping The Train:
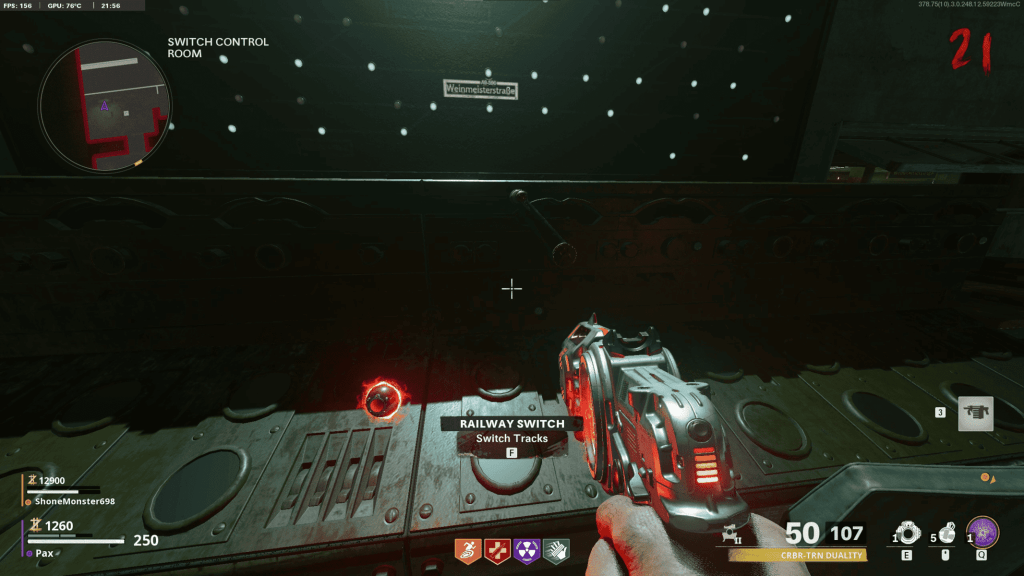
- Call Klaus in, then head over to the Switch Control Room & switch the tracks.
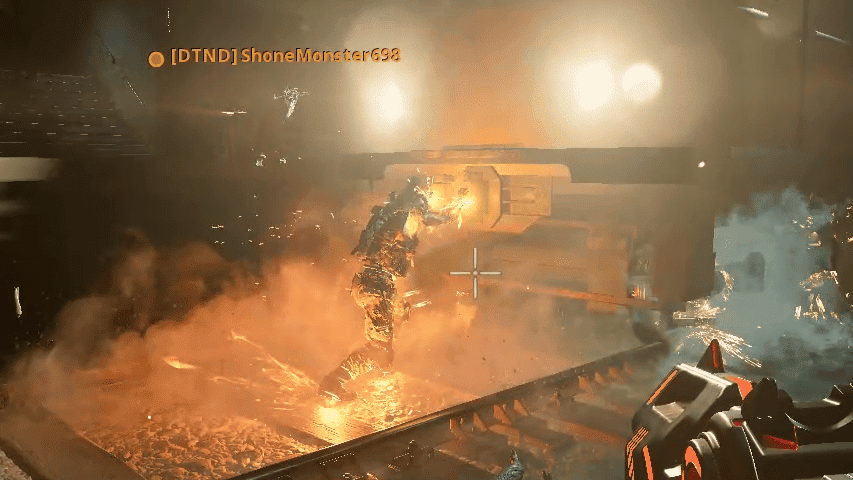
- After switching the tracks, command Klaus to stand in the railway. The train will approach and Klaus will stop the train in its path.
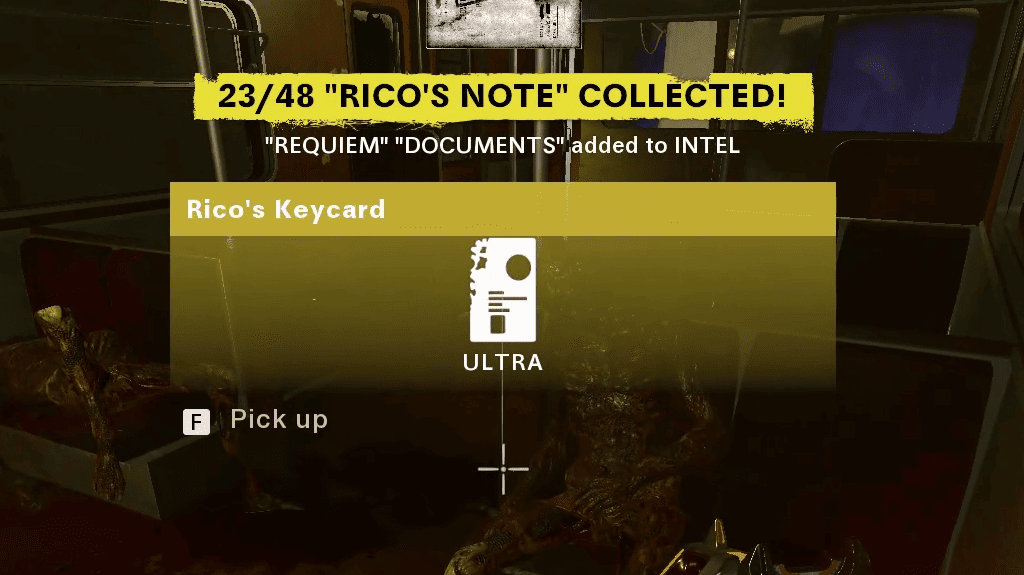
- Head into the train and grab a Bomb and Keycard
- Then head back into the Secret Room and place the items on the Central Machine.

STEP 4 | Collecting Uranium & Cleansing It
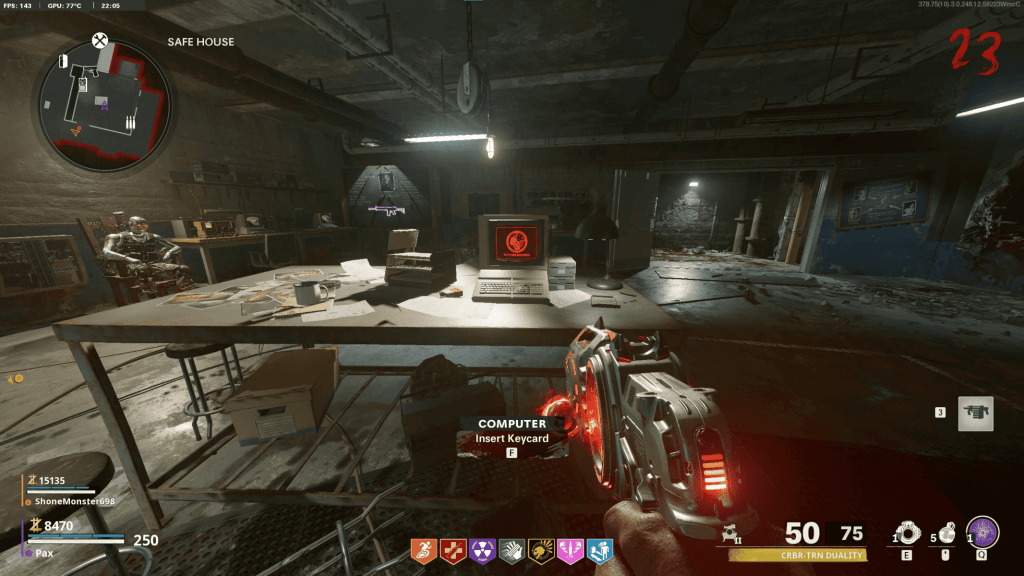
- After completing the Train step, head into the Safe House (the room where Klaus was built) and you will see a computer on the desk that you can insert the Keycard into.
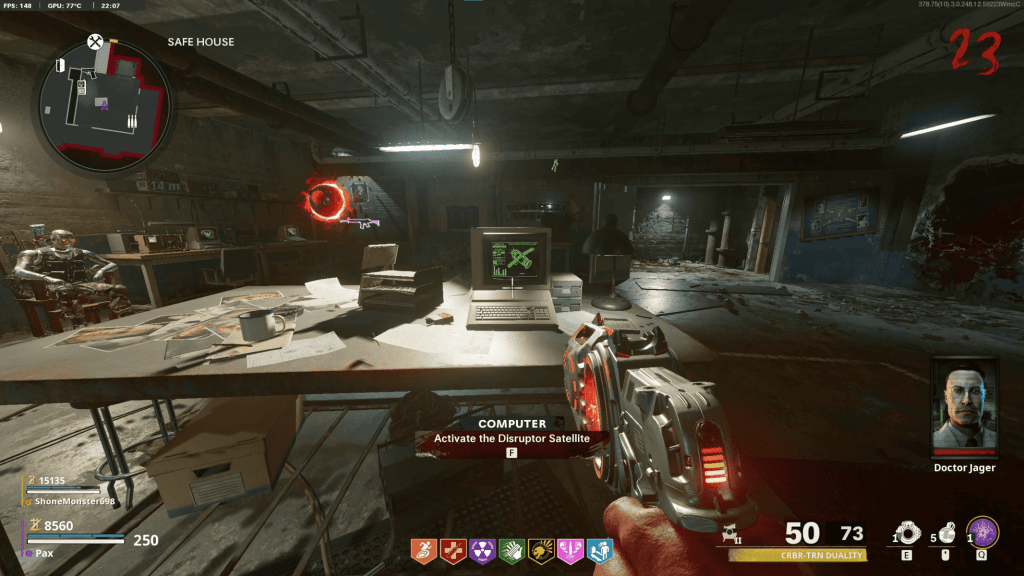
- Once you have inserted the Keycard, you will be given the prompt to “Browse Files” in the Computer. Interact with it repeatedly until you get the prompt to “Activate the Disruptor Satellite”.
- After activating the Disruptor Satellite, run to Checkpoint Charlie (Pack-A-Punch) and you will see a Dark Aether orb spawn multiple bosses, including a Megaton & multiple Mimics.
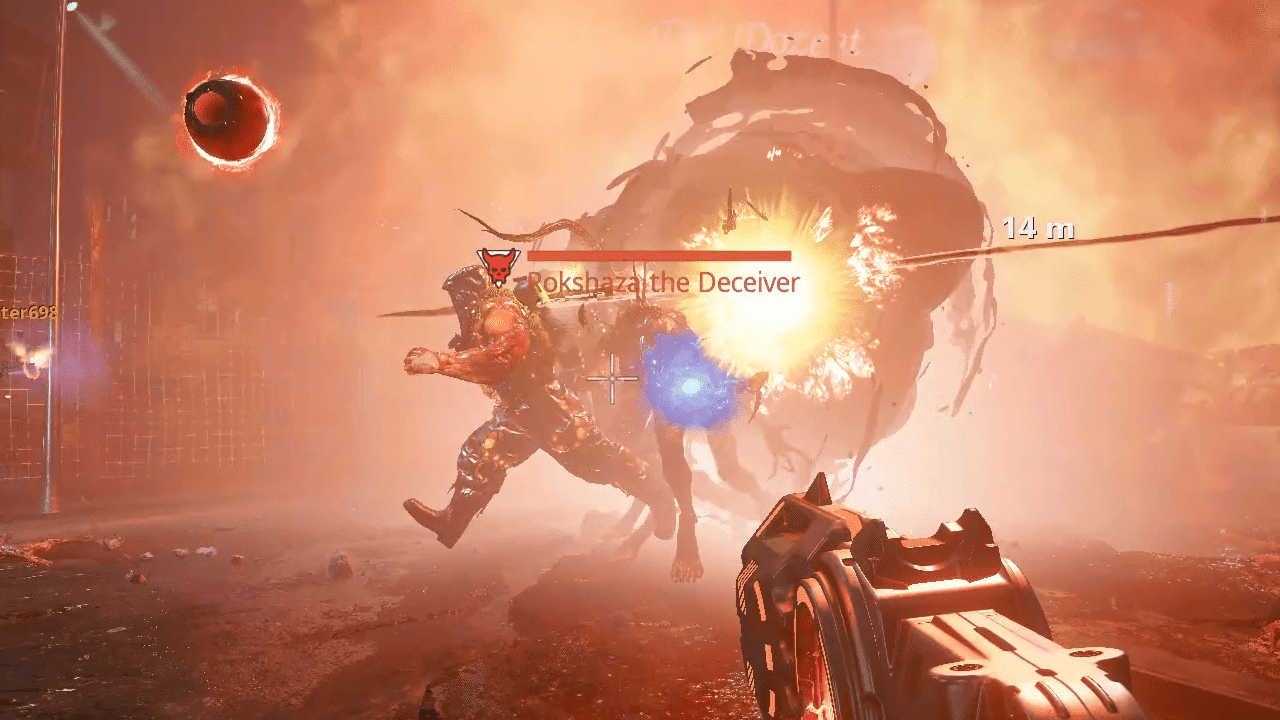
- Kill both Mimics & the Megaton, and upon killing the Megaton it will drop Uranium Rock.
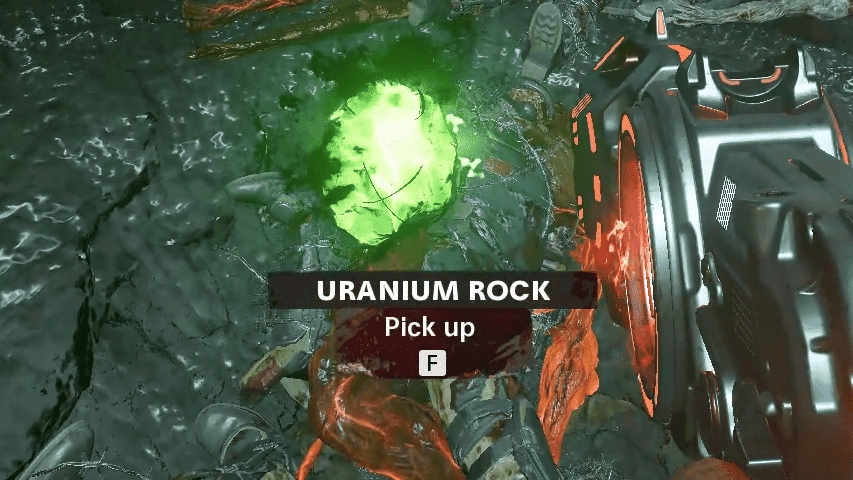
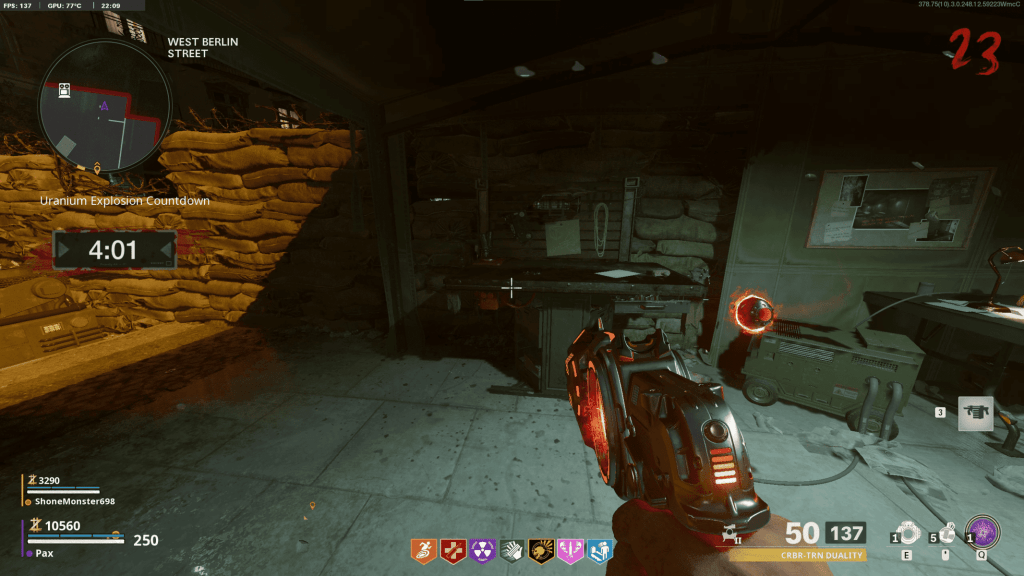
IMPORTANT: once you pick up the Uranium Rock you will be on a timer (4m30s) to do the steps listed below!
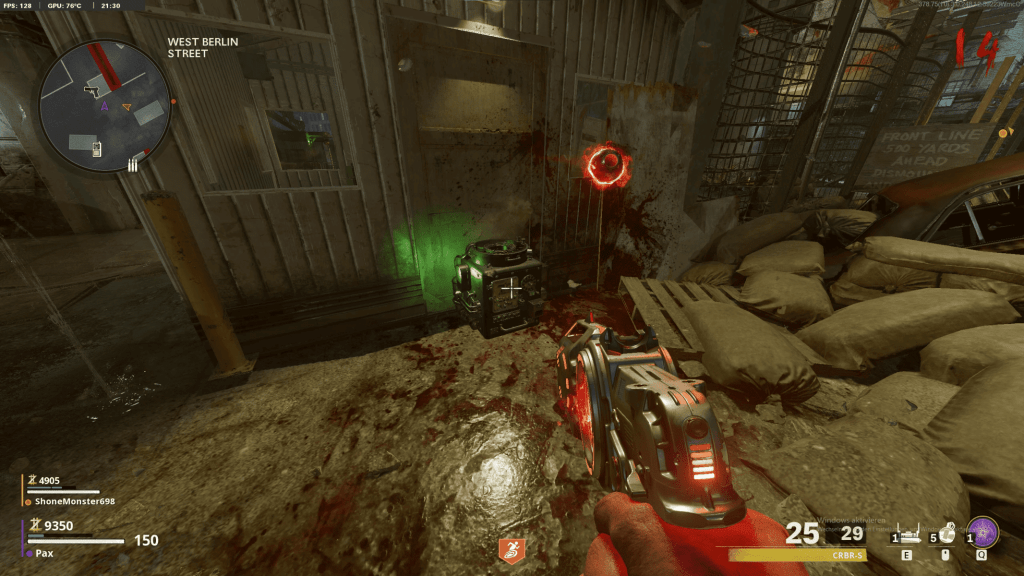
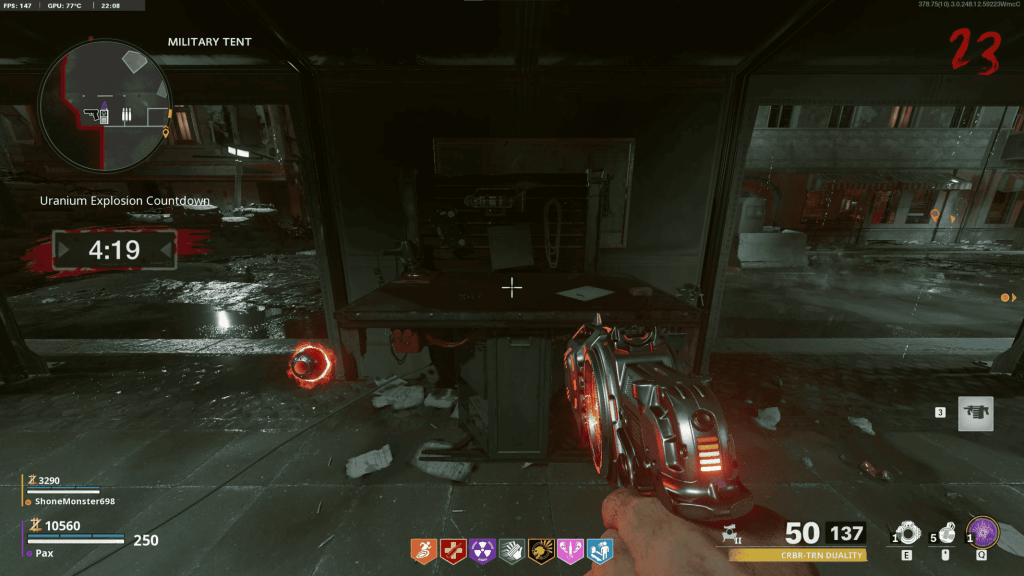
- When acquiring the Uranium Rock, you need to bring it to one of two Buildable Benches (shown below), to transform it into a Uranium Device.
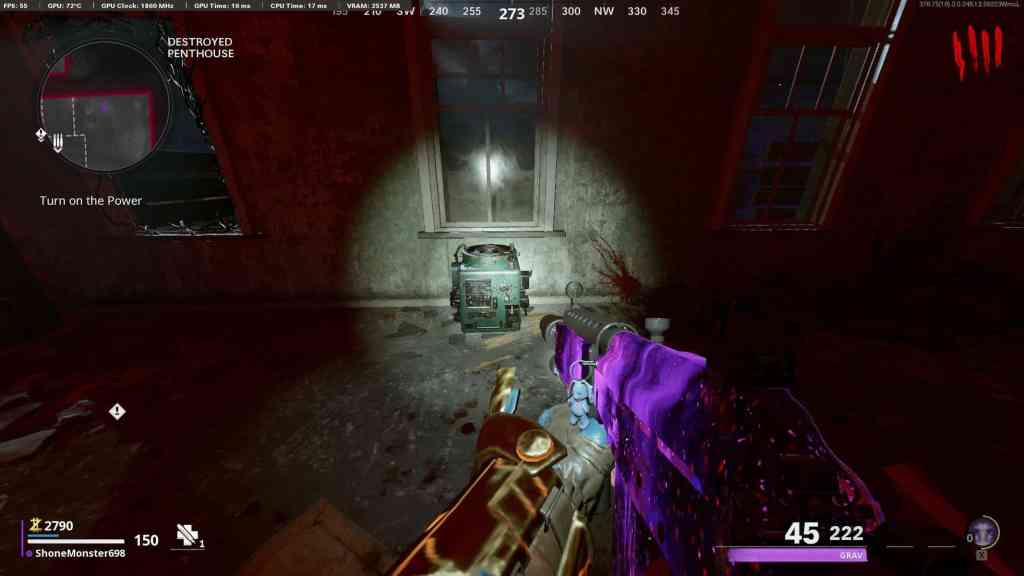
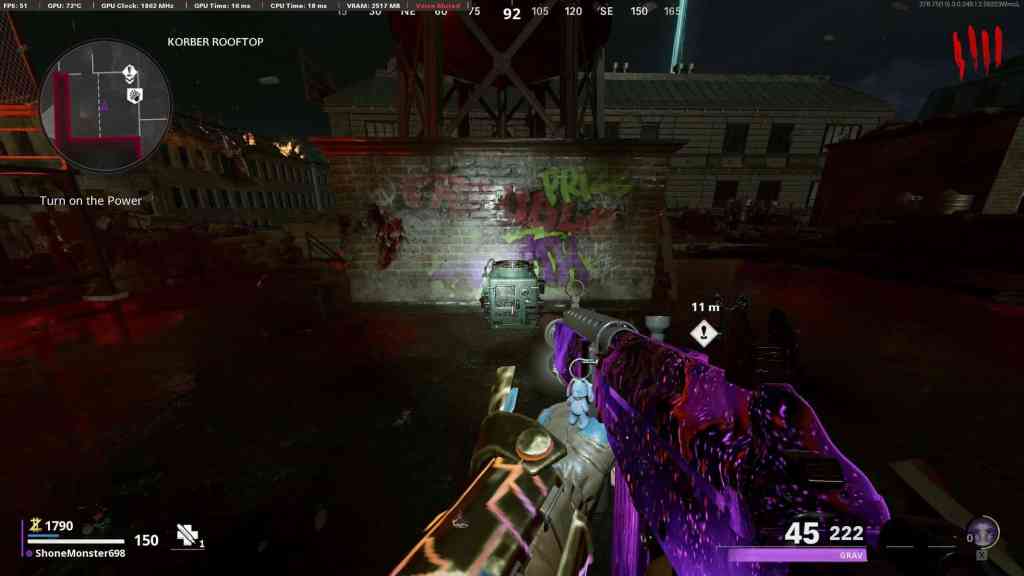
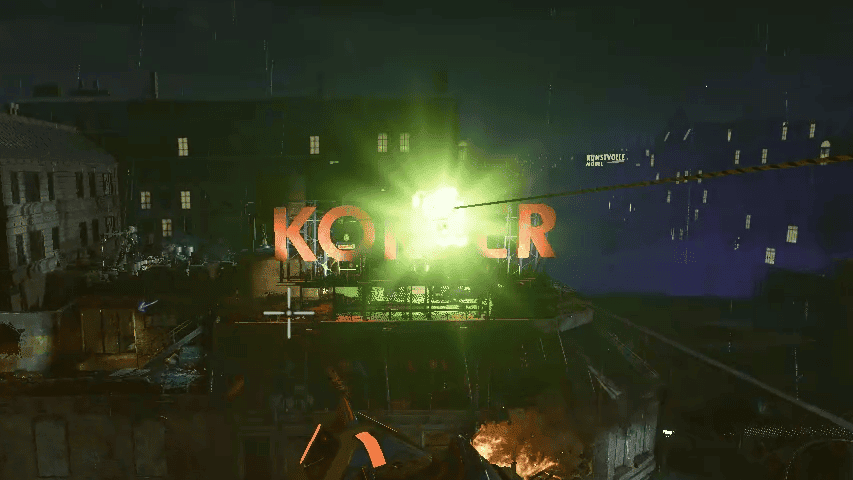
- Once building the Uranium Device, you need to bring it to the Korber Rooftop zipline, and the Destroyed Penthouse zipline.
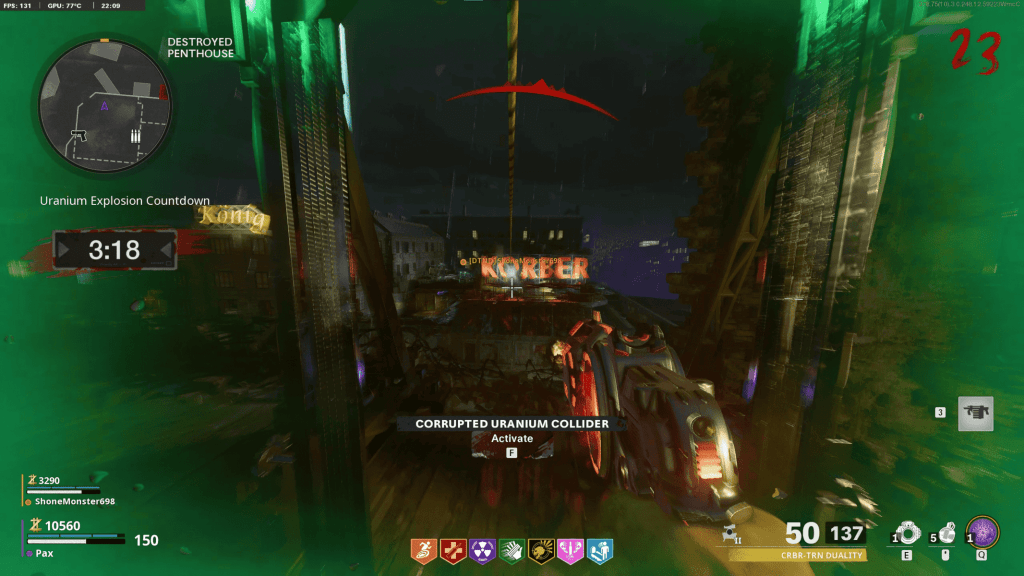
- Both players must attach the Uranium Device to the zipline at the same time, causing an explosion between the Korber Rooftop and Destroyed Penthouse.
IMPORTANT: Both players must activate it at the same time. If someone activates the uranium but the other player doesn’t, both of you will die & the game will end!
- Once the explosion has occurred, a Cleansed Uranium Rock will fall directly below.
NOTE: After you have successfully done the zipline step, the timer will end and you are safe to take your time.
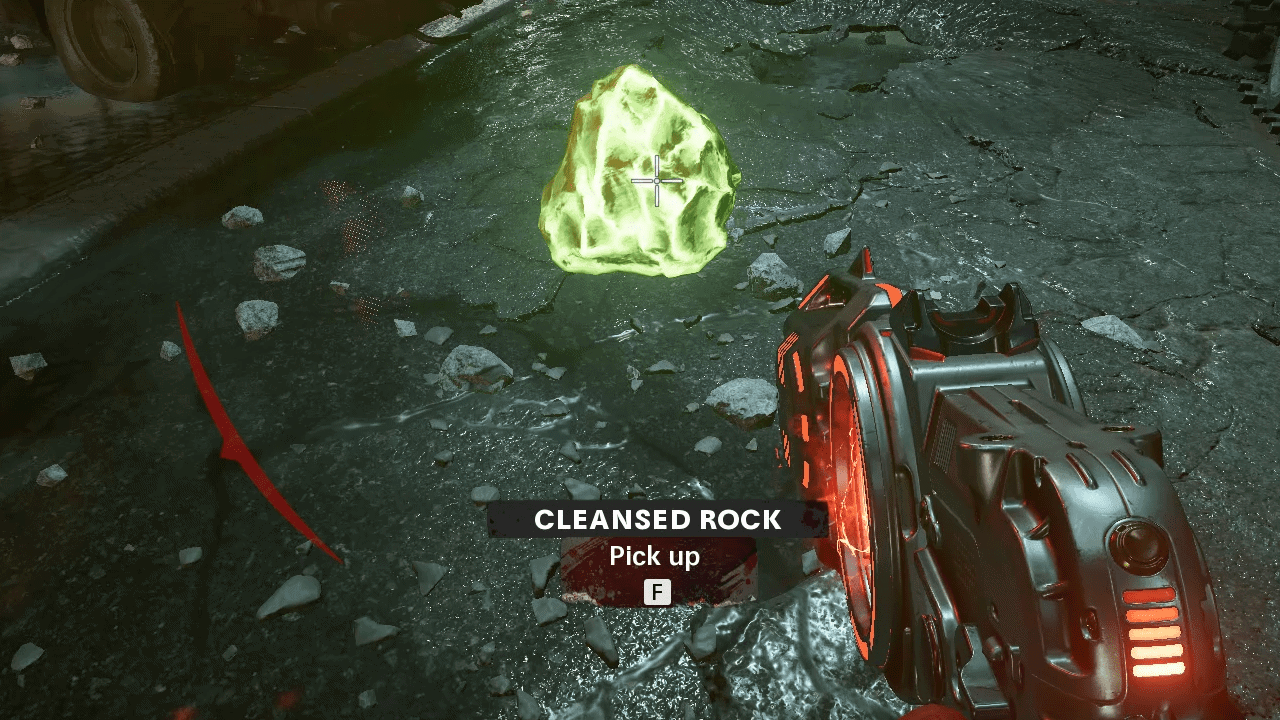
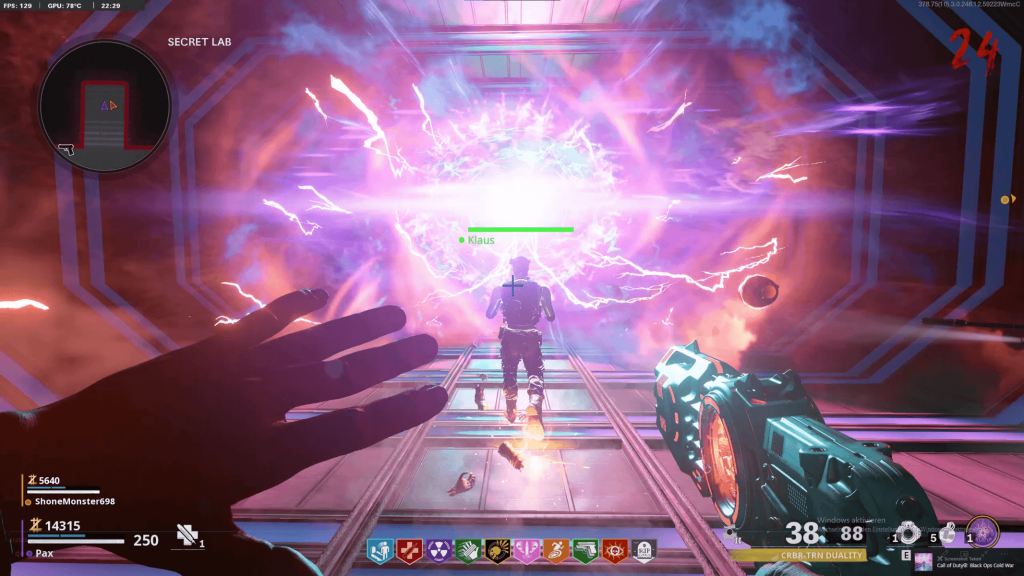
- Collect the Cleansed Uranium Rock and head over to the Secret Lab and place the Cleaned Uranium Rock into the Warhead.
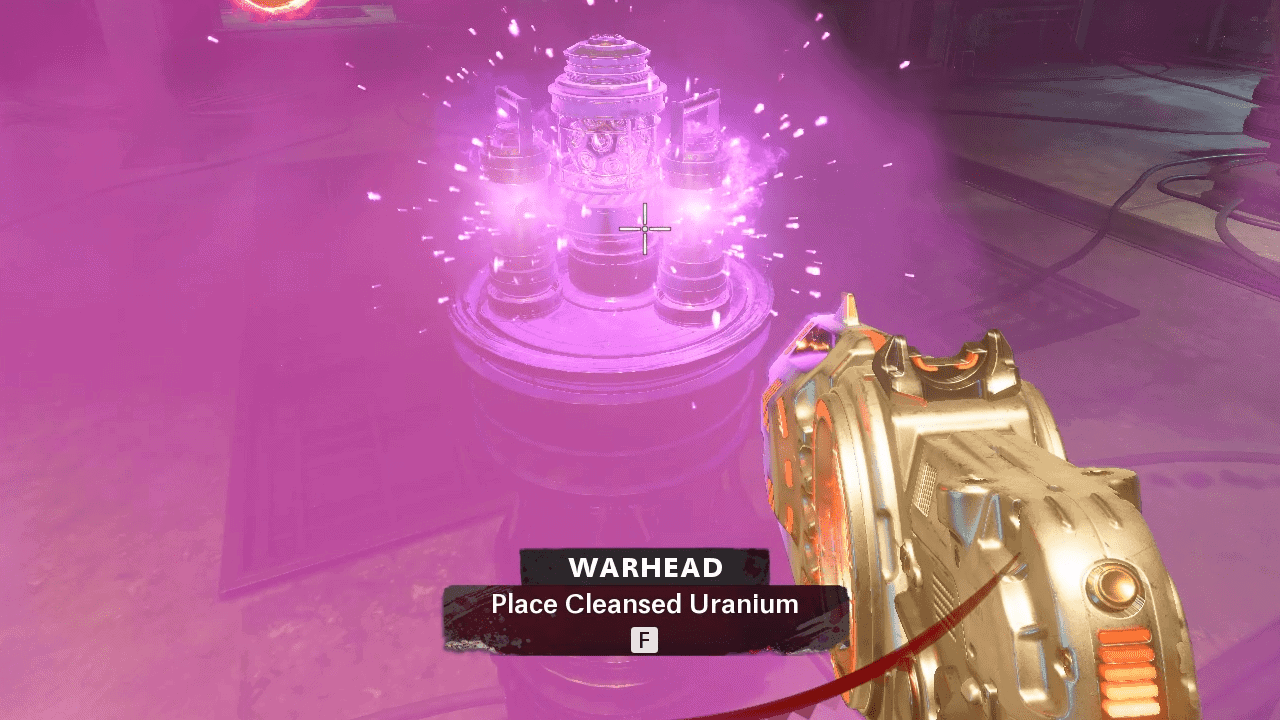
- After you’ve successfully placed the Cleansed Uranium Rock, congratulations! This must be repeated once more, with the Megatons being in a different location.
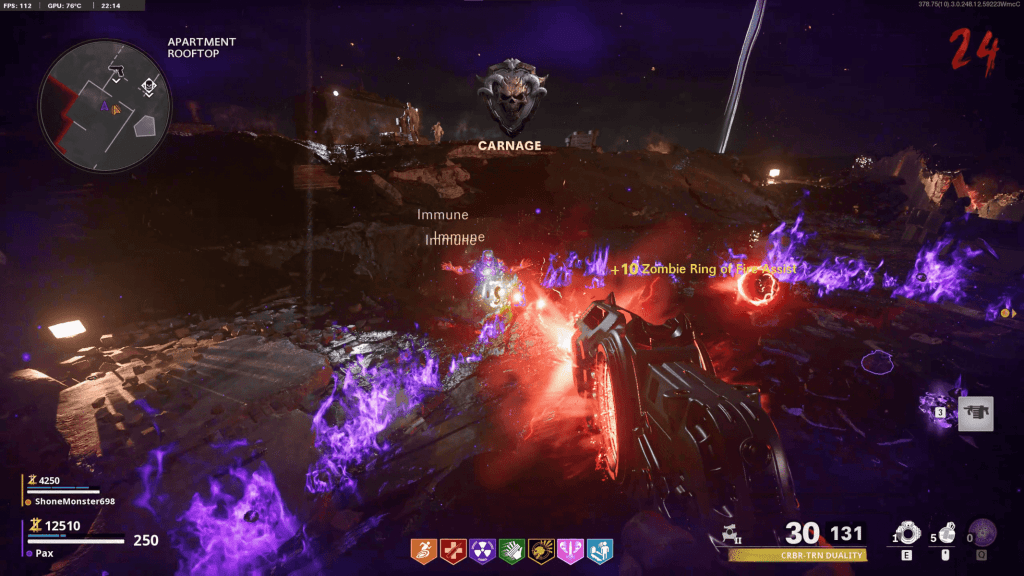
- Head back to the surface and wait 1 round before you will see a beacon of light on the Spawn roof, go to the Spawn Area and kill the Megaton + Mimics that will spawn.
- After killing the Megaton, repeat steps from here.
IMPORTANT NOTE: Do not place the second Cleansed Uranium Rock unless you/your team are fully set up for the bossfight. It will immediately teleport you to the boss and there is no way of getting out of it!
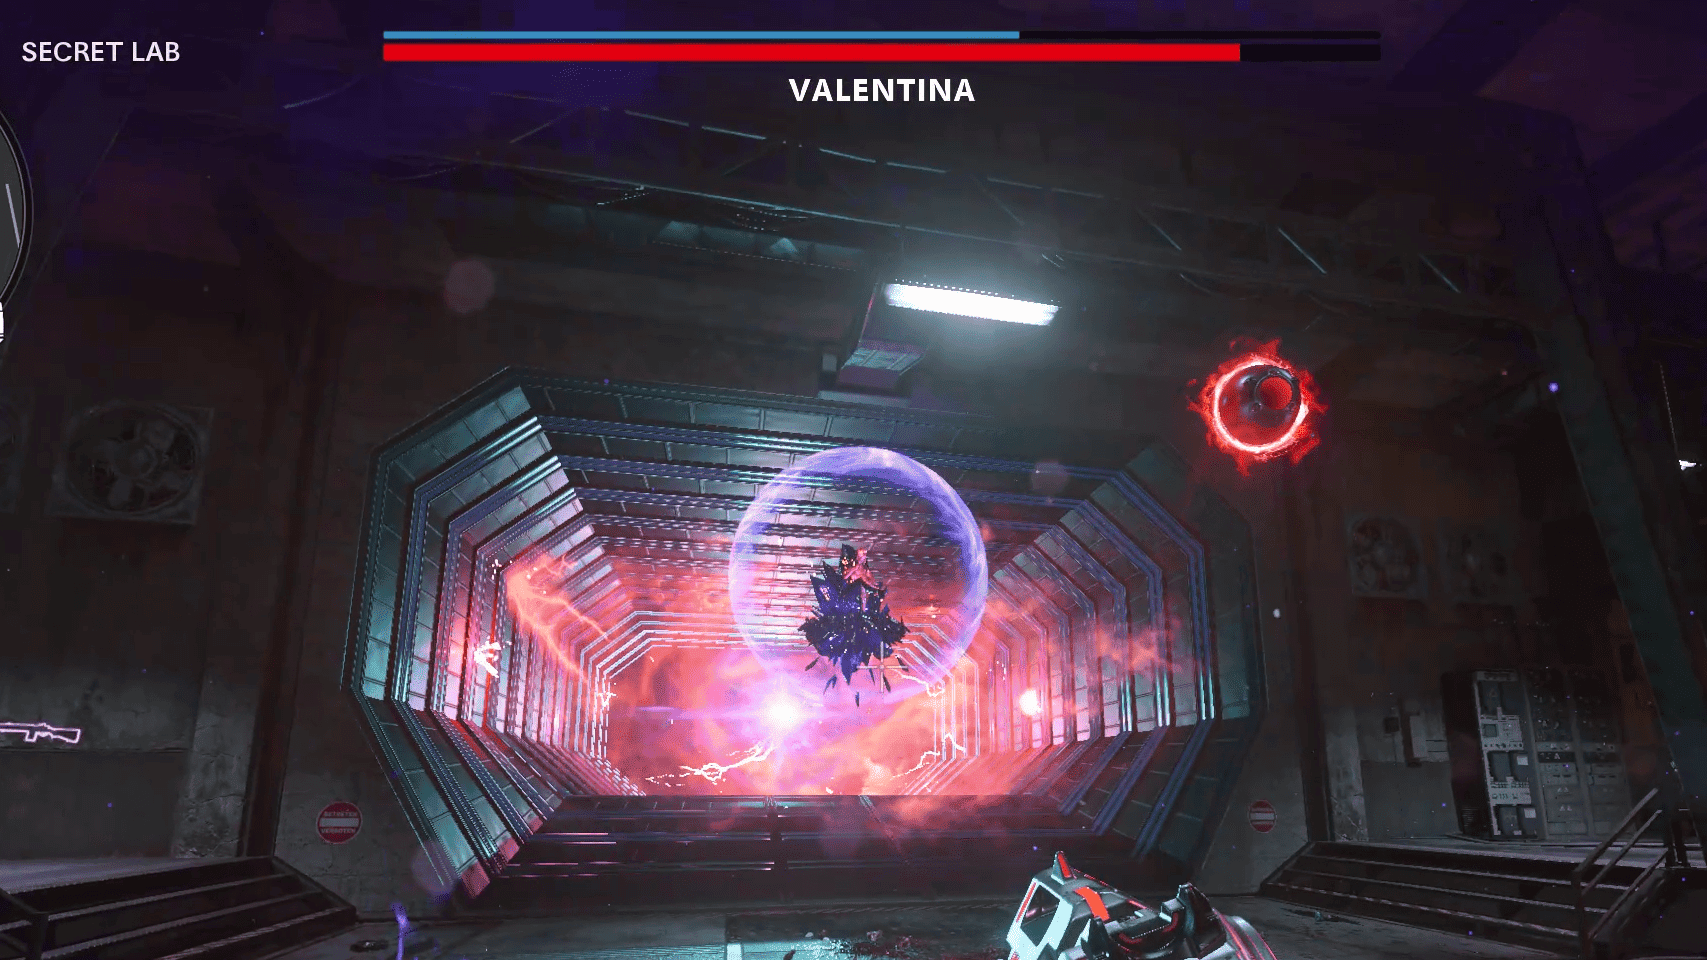
STEP 5 | Boss Fight
- When entering the bossfight you will be greeted by Valentina! She will have a shield around her, keep shooting her until the shield breaks. Once the shield is broken you will notice her health going down. Valentina will now begin her attacks.
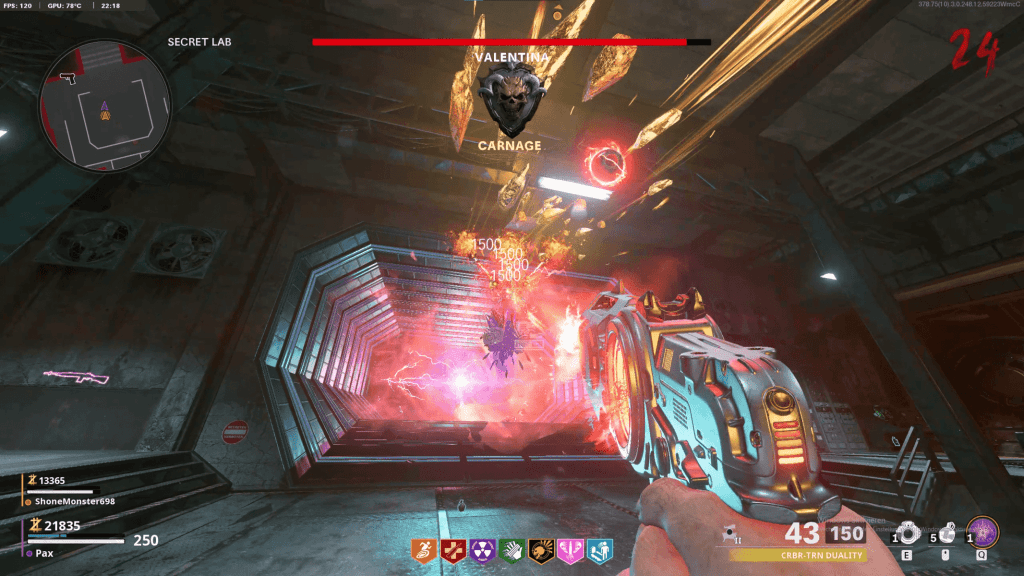
- First Attack: Valentina will spawn 3 zombies above her. Shoot all of the zombies that Valentina summoned above her which will interrupt her attack.
NOTE: You have around 5 to 10 seconds before Valentina can begin her attack.
- Second Attack: She will begin shooting fireballs. Try to avoid taking damage as much as possible.
- Third Attack: A blue effect will appear on your HUD, indicating Valentina is about to begin her insta-down attack. Hide behind an object to avoid getting downed.
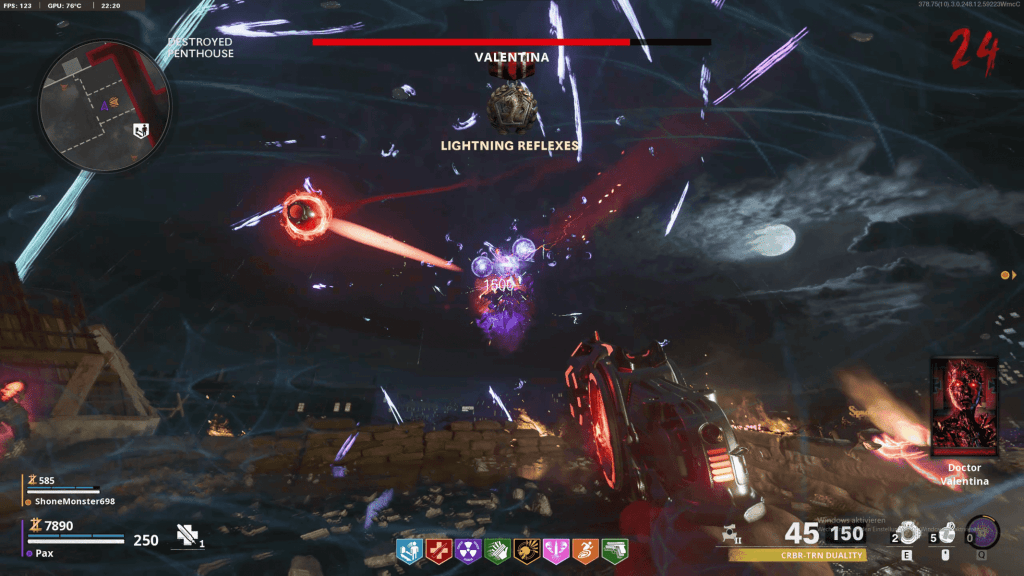
- Once the effect disappears from your screen you’re safe to continue shooting at Valentina.
IMPORTANT: If you do not have a Self-Revive or Quick Revive and don’t hide behind an object you will instantly die and the game will end!
- Keep damaging her and following her to the different locations until you kill her in the Secret Room, then capture her.
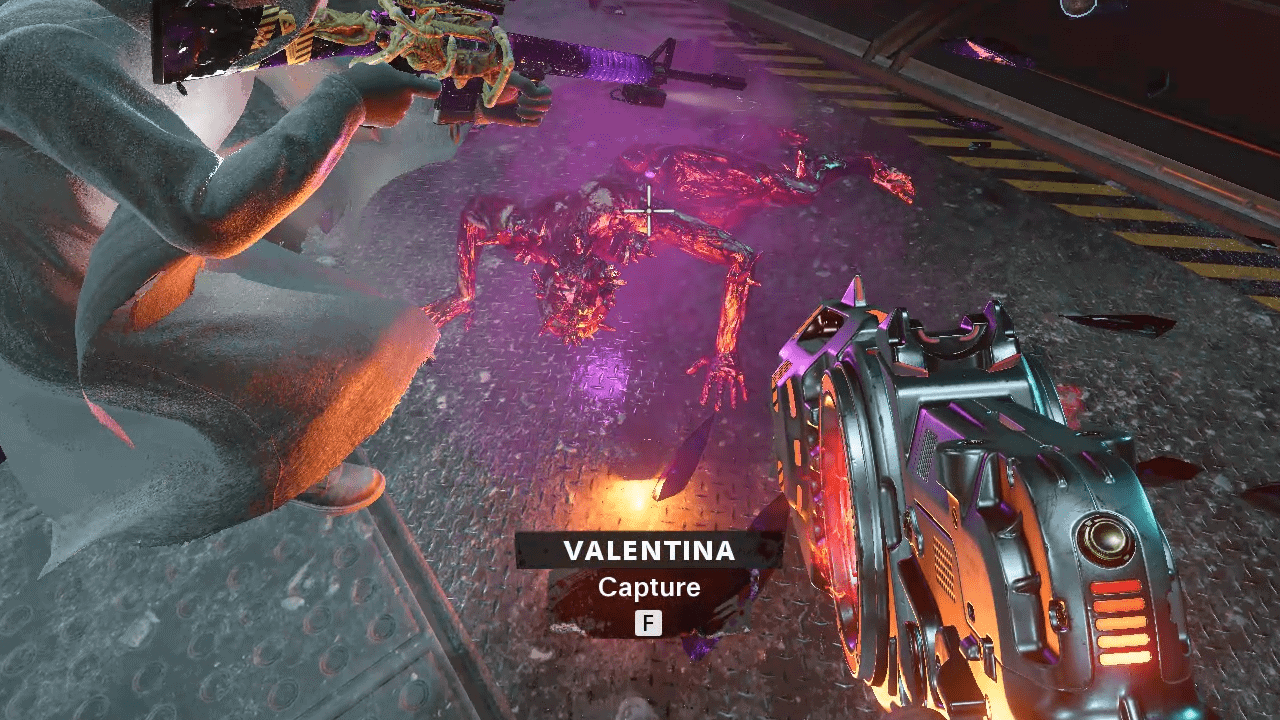
- After the cutscene finishes playing, escort Klaus to the end of the room whilst defending him from zombies, and you have completed the easter egg.
After escorting Klaus into the portal, the ending cutscene will play, Congratulations!
You’ve completed the Mauer Der Toten Easter Egg!

Click the map names below to access our other guides on the Cold War Zombies maps!
- Die Machine Easter Egg
- Firebase Z Easter Egg
- Outbreak Easter Egg 1
- Outbreak Easter Egg 2
- Forsaken Easter Egg
- Super Easter Egg
Stay connected with any new updates as they release on our Twitter, and our YouTube Channel!