


New to Cold War Zombies and want to do the Firebase Z Main Easter Egg? Here’s a guide thanks to DETONATED Writer IronMyTaco!
Go behind enemy lines at OUTPOST 25, to find Maxis, and reconnect with some old friends…
STEP 1 | Turn on the Pack-A-Punch:
- From the spawn room, buy the door next to Quick Revive and run up to the rooftops and follow the path to the teleporter.
- Enter the teleporter to enter the Firebase.
- Once in the Firebase, for the most efficient way, open the door to your left.
- Continue through until you reach the door of “Mission Control”. Below is a path from the teleporter:
MISSION CONTROL:
- Once in “Mission Control”, activate the First Aether Reactor.
- Once activated, you will have to defend two points from the zombies while killing them to charge the reactor. Only a few are allowed to attack it at one time, so once that capacity is reached they will attack you. Just cycle between each point and it should be a walk in the park!
- After completing the First Aether Reactor, you should make a detour and grab the shovel from a bunker nearby (you’ll need this later)!
SHOVEL:
- After obtaining the shovel, follow this path to the “Data Center” and buy the door!
DATA CENTER:
- Once in the “Data Center”, activate the Second Aether Reactor.
- Repeat the same process: Defend the points and kill zombies to charge the reactor.
- Once you’ve completed the Second Aether Reactor, follow this path to “Military Command” Aether Reactor:
MILITARY COMMAND:
- Repeat the same process: Defend the points and kill zombies to charge the reactor.
- After you’ve completed the Final Aether Reactor, return to the spawn room. The Pack-A-Punch will now be available and all power in the map will be turned on!
STEP 2 | TRUTH SERUM
- After you turned on the Pack-A-Punch, go to the next round.
- Dr. Peck will tell you to come see him. Go back to the Firebase and follow this path.
DR. PECK:
- Interact with the window to talk to Dr. Peck. NOTE: Zombies WILL NOT attack you while you speak to anybody during the quest unless you shoot them, so take this time to relax if you wish.
- After the conversation with Peck is over, you must go talk to Ravenov who is located to the right of the Pack-A-Punch machine in the spawn room.
- Ravenov will talk to you about creating a Truth Serum and will give you a keycard needed to open cabinets that hold a vial in each. Once Ravenov gives you the keycard, go to this location to pick up the first vial.
FIRST VIAL:
- Next, you’ll need to return to the Firebase and follow this path to obtain the second vial.
SECOND VIAL:
- Then, follow this path to get the final vial.
FINAL VIAL:
- Next, go to the “Field Hospital” and interact with the Chemical Mixer and mix the vials together. Doing this will spawn a couple of Hellhound enemies, so make sure you take care of them.
CHEMICAL MIXER & AGENT DELIVERY SYSTEM:

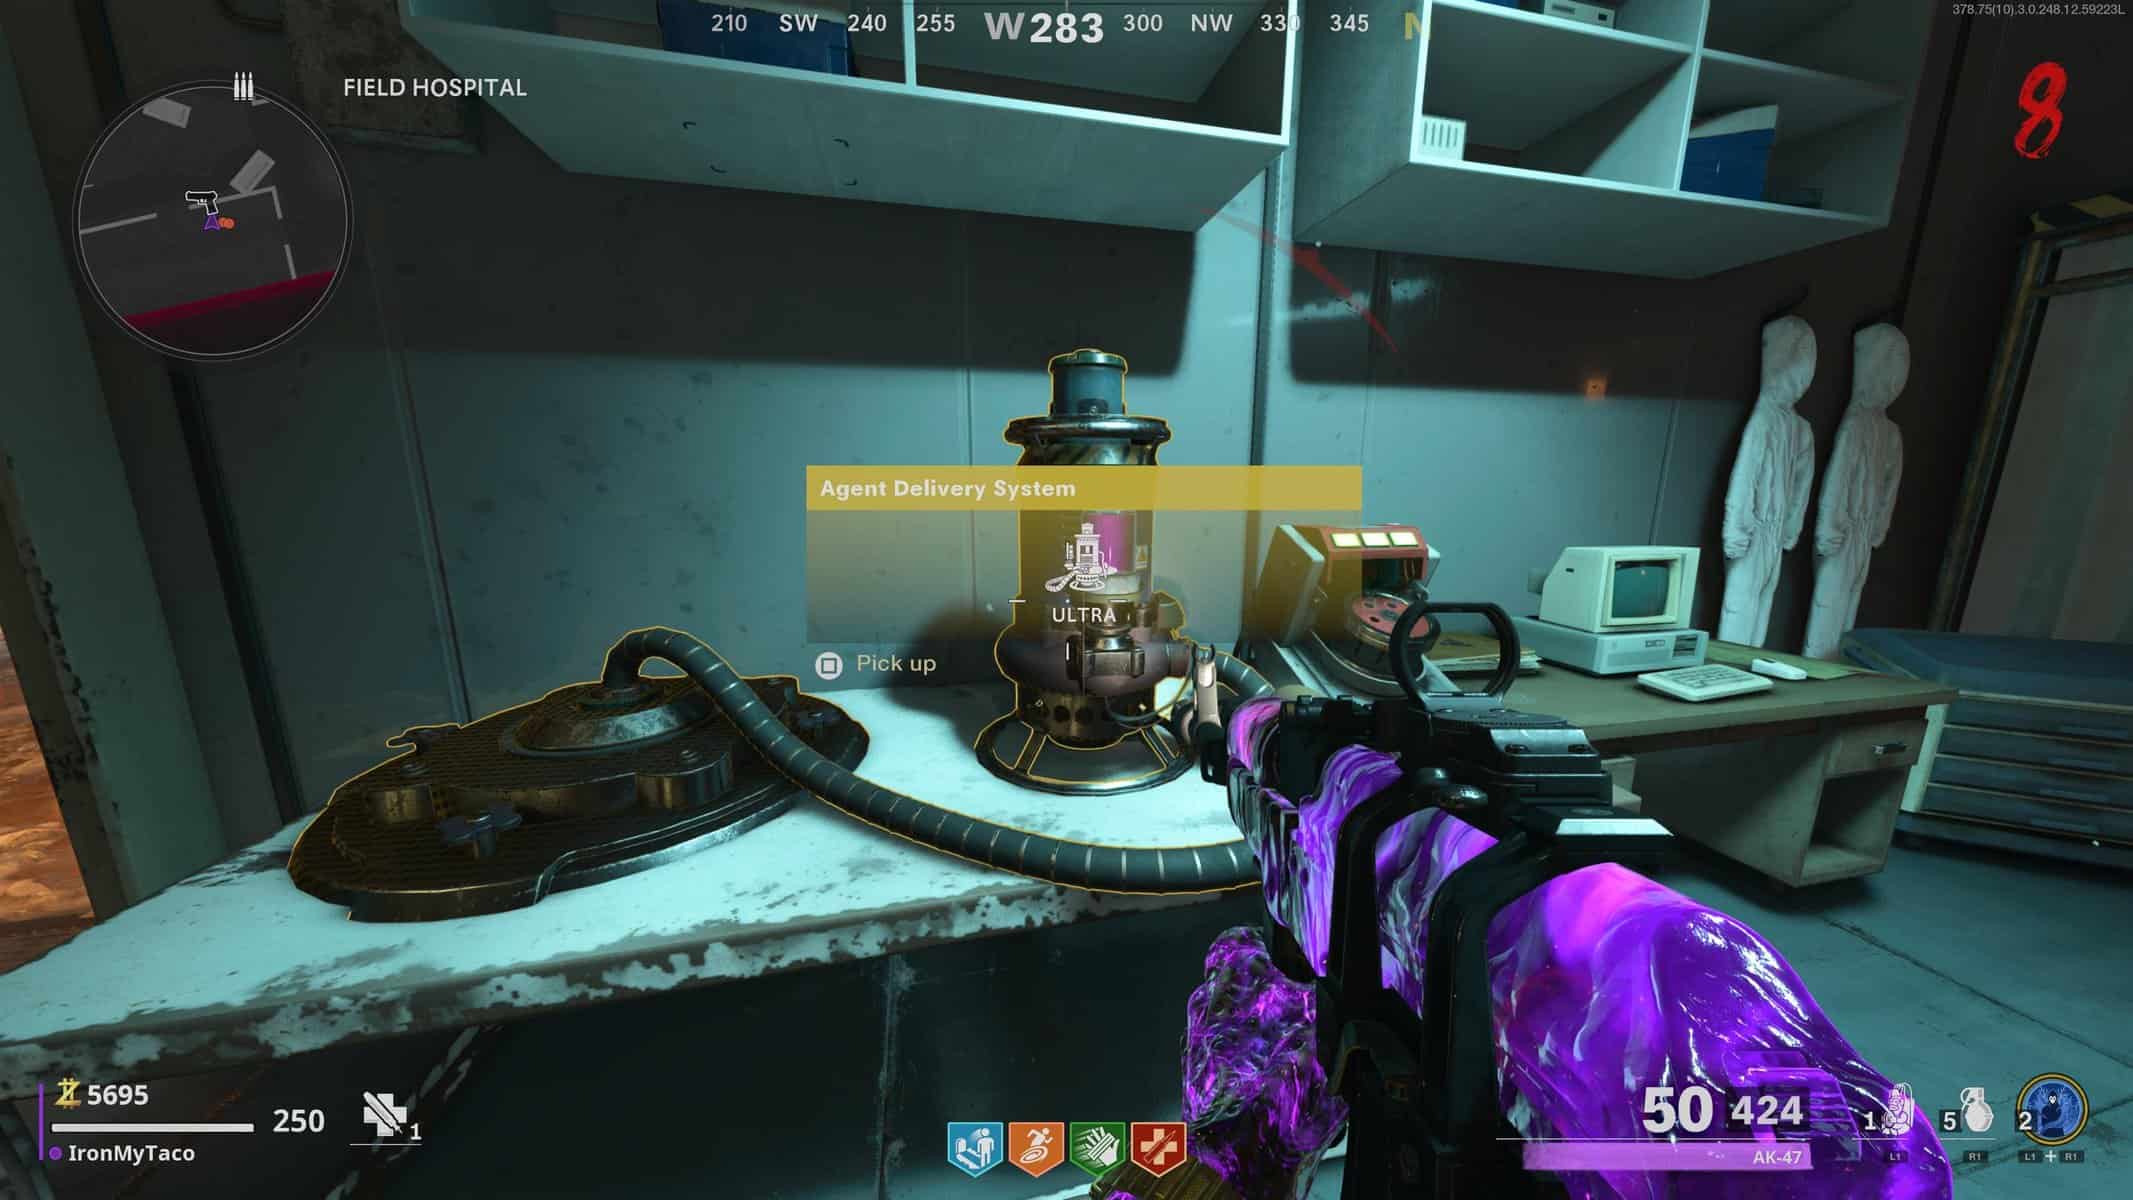
- Once the vials are mixed, pick up the Agent Delivery System and follow this path to the AC unit above Peck.
AC UNIT:
- Place the Agent Delivery System on the AC unit and then go talk to Peck.
STEP 3 | DATA RECOVERY & RAI-K
- After talking to Peck, he will start to dance. At some point during his dance, you’ll have to interact with him again and he’ll tell you to go to the “Data Center”.
- When you get there, at the top floor will be a computer you need to interact with and grab an “Essence Trap” from it. It will replace your tactical slot.
- For this next part, you will be doing two things at once, so pay close attention.
- You will need to find a Mimic enemy in a certain part of the map and capture it in the “Essence Trap”.
- NOTE: You can’t use just ANY Mimic, only specific ones in the specific parts of the map. You’ll know you’re in the right place when you see a bunch of loot on the ground in a place you haven’t been yet in that round, you can’t pick up the loot, and one of the loot drops will turn into a Mimic, the one you want.
where the Mimic can spawn:
MOTORPOOL (FIREBASE):
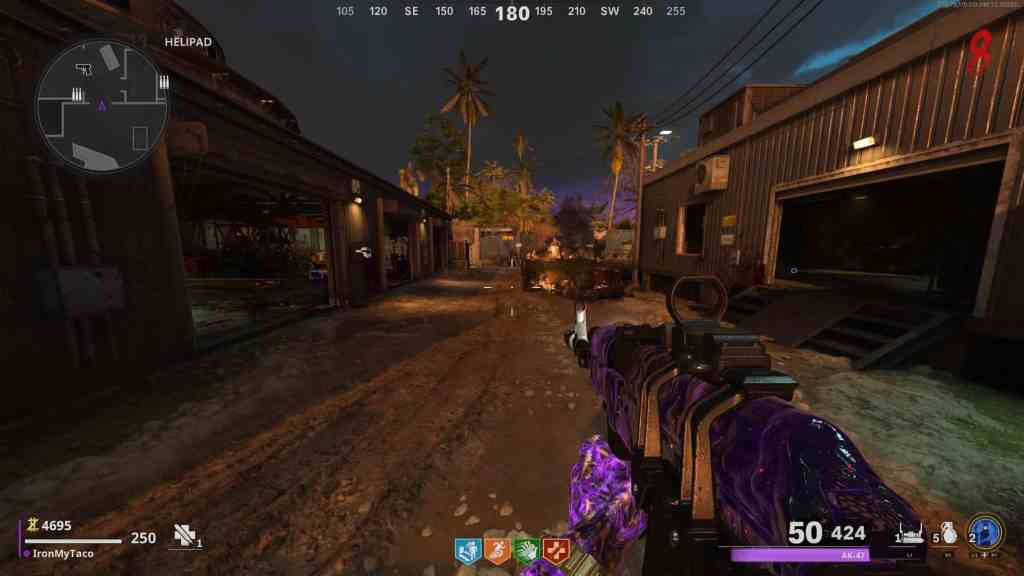
MILITARY COMMAND (FIREBASE):

PECK’S QUARTERS (SPAWN):

- Enable to trap the Mimic, get it to low health.

- Throw and activate the “Essence Trap” underneath the Mimic. If you got its health low enough it should be collected into the trap.
MIMIC TRAP:
- Once the Mimic is trapped, you need to go back to the “Data Center” and deposit the “Essence Trap” back where you got it, and then you need to collect another one in replacement. This part is timed, so make sure you quickly bring the trap back to the computer as soon as you trap the Mimic!
- If you have Subtitles on, the names that will start speaking after you insert the trap will be another giveaway if you got the right one.
- Look out for: Sokolov, Brahms, or Zhabin.
- You have to repeat this process three times, but you can only do one Mimic per round, so after you’ve captured it, it’s best to start getting the Wonder Weapon until the next round.
There are 3 ways to get the Wonder Weapon:
- Complete the Trials to Legendary status (Random)
- Spin the Mystery Box (Random)
- Build the Wonder Weapon (Guaranteed)
RAI-K BUILD:
- Grab this Blueprint poster from the bunker that connects “Data Center” to “Military Command” next to the armory. Below is a path from “Data Center” Aether Reactor to the Blueprint!
- NOTE: You NEED to have the Blueprint before the next step of building the weapon!
BLUEPRINT:
- Grab the Eyeball from the Zombie body near “Mission Control”. Below is a path from “Mission Control” Aether Reactor to the Zombie!
EYEBALL:
- Bring the Eyeball back to where you got the Blueprint, and next to it should be a computer you can now interact with. Once you interact with it, a drawer will open with a key inside that you will need to pick up!
KEY:

- Go to the “Barracks” in front of the “Field Hospital” and open lockers with the key.
BARRACKS:

- Each locker opened will spawn a Mimic you will need to kill and see if it drops the “Barrel Assembly”. Keep opening lockers and killing Mimics until one drops the “Barrel Assembly”.
BARREL ASSEMBLY:

- Next, you will need to kill a Mangler enemy and see if it drops the “Uncharged Power Cell”. Manglers spawn on Round 15 and up.
- NOTE: The first Mangler you kill may not drop the part you need. If it doesn’t, kill more until it does.
MANGLER:
UNCHARGED POWER CELL:

- Return to the bunker where you got the Blueprint and the Key and place the “Uncharged Power Cell” on the charger. You will now need to go through a full round before you can pick it up.
CHARGER:

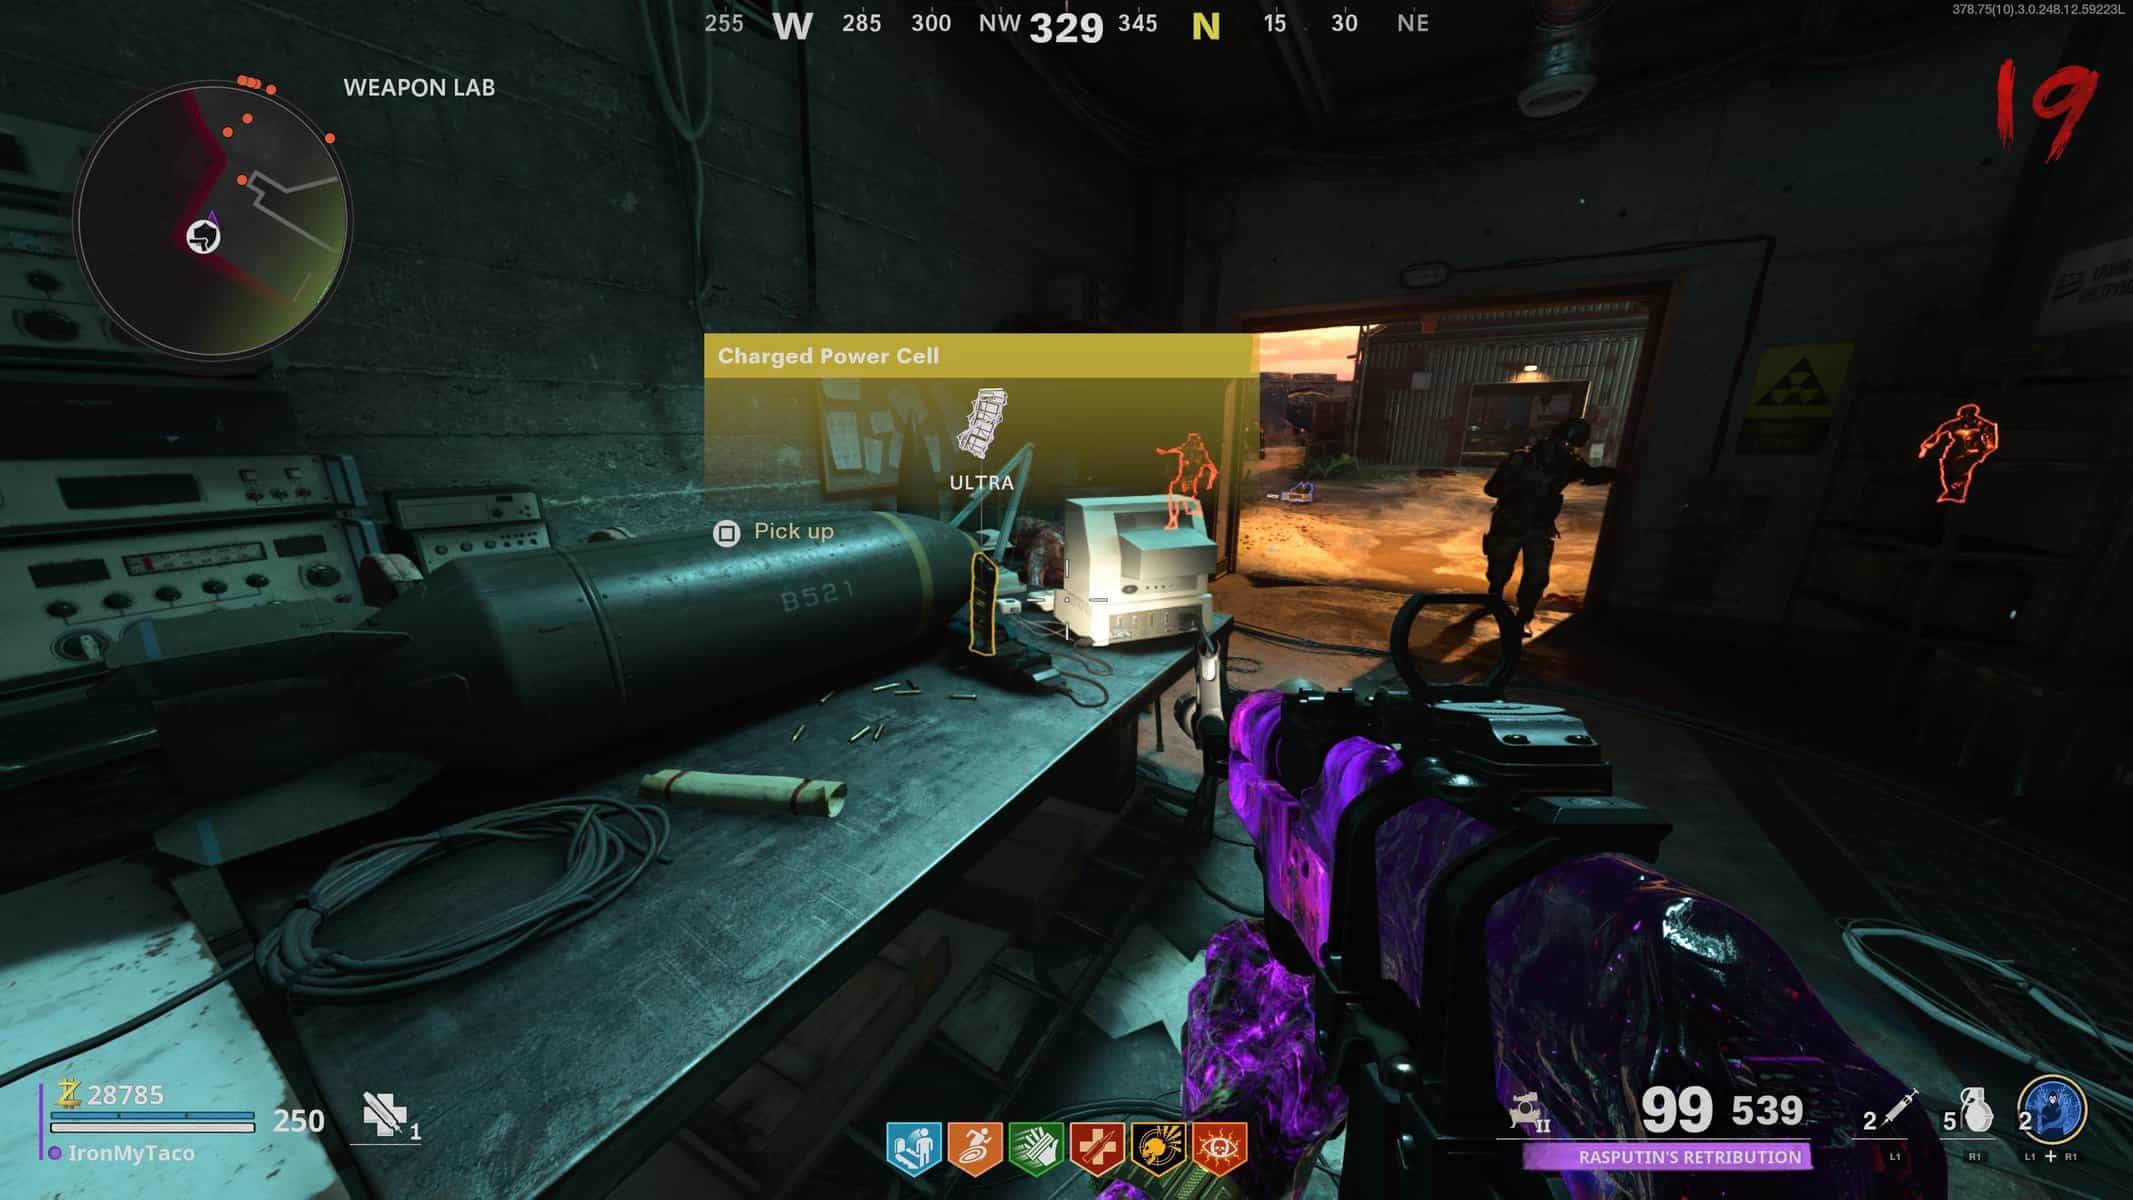
- After you pick up the Power Cell, go back to the computer and interact with it. This next part can be tricky so be careful.
- The screen will show a pie chart and a piece will go around the chart one-by-one. This correlates to a dart-board in the spawn and you will need to watch where the piece stops and match that to the dart-board, and shoot that piece on the dart-board. Below is an example:
DART-BOARD:
- After shooting the right spots, shoot the middle and the dart-board should open. The “Aetherium Converter” should drop on the ground.
- Finally, return to where you got the Blueprint and build the Rai K-84 Wonder Weapon on the table. After that, you can pick it up!
WORKBENCH:


ENTER THE CODES:
- Once you’ve collected the three Mimics, a Floppy Disk will eject from the computer. You will need to take it to this terminal in the “Planning Offices”.
TERMINAL:
- Interact with the terminal to insert the Floppy Disk, and go to the OPC room that was previously locked.
OPC:
- Once you enter, an anomaly will spawn.
STEP 4 | AETHERIUM CANISTERS
- Weaver will tell you to go speak to Peck.
- After speaking with Peck, he will tell you about the Aetherium Canisters. To the left of his window his a locker you can unlock after Ravenov gives you the code.
LOCKER:

- Open the locker and grab the “Aethermeter” that comes out!
AETHERMETER:

- There are going to be three Aetherium Canisters you can get. Obtain them in ANY order.
- NOTE: If you didn’t grab the shovel earlier, or build the Rai K-84 Wonder Weapon, now is your time to get them since you can’t do the next part without them!
HIDDEN MIMIC CANISTER:
- Go to the front of the “Planning Office”.
- Go into this corner and interact with it to dig.
“PLANNING OFFICES” DIG:
- There will be a bunch of Aetherium Canisters that spawn, but only one of them is real! The rest are Mimics in disguise!
- To find the real Aetherium Canister, look closely at the inside of the Canister and find the one that has ONLY WHITE dots flowing through it. Be careful not to interact with the Canisters WITH BLACK DOTS for those are the Mimics. Use a Sniper Rifle if you have to!
- Here’s an example of the WRONG Aether Canister:

- Here’s an example of the RIGHT Aether Canister:

- Once you’ve found the right Canister, interact with it to pick it up!
TELEPORTING CANISTER:
- Go to the stairs at the “Barracks” leading up to “Data Center”.
- Go to this corner to find where you need to dig up the Aetherium Canister, but don’t immediately dig it up!
“BARRACKS” DIG:
- Using the Rai K-84 Wonder Weapon, change the firing mode to it’s secondary function and shoot the ground where you dig up the Canister.
- As soon as you shoot it, dig up the Canister and you should be able to easily pick it up!
IF YOU FAIL TO PICK UP THE CANISTER:
- It will teleport away, but it will ONLY stay in the “Barracks”, so just move slowly around there and keep your distance.
- Once you’ve found the canister, shoot it with the secondary firing mode of the Rai K-84 and then quickly go pick it up!
JUNGLE DEFENSE CANISTER:
- Go to the “Military Command” Aether Reactor.
- Once there, follow this path to the dig site of the Aetherium Canister:
“MILITARY COMMAND” DIG:
- NOTE: Before digging up the Canister, make sure you have all the gear you need like Perks, Pack-A-Punched weapons, Full Armor, etc. because you’re about to be in a standoff with hordes of zombies!
- Once you’re ready, dig up the Canister and survive the lockdown.
- You CANNOT leave the area you’re confined to or else you’ll take damage and fail this part and will have to do it again. Just stay calm and kill EVERYTHING.
- Once the lockdown is complete, pick up the Canister!
CHARGE THE CANISTERS:
- Once you’ve collected all of the Aetherium Canisters, you have to go around to every Aether Reactor and interact with them to charge one Canister. You can only charge one Canister per Reactor, so make sure you go to EVERY Reactor.
- After you’ve charged the Canisters, go back to the OPC.
- The OPC will overload, and Peck will have tricked you. Go back down to visit Peck and wait for the conversation between Weaver and Requiem to finish.
MOVE THE SATELLITE DISHES:
- Once the conversation is over, go to the “Planning Offices” and find this TV screen.
SATELLITE TV:

- Here you will need to move the dot on the screen to the other dots using the respective input for your respective platform and find the Satellite that has a Question Mark as it’s flag.
- Here’s an example:
“REQUIEM” FLAG:

- Once you’ve found it, accept the input.
LAST STEP | BOSS FIGHT
- NOTE: Get whatever else you need to move on. Perks, Pack-A-Punch, Self Revive, Ring of Fire Field Upgrade, and Scorestreaks are highly recommended for this next and final part!
- After you’ve moved the Satellite Dishes, a beam will connect to each.
- Go back into the OPC and interact with this terminal.

- There will be a cutscene that will play. Once it’s over it’s time to fight the boss, Orda.

ORDA ATTACKS:
- Orda will stay in one place, but can shoot projectiles at you and smash its hand to squash you. There will also be Zombies, Mimics, Hellhounds, and Manglers that can spawn.
HOW TO DEFEAT ORDA:
- Your goal is to shoot Orda until it’s dead. Just train the Zombies around and shoot Orda whenever you get an open chance. If you have the Ring of Fire Field Upgrade equipped, use it once you’ve killed off your train of Zombies. Scorestreaks can do the trick too!
THE END!
Once you’ve done enough damage and you’ve killed Orda. Congratulations! You’ve. completed the Firebase Z Easter Egg Quest! If this guide was of help be sure to share it around!
Click the map names below to access our other guides on the Cold War Zombies maps!
- Die Machine Easter Egg
- Outbreak Easter Egg 1
- Outbreak Easter Egg 2
- Mauer Der Toten Easter Egg
- Forsaken Easter Egg
- Super Easter Egg
Stay connected with any new updates as they release on our Twitter, and our YouTube Channel!