


Welcome to the Party here in Call of Duty: Black Ops 7 Zombies! Ashes of the Damned has rolled onto the field, & it’s bringing an entire, brand-new main quest with it. For the largest Round-Based map in Black Ops Zombies history, Ashes of the Damned is shaping up to be generational experience for players in Black Ops 7 Zombies. In today’s guide, we’re going to go over the entire Ashes of the Damned Main Quest, including steps, the boss fight, & rewards here in BO7 Zombies. Here’s what you need to know:
Main Quest Steps
Listed below will be the steps to completing the Main Quest for Ashes of the Damned. Buckle up for a wild ride!
Step 1 – Power Up & Upgrade Ol’ Tessie
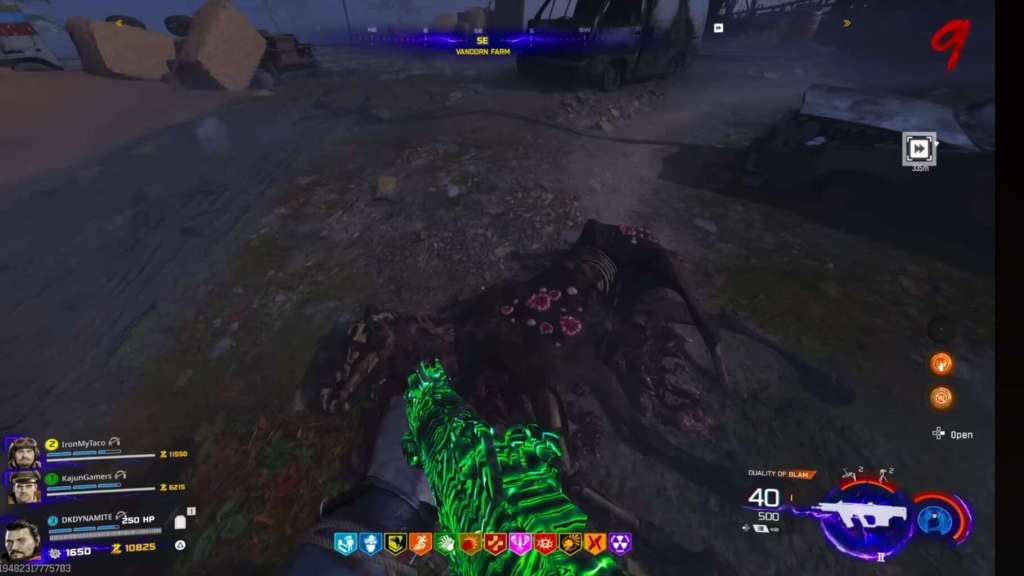
Your first goal of business is to power up Ol’ Tessie. She’s your means of transportation here in Ashes of the Damned. Firstly, you’ll want to find his head in the server room at Janus Towers (where you spawn). Find him, connect him to the vehicle outside, & make your way to Vandorn Farm. Once there, you’ll want to clear off the spores to boot up the power generator.
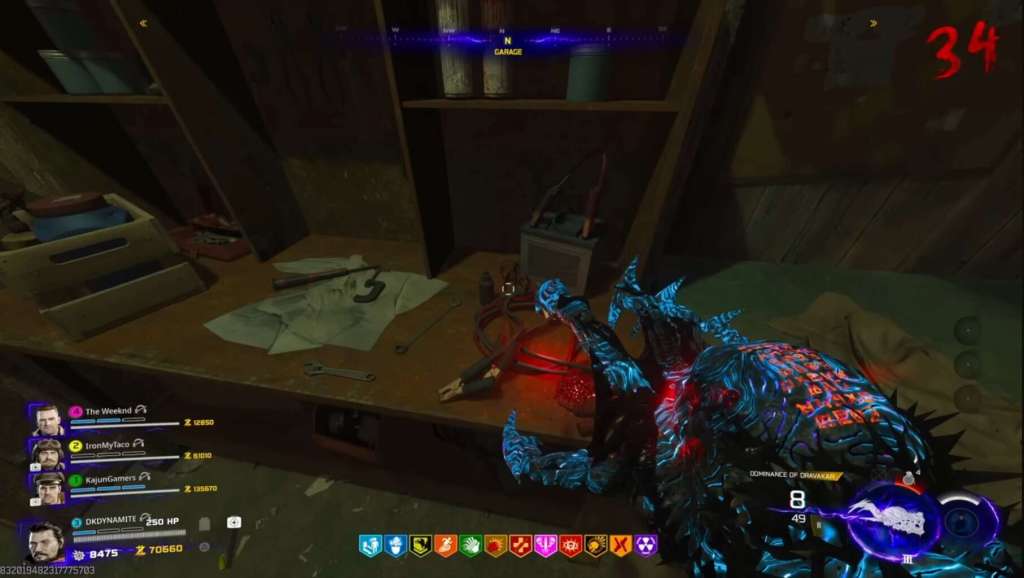
After completion, head through the fog & over to Ashewood. After arriving, find the power generator & repeat the process as you did with farm. After clearing the spores & restarting the generator, head lower down to the garage & grab the part off the workbench. Once obtained, install it onto the back of Ol’ Tessie. You now have access to not only a thruster for Ol’ Tessie, but the Pack-a-Punch as well.
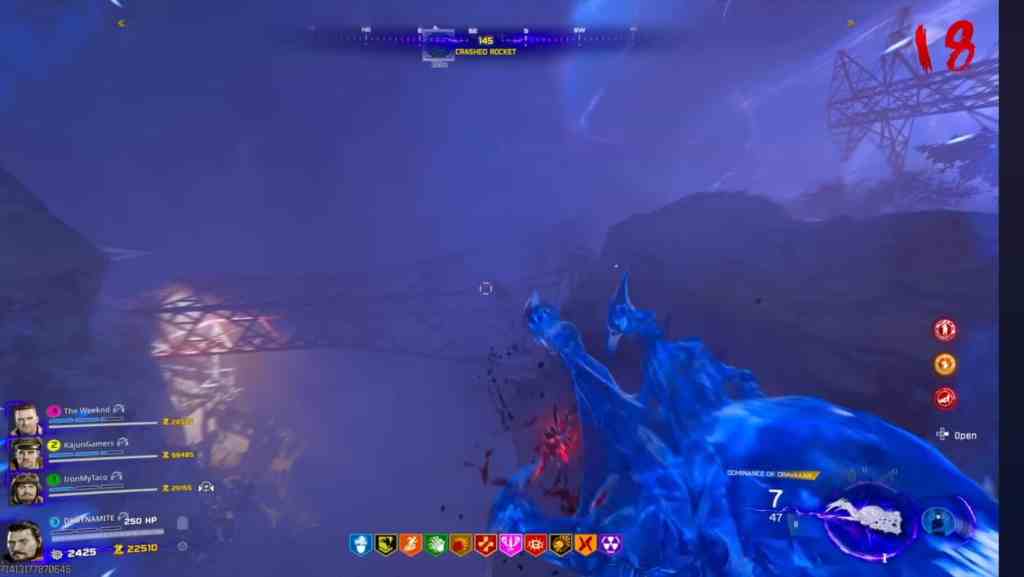
Step 2 – Obtain The Necrofluid Gauntlet
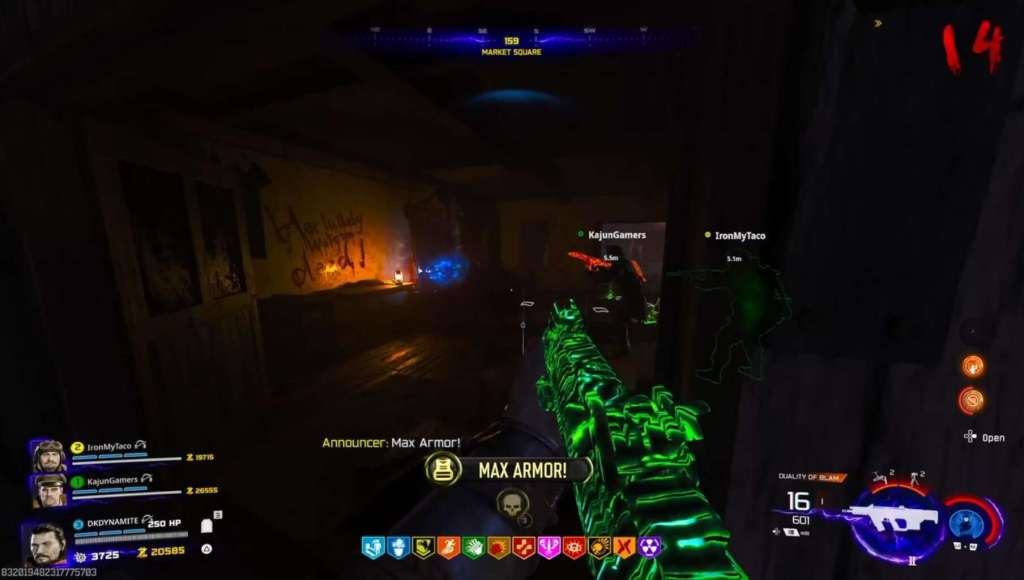
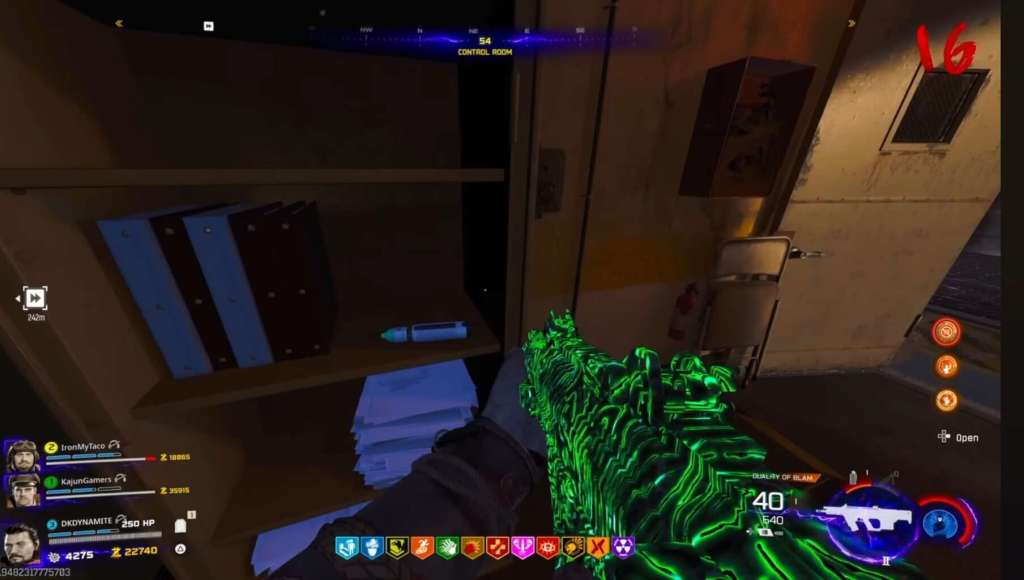
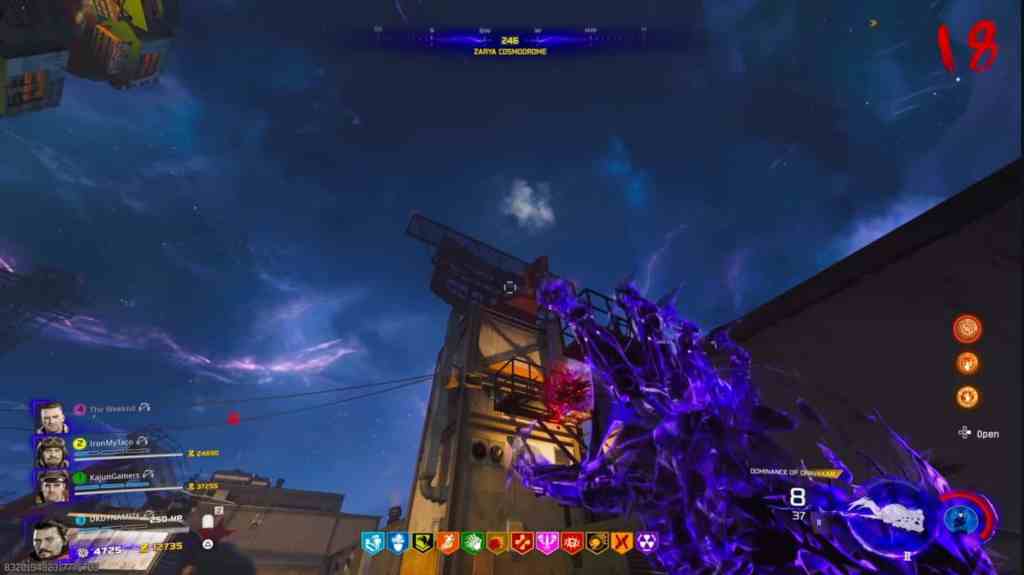
It’s worth noting that you can complete later Easter Egg steps in any particular order, granting that they’re on the round required to complete them. Players will need to unlock the map’s wonder weapon before proceeding any further. First, wait until round 8 before walking past a shipping container in the Janus Reception area.
Killing the Uber Klaus will drop a keycard, which can reboot the system in Ashwood’s sheriff office. You’ll then need to throw three stun grenades at Klaus to wake him up. Head to the cosmodrome and use the Klaus controller to lead him to a broken panel under the rocket. Interact with the panel after Klaus does then stand in a red circle as a scanner initiates a lockdown.
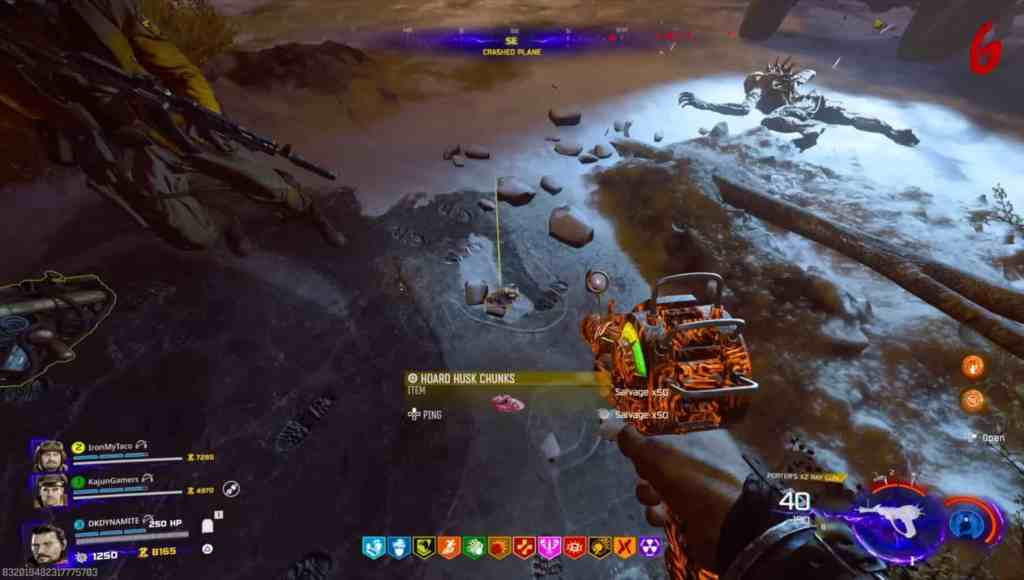
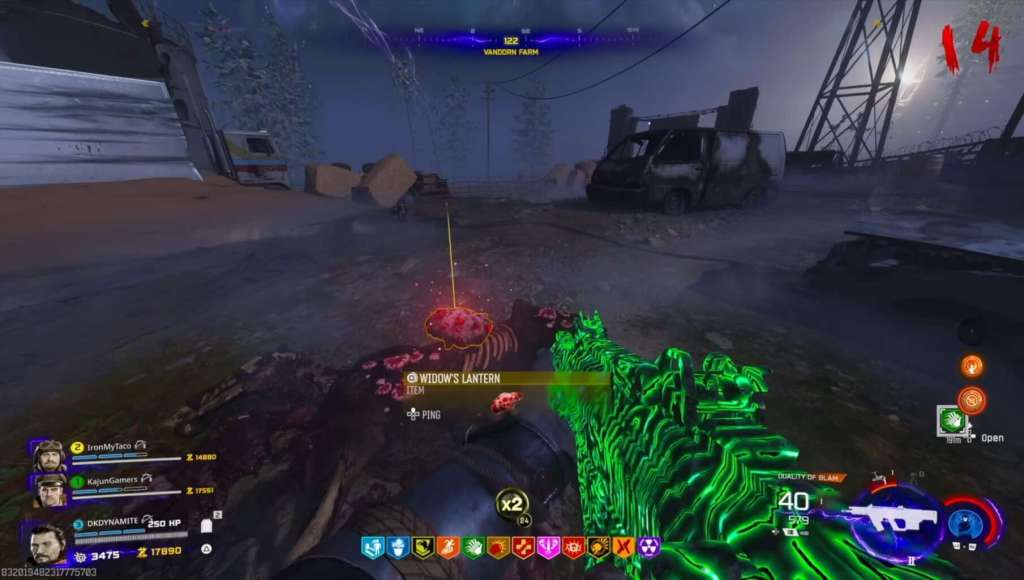
Pick up the canister and avoid using jump pads while heading to the three power generators around the map. Players will be timed to get to each of these generators after performing a mini lockdown. Driving Ol Tessie to Ashwood, Blacklake and Farm is a MUST.
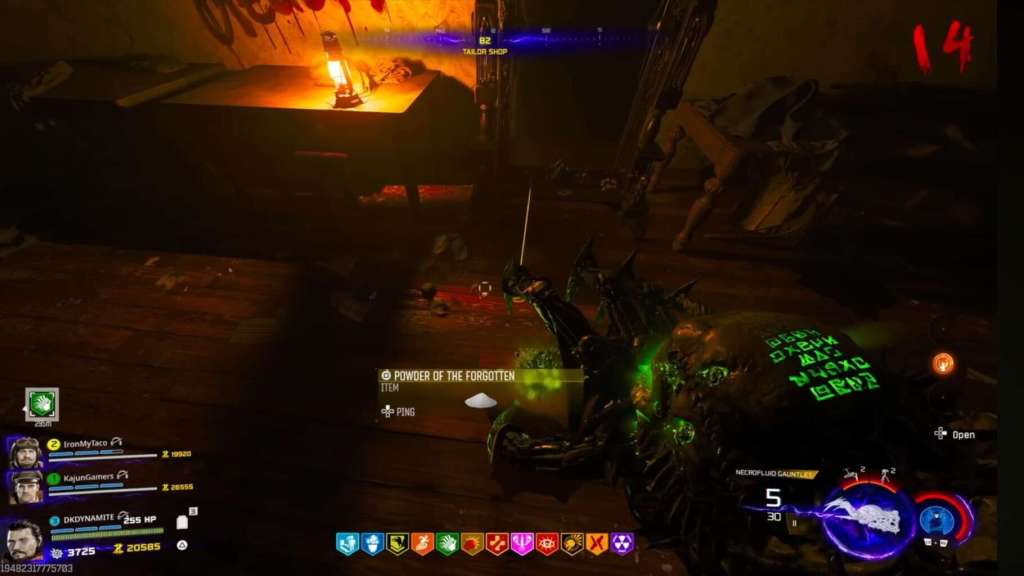
After finishing the lockdown at farm, place the canister in the box underground, where you’ll then need to look at three symbols after using the jump pad to the Janus Reception and then back. These three symbols can then be selected on the box which will offer players the Ncrofluid Gauntlet. You’ll then need to shoot each orb that spawns and retract the shot before being able to leave this room.
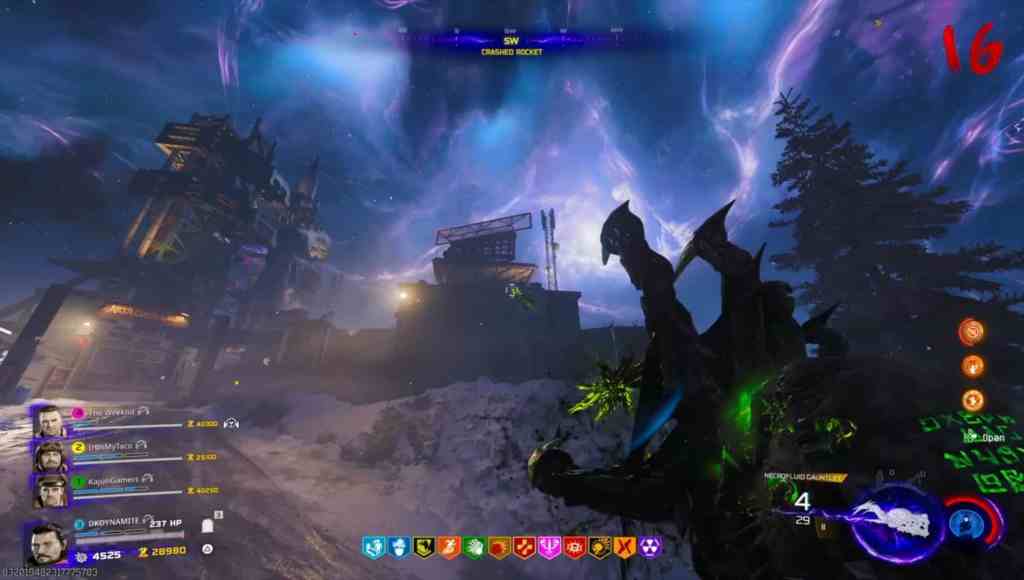
Step 3 – Install Ol Tessie’s Abomination Beam

Something that could’ve been worked on while obtaining the map’s wonder weapon is locating a freezer key by killing a specific zombie in Exit 115. After the key is obtained, open up the freezer to find the Abomination carcass which can be brought to the garage in ashwood.
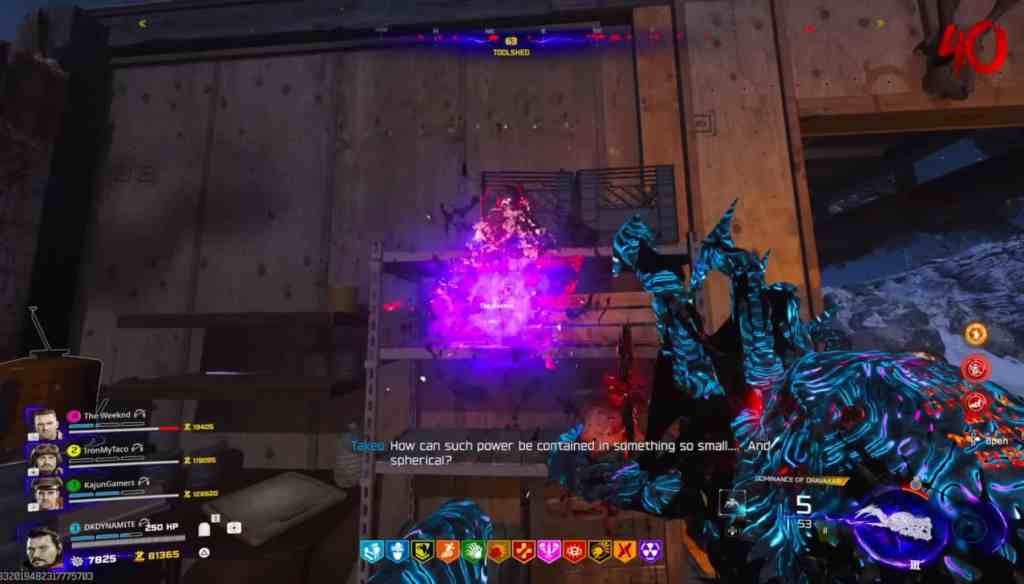
Step 4 – Collect All Serum Ingredients
This next step can be worked on in just about any order, and can be kicked off while players are also working on the wonder weapon quest. Players will need to collect seven hidden ingredients hidden all around the map. In no particular order, excluding the time gated or wonder weapon required parts, the locations are:
- Powder: Activate wisp tea near a mirror in Ashwood. Once an image is revealed, shoot the mirror with the Necrofluid to collect the powder.
- Eyes: Kill any ravager using a saw blade. These traps are located in several points of interest.
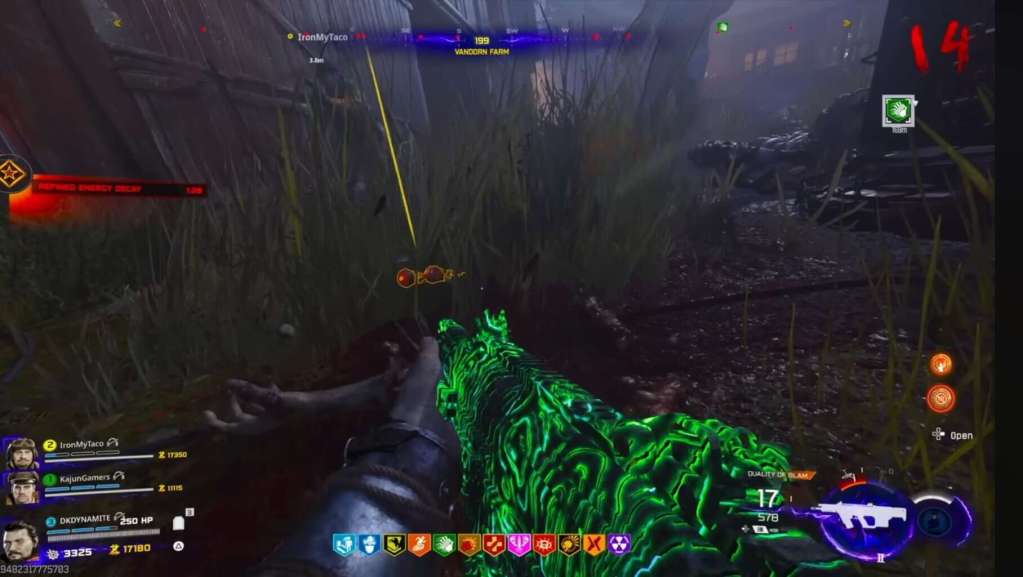
- Flesh Chunk: In between major POIs and within the fog, you’ll find large purple plant that can be destroyed only when using the Ol Tessie’s abomination beam.
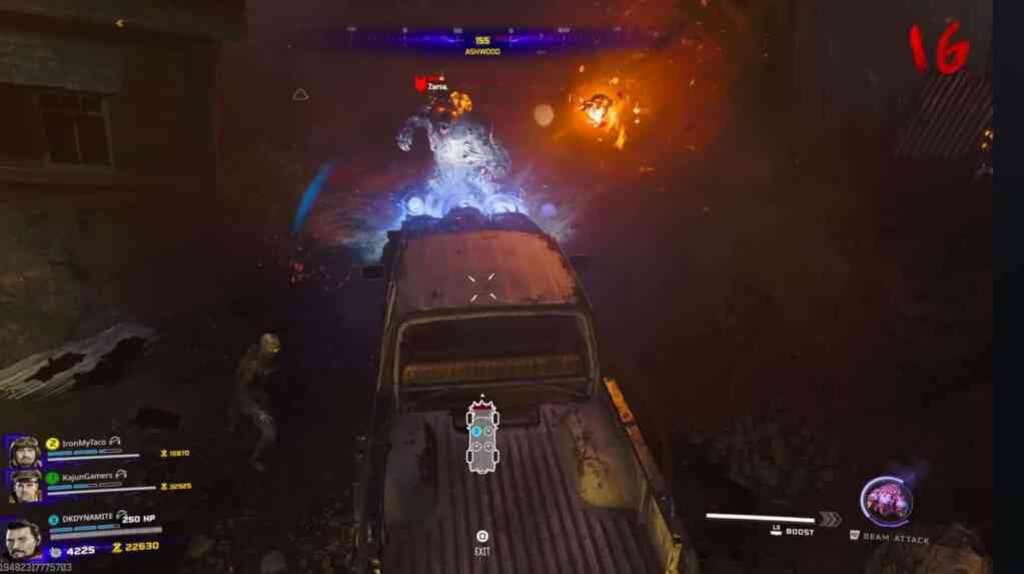
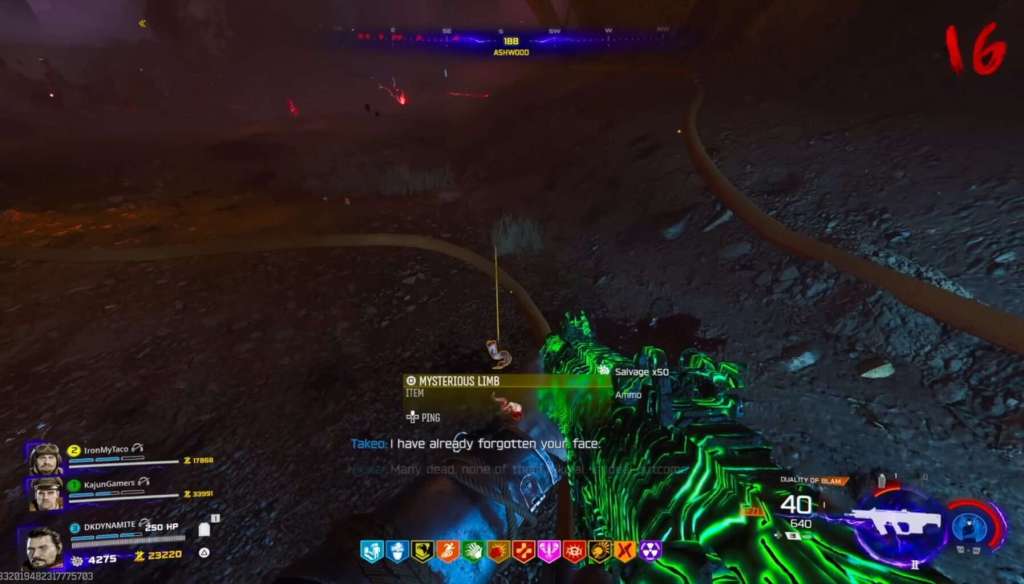
- Limb: Kill a Zursa bear with Ol Tessie’s laser beam. Bears spawn on Round 16.
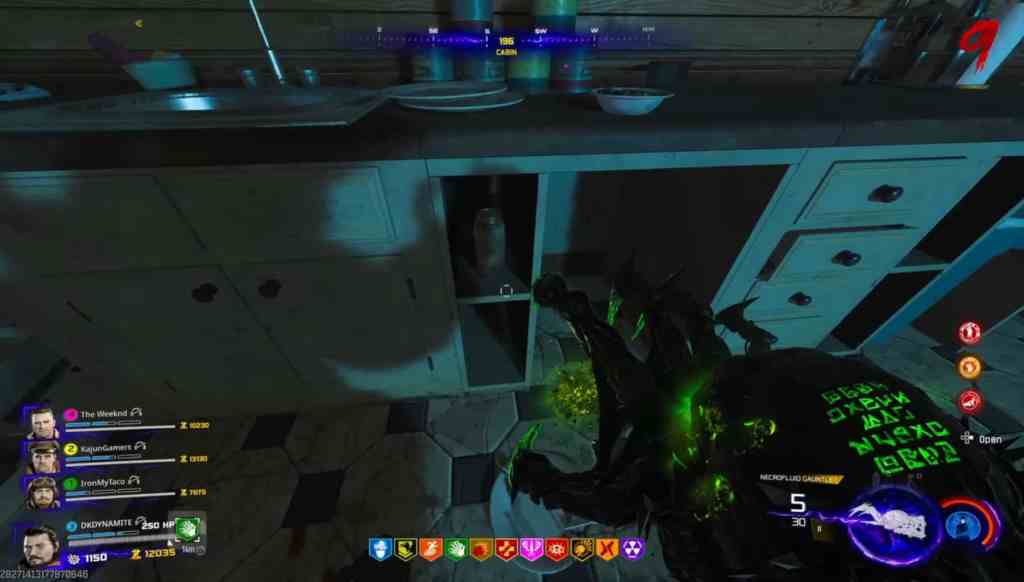
- Fungi: Pick up at a jar inside of the Blackwater cabin kitchen located on a bottom shelf. Bring this jar to a dead horse outside of the farm. Once placed, players will need to wait 3 rounds before the fungi is ready to claim.
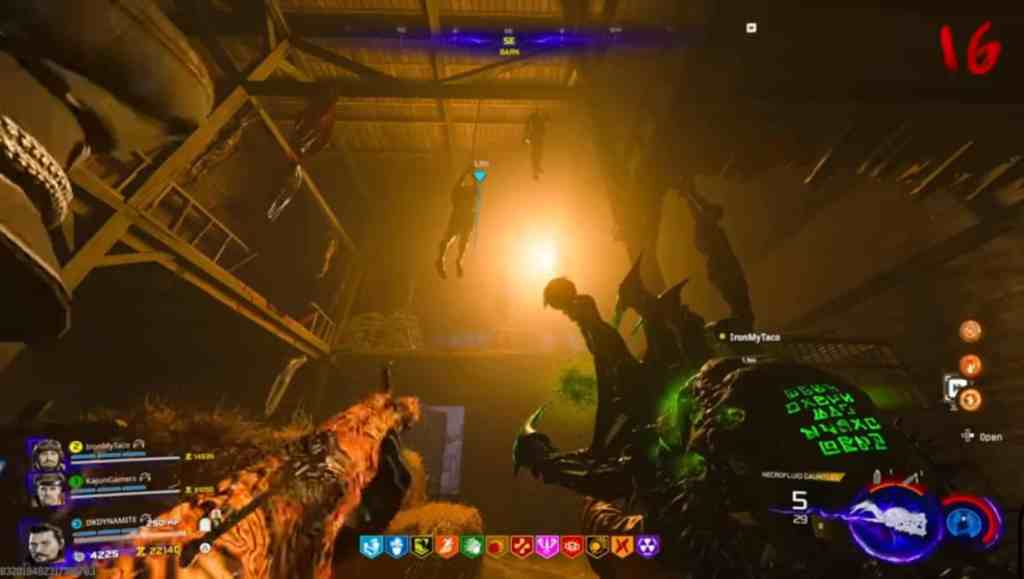
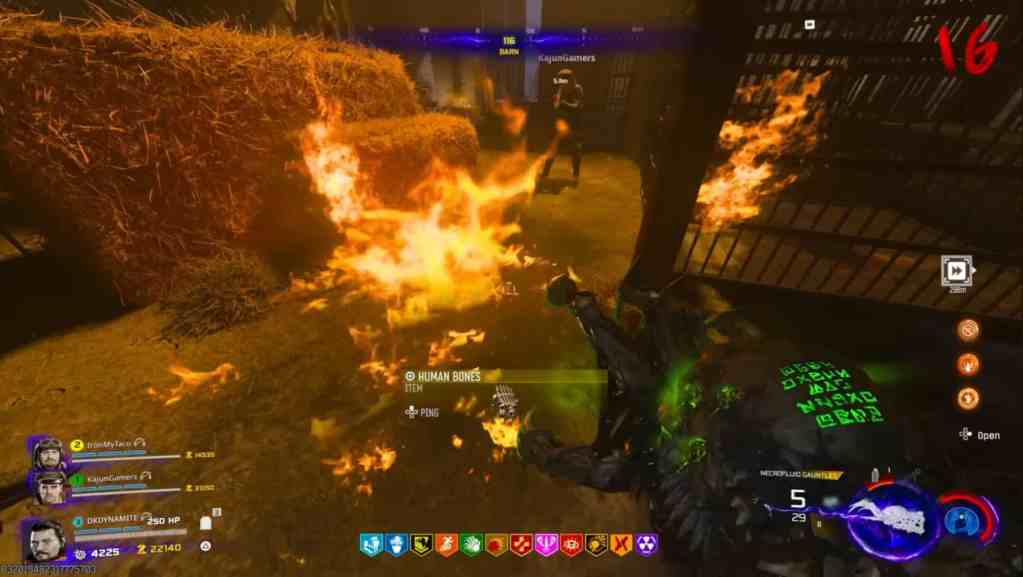
- Bone: Use a tomahawk to cut off a zombie’s ankle in the middle of the barn. You’ll then need to throw a molotov to burn the ankle down to it’s bones.
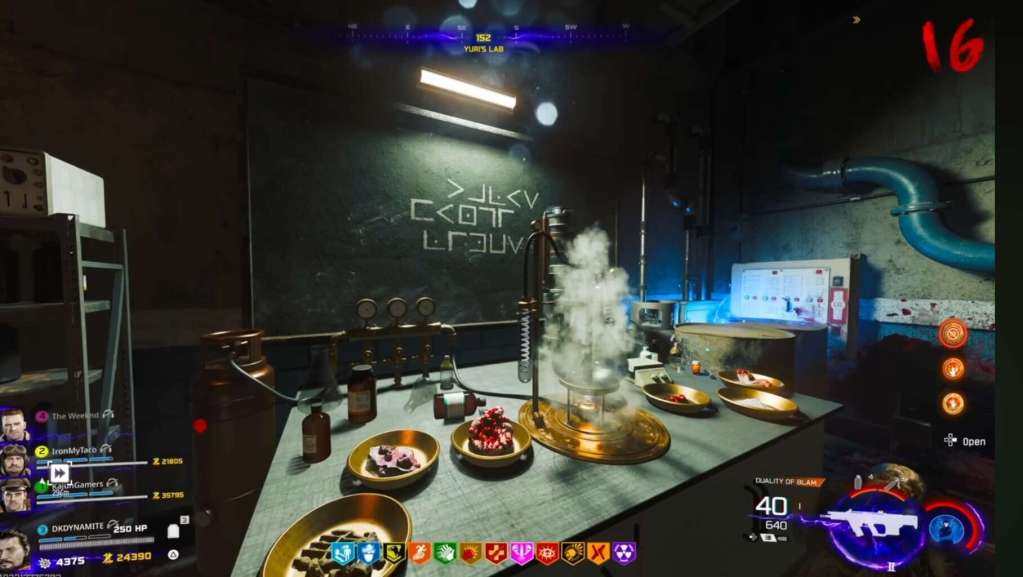
- Syringe: Pick up a syringe located in the radio room at the cosmodrome and then open up Yuri’s lab just nearby.
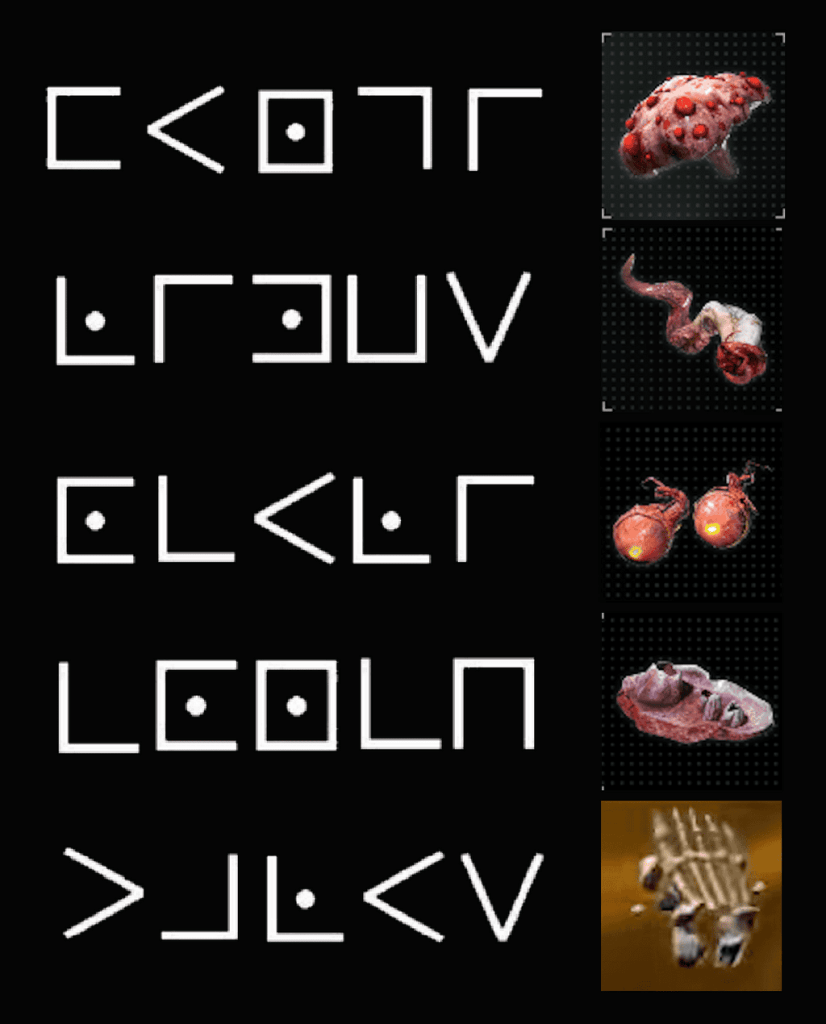
Completing the pigpen cipher
After placing all ingredients on the table, a pigpen cipher will be written on the board above them. Simply use this visual guide to know what each code represents. Each code correpends to an ingredient that needs to be interacted with in the order of the code.
After hitting just three ingredients in the correct order, one player needs to offer blood on the table which will trigger a lockdown. This player will no longer have health regeneration during the duration of the lockdown.
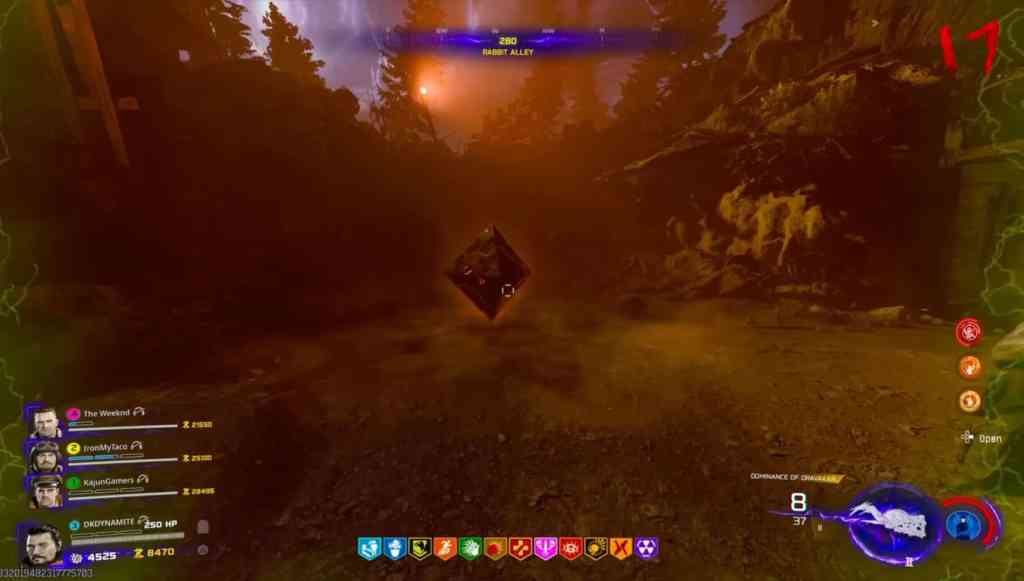
Step 5 – Finding The Colored Keys
You’ll now notice a mysterious cube that can be found at Ashwood. Three different colored keys can be used to open this cube, which are found in three distinct locations. Currently known spawns include:
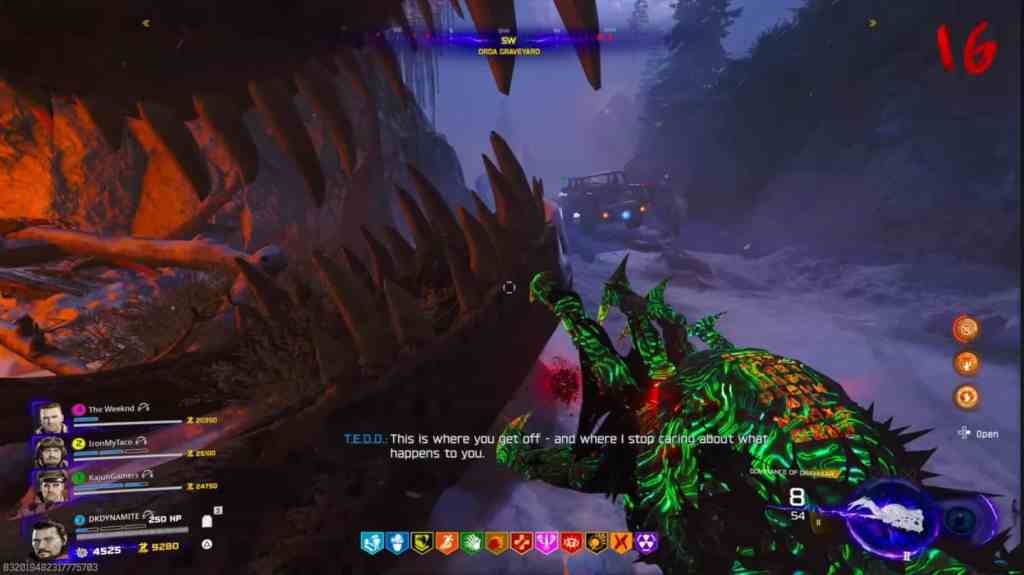
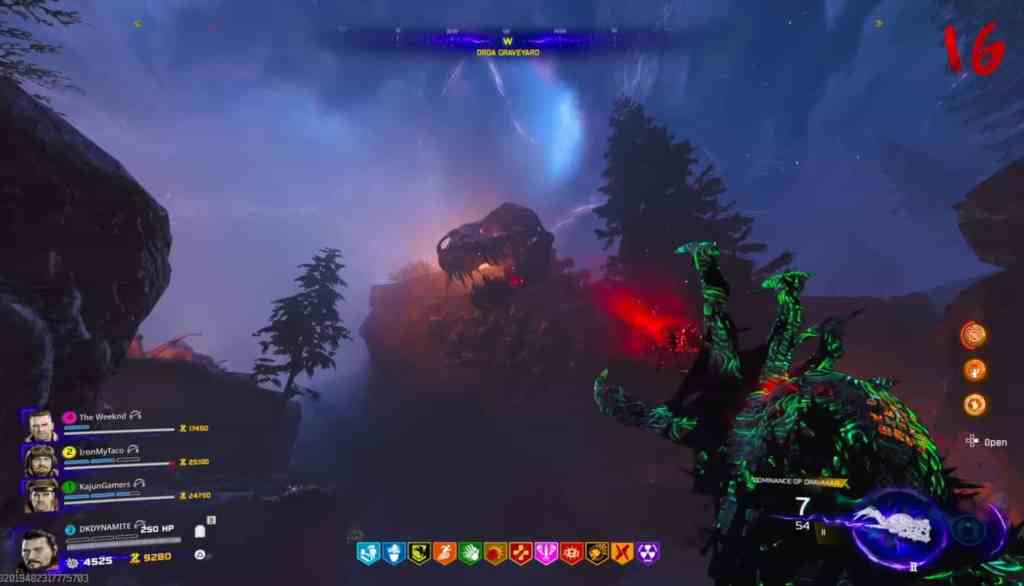
- Red Key – Orda Graveyard (Inside a T-Rex skull on the ground, Inside a T-Rex skull atop a hill, behind a janus security car towards the end of the trail

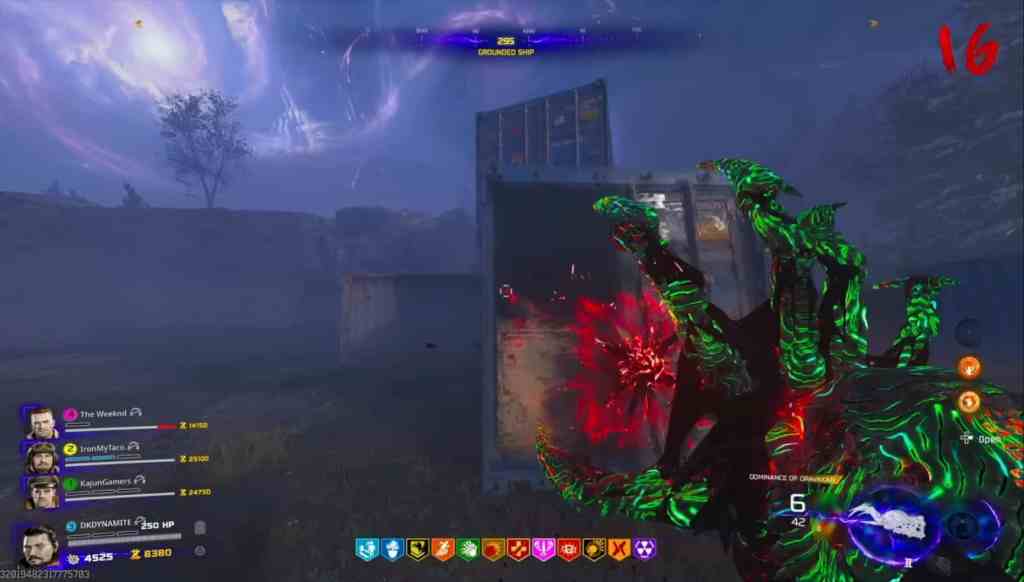
- Green Key – Grounded Ship (Inside a blue shipping container, behind a barrier, atop the entire ship, in a corner of a platform underneath a ship.

- Yellow Key – Crashed Rocket (Sitting on a fallen structure upon entering the path, On top of a hill, under the satellite as you enter cosmodrome.
As you pick up each key, a mini challenge will begin which can either prevent health regeneration, slow movement speed or force to use a melee weapon. Players cannot use jump pads to get back to ash wood or else they’ll drop the key. The wonder vehicle is the best plan of action to get back to ashwood to insert each key into the cube.
Step 6 – Completing The Clock Trials
After the mid game cutscene plays, you’ll then be given the turret upgrade for Ol Tessie. Four trials will then need to be completed in a specific order, and are triggered by shooting a clock and absorbing the energy using the Necrofluid gauntlet.
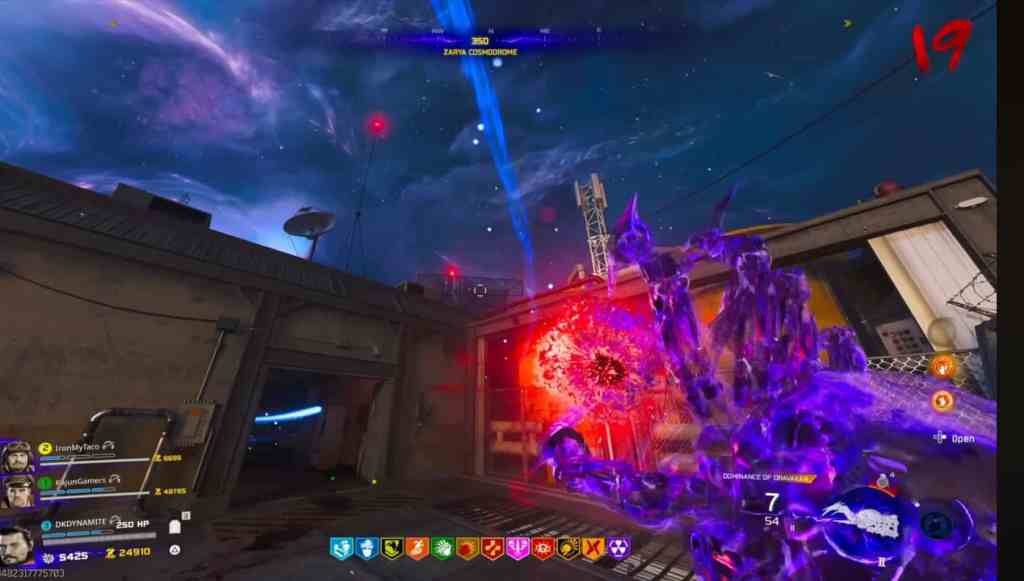
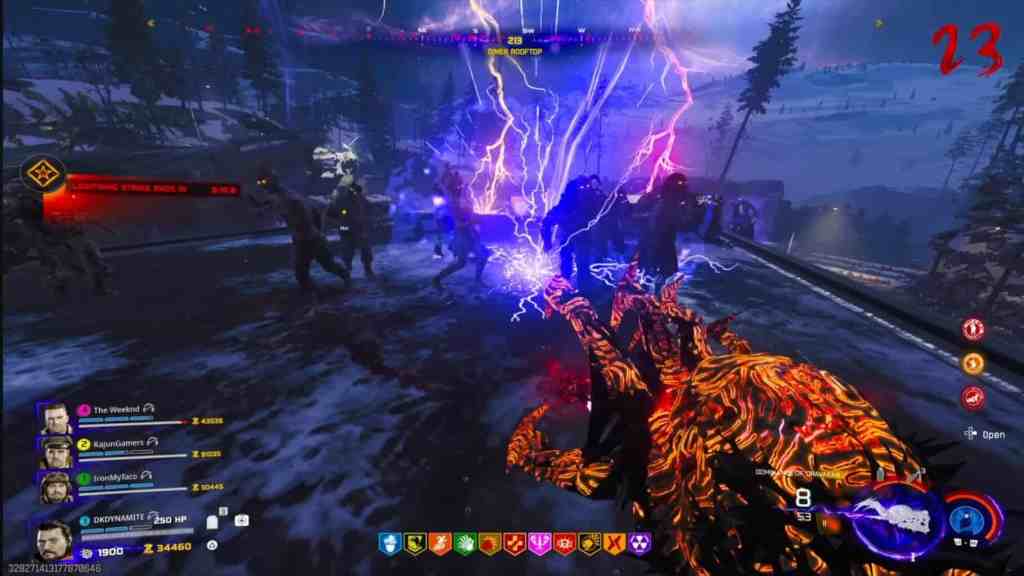
- COSMODROME – Shoot the floating clock in Ashwood using Ol Tessie’s turret, followed by shooting the clock and retracting it using the wonder weapon. Jump pad to cosmodrome and hit the two rotating satellite. You can only shoot one satellite at a time and will need to pass the round before being able to absorb energy from the floating clock again.

- After both satellites have been hit, pigpen symbols will begin to flash on two TV’s in the control room. In no particular order, input all of these symbols into a cipher solver site until it provides you with a scrambled word consisting of six letters.
Unscramble this word with a big brain OR by using a word scrambler solver, which should give you either ONE of these words: ROCKET, LAUNCH, ENGINE, or WEAPON. Each letter of these words corresponds to a number.( A=0, B=1, C=2, D=3, etc)
By using a letter to number conversion site, determine all of the corresponding numbers to each letter of the word you received from the cipher. In my case, the word LAUNCH corresponds to numbers 11, 0, 20, 13,2 ,and 7. (L=11, A=0, 20=U, etc)
The six TV’s in the control room will be flashing the numbers that correspond with your word. Players will need to shoot the red button on each TV, once the correct number flashes on screen. Once again, the numbers need to be in the order of the spelling of your word.

- Enjoy the rocket launch, and welcome back ASCENSION from Black Ops 1 Zombies.
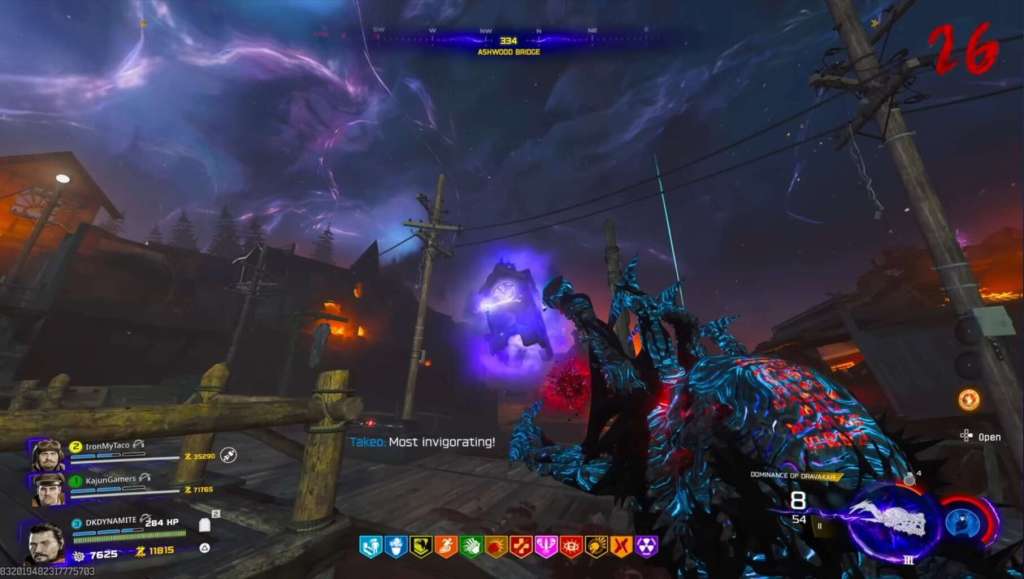
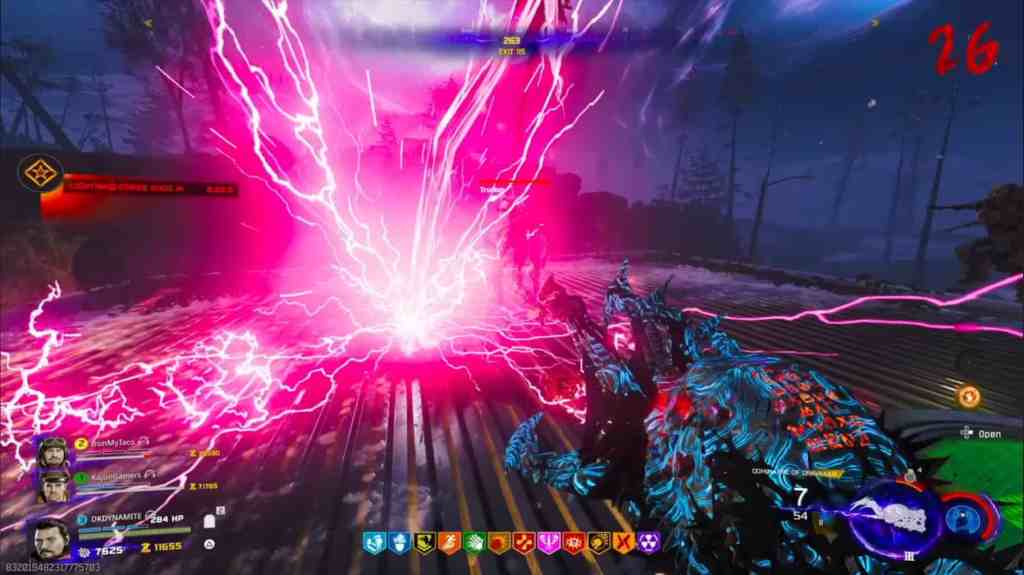
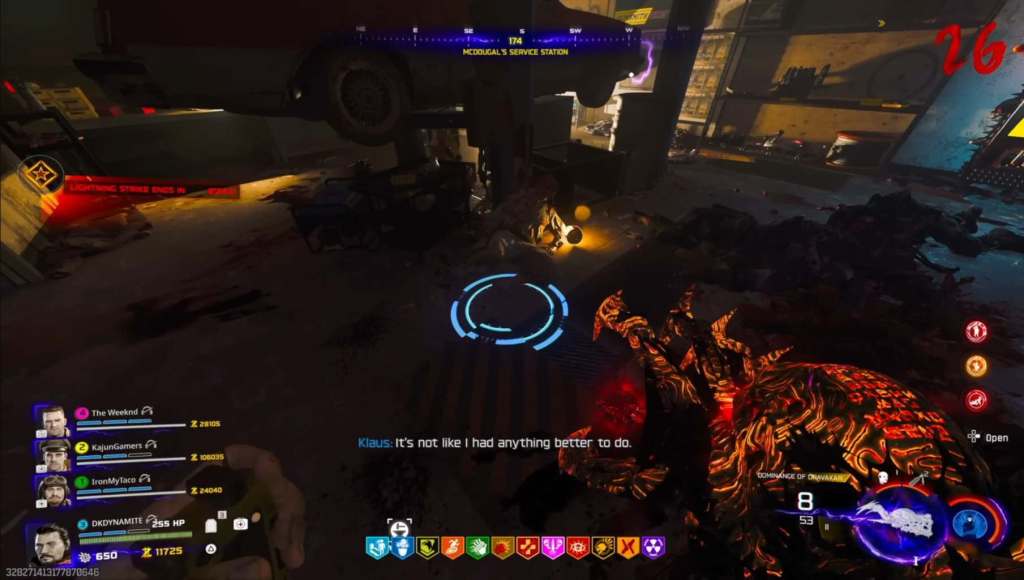
- EXIT 115 – Shoot the floating clock in Ashwood using Ol Tessie’s turret, followed by shooting the clock and retracting it using the wonder weapon. Jump pad to the diner on a round where three different colored lighting bolts are striking. These lightning strikes occur once every three rounds.
Shooting the clock above the mechanic shop with the purple gauntlet will freeze time.
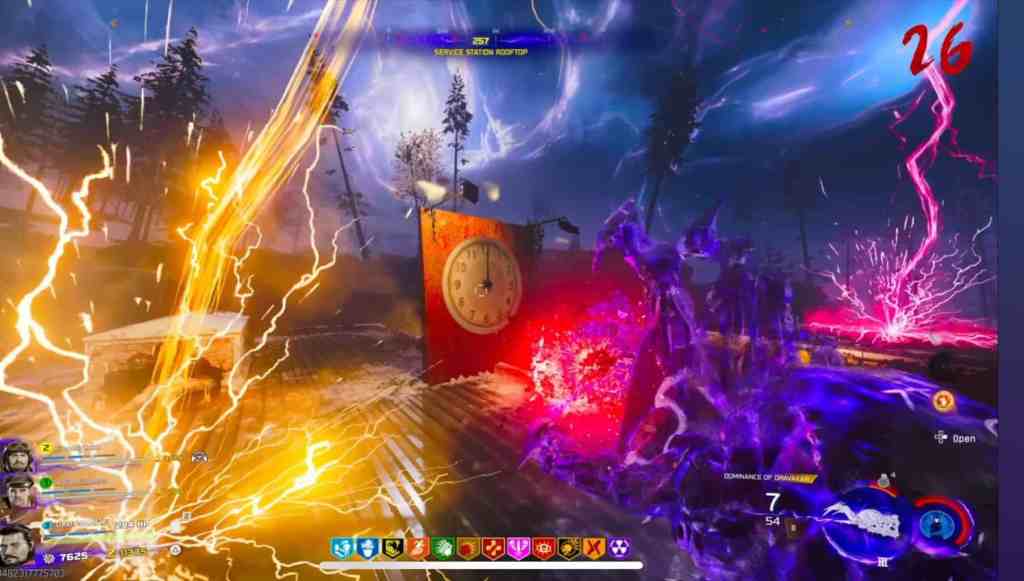
- Players will then need to revive three zombies and escort them to their designed colored lightning strikes. Using Ol Tessie’s beam and the boost on a red shipping container will revive the first zombie, who needs to be walked to the red lightning strike.
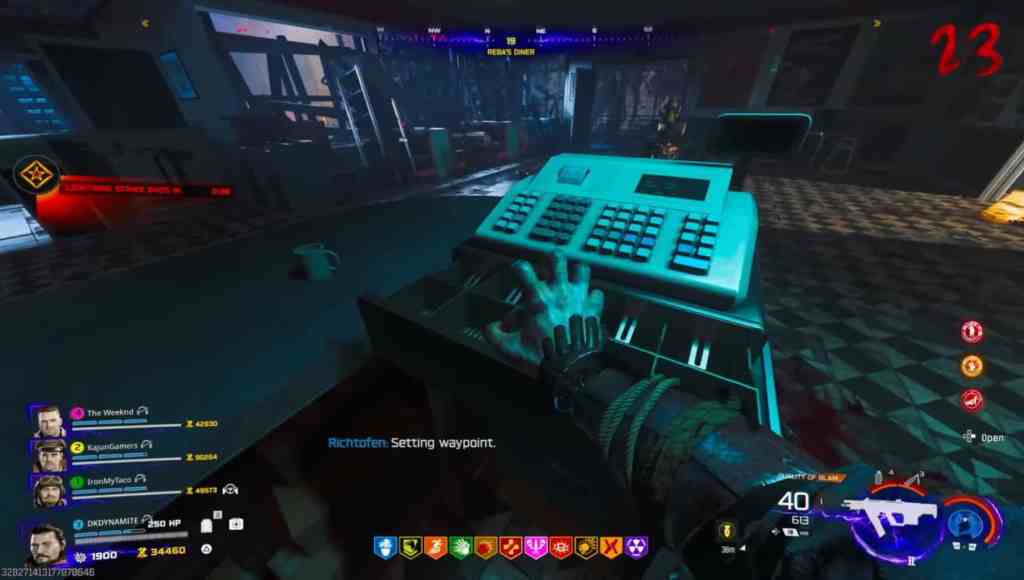
- The waitress in the diner can be revived after using Melee Macchiato on the cash register, who will need to be brought to the roof into the blue lightning strike.

- A mechanic can then be revived by summoning Klaus and controlling him next to the body. This zombie will need to be escorted to the roof into the yellow lighting strike.

- This challenge is timed, and while all three zombies COULD be revived in one round using team work, players may need to wait an additional three rounds before lightning strikes again where you could finish escorting the zombies you failed to last time.
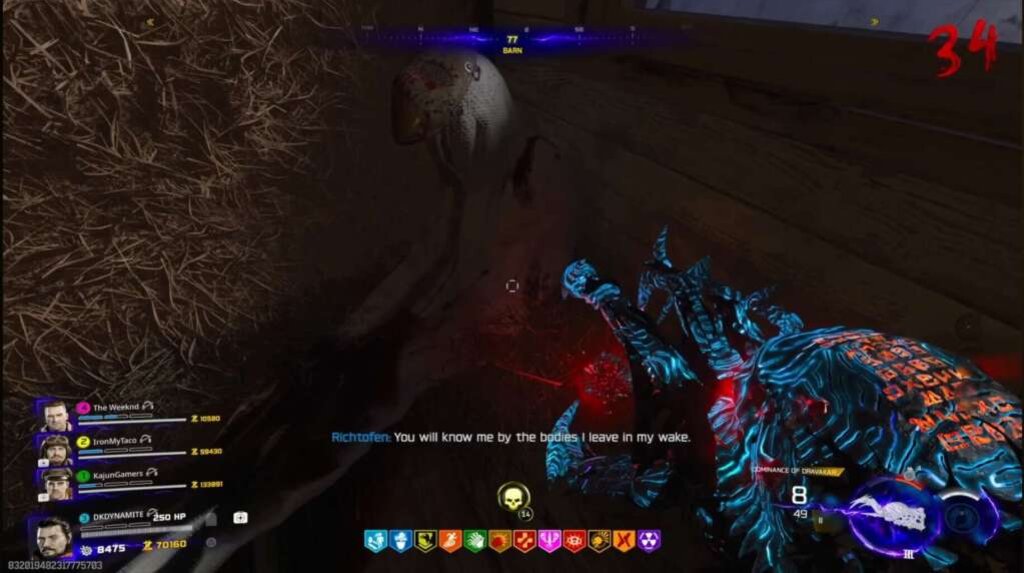
- FARM – Shoot the floating clock in Ashwood using Ol Tessie’s turret, followed by shooting the clock and retracting it using the wonder weapon. Jump pad to the farm and take note of what time is on the clock in the main house. Stand on the corresponding roman numeral etched into the floor board, in my case it was 3pm.
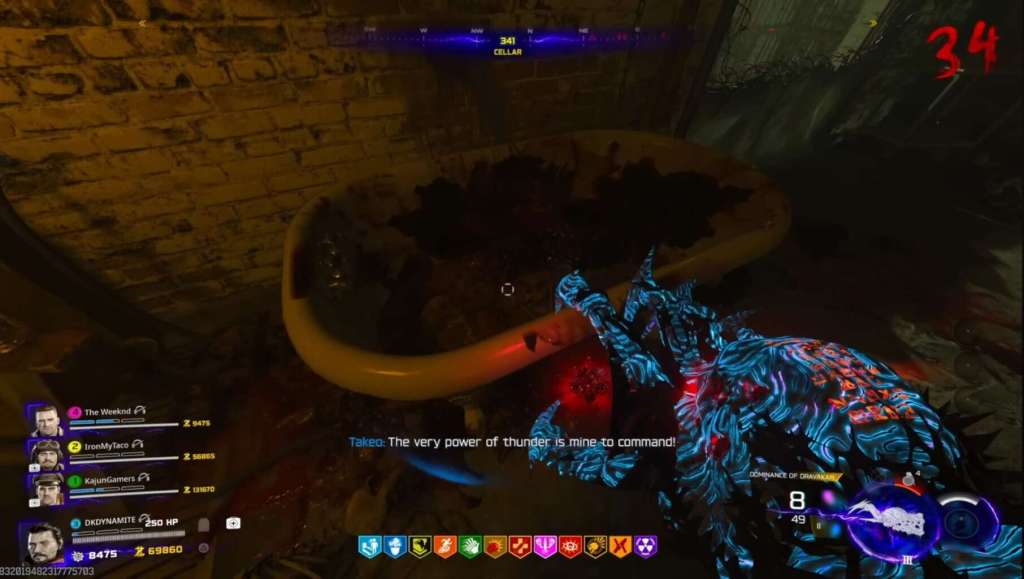
- The father at the head of the table will stare at you, and will require a headshot using the purple gauntlet once his eyes glow red. Four artifacts will then spawn in the same location every match, which can be picked up and place in corresponding red circles just outside.
One artifact is on the bed next to Stamin up, one is in the bathtub underground, one is in the shed and another is upstairs in the barn. After placing all four, interact again with the last one that was set in a red circle and a defense lockdown will begin.
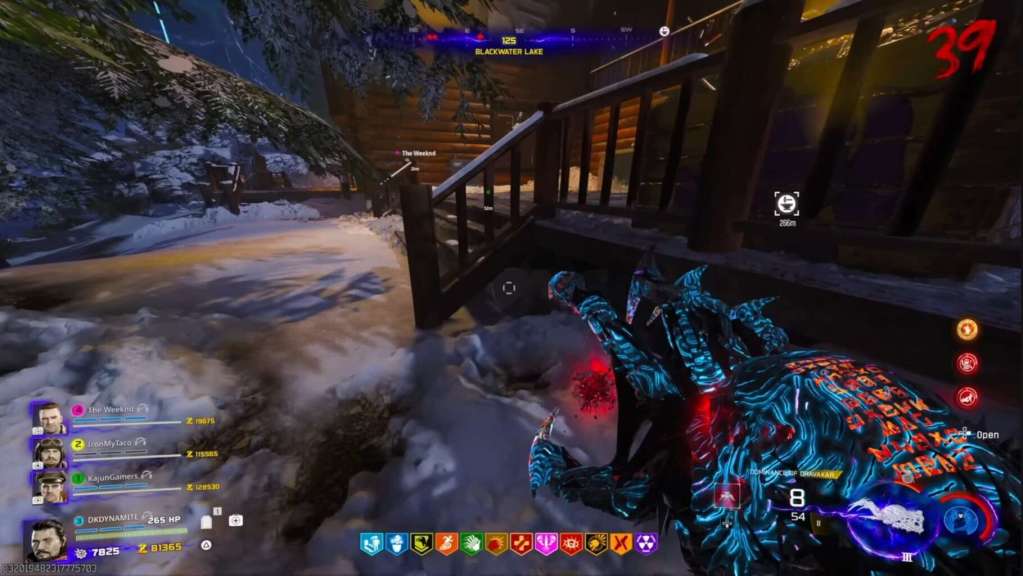
- BLACKWATER LAKE – Shoot the floating clock in Ashwood using Ol Tessie’s turret, followed by shooting the clock and retracting it using the wonder weapon. Jump pad to Blackwater and interact with the wisp behind the cabin. You’ll then need to shoot the projector using the purple gauntlet, which will display four images of this POI in a particular order.
Players will then find reels in the same locations every game, but need to be shot using the wonder weapon in the order shown on the projector screen. A reel will spawn in the snow behind the house, upstairs on a shelf, in the shed and one on a ledge in the boat house. As players shoot these correctly, purple energy will emit from the reel. Here are each of the projector shots, & their corresponding reel locations:


- Shooting these in the incorrect order will trigger a jump scare and players will need to wait a round before trying again. Summon Klaus, and control him to the bed upstairs where he’ll pick up a fog horn. At this point, the final encounter can be activated.
Step 7 – Beginning The Final Encounter
At this point, stock up on any need armaments. Upgrade your weaponry, spin for gobblegums and buy self revives. Interacting with Klaus by the lake will trigger a vote, which will require players to use the wonder vehicle.
Specific locations around the map will have three wisps each, which need to be driven through in a short period of time. Failure to drive through all wisps will require players to wait until the next round before interacting with Klaus again.
Wisps can be found in Monolith Forest, Janus Towers Plaza, Collapsed Towers on the way to Farm, top of Shipwreck on the way to Ashwood and back near Blackwater Lake once players perform a U Turn. The goal is to start at Blackwater Lake and make your way back to the cabin after running a loop around the map.

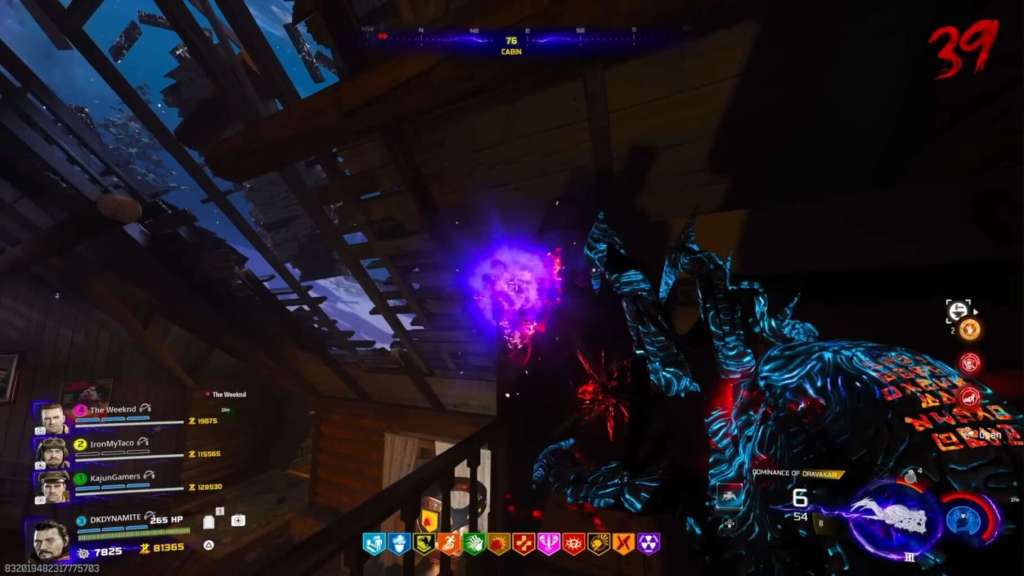
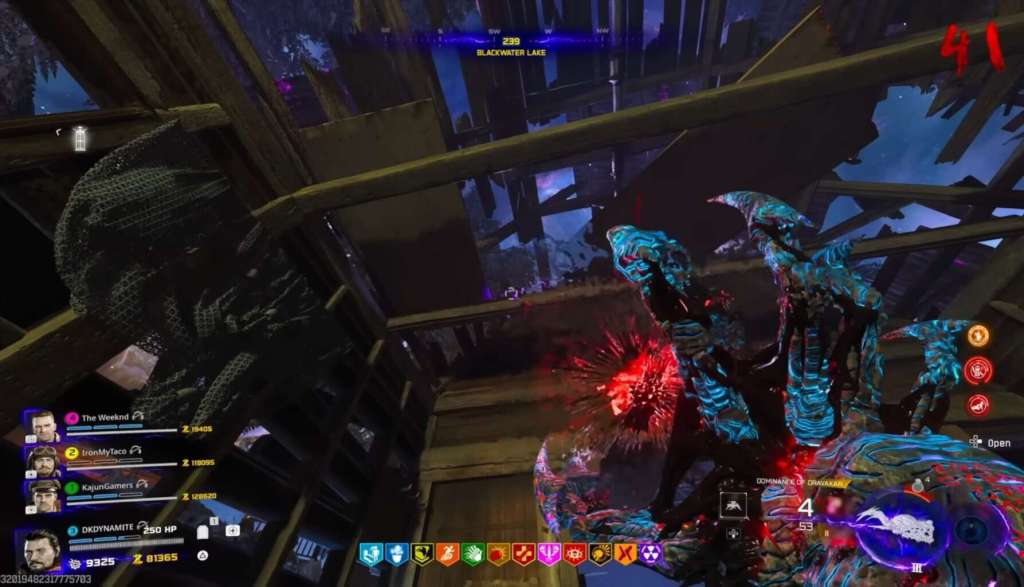
Boss Fight
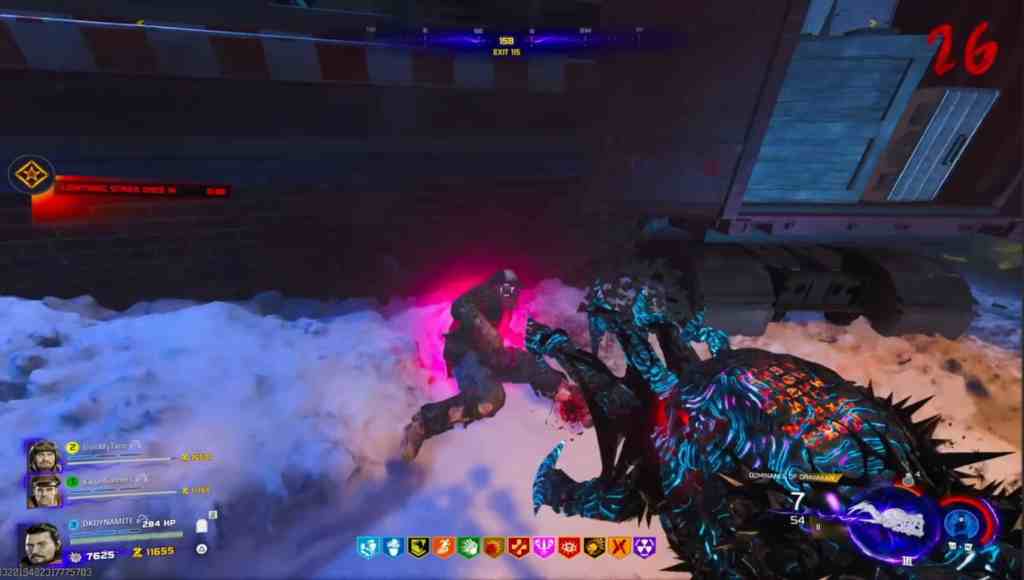
The Veytharion boss fight is arguably one of the toughest finales of any Treyarch boss. As of now, Meta weaponry against the super sprinters is the Mirage assault rifle, Akita shotgun or a Light Machine gun. Wonder weapons are solid for crowd control and can be effective against the boss as well.
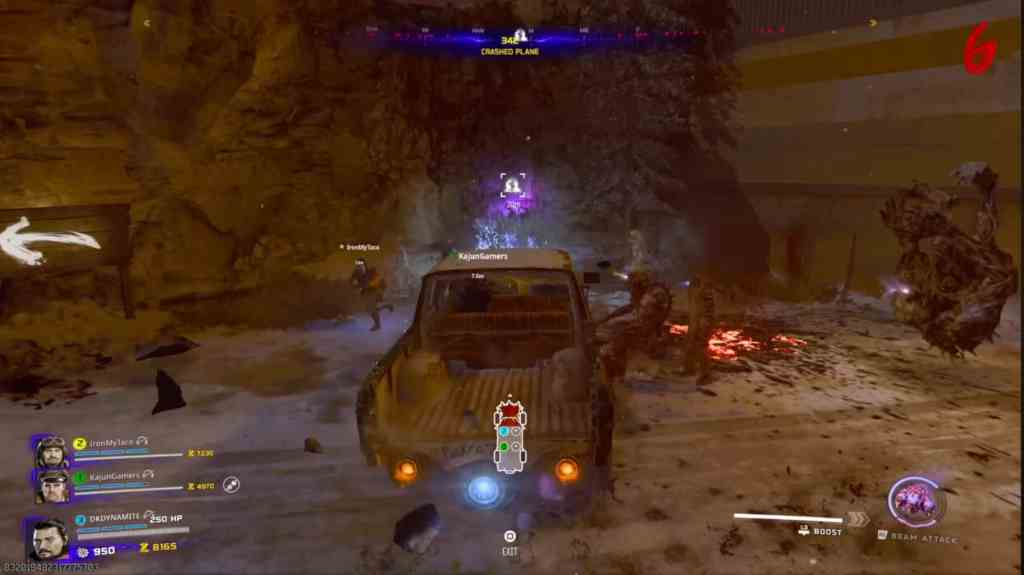
Players will need to utilize the wonder vehicle for a majority of the boss fight, as you can boost into the boss and shoot it with the turret. Knocking the boss back will do the most damage by far, while shooting red and yellow weak points can also deplete the health bar.
If Ol Tessie is ever destroyed, it’s recommended the player uses aether shroud or decoy grenades to distract the super sprinters while attempting to repair the vehicle. Teleporter pads can also be found on the outskirts of the boss arena which can spawn the player back inside of the vehicle. You can also lean out of the vehicle to get some shots into the boss while leaning back in to avoid taking incoming damage.
Veytharion will perform different attacks throughout the fight, such as a missile barrage, energy beam and can put up an invincibility shield which can only be taken down by driving through a beam of blue light and ramming into him. It’s really not recommended players exit the vehicle too much unless absolutely necessary.
Completion Rewards
For completing the Ashes of the Damned Main Quest will net you the ‘Warfighter’ Operator skin for Dempsey in Black Ops 7 Zombies. This is Dempseys base skin, before his life essence is stolen by the Shadowsmiths. Players also receive two calling cards (if completed before Director mode releases), an XP bonus, charm and the ability to find Cursed Mode relics.
THE END
That’s how you complete the Ashes of the Damned main quest! For a full video guide on the main quest, be sure to check back here:

To stay connected with Black Ops 7 Zombies news & information check out our Twitter, and our YouTube Channel for all things Call of Duty!