

Call of Duty: Black Ops 7 Zombies has arrived in full force with Ashes of the Damned! In what is the largest Round-Based map in Black Ops Zombies history, Ashes of the Damned holds many secrets, hidden details, & plenty of Side Easter Eggs. All of this on top of the brand-new Main Quest available, there’s no shortage of things to do or discover in Black Ops 7 Zombies. In today’s article, we’re going to go over all the Side Easter Eggs available in Ashes of the Damned, here in BO7. Here’s what’s you need to know:
All Side Easter Eggs
Easter Egg Song
To activate the musical Easter Egg on Ashes of the Damned, players will need to find 3 Mister Peeks headphones around the map. Here are the three locations you can find them:
- On top of a server next to Quick Revive in the Janus Towers POI.

- On top of a beam in Judgment Square within Ashwood – Near Double Tap

- In a car outside of the Diner in the Exit 115 POI.

Find all three of these & the song will begin to play!
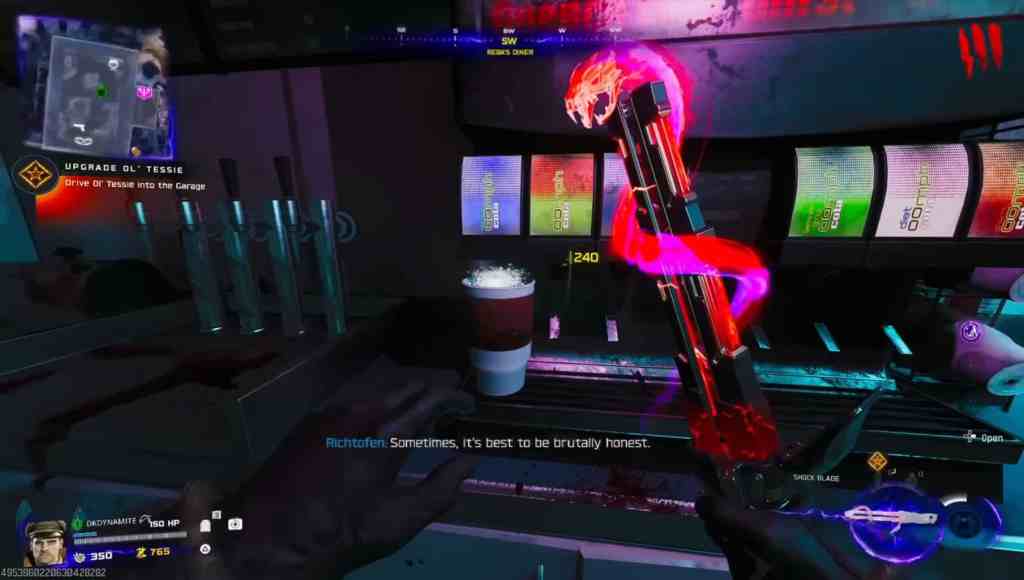
Abomination Head Upgrade – Ol’ Tessie
To add the mighty heads of the Abomination onto Ol’ Tessie, you’ll need to pick up a freezer key. How do you obtain this? A random zombie will drop it at the ‘Exit 115’ POI. Once you’ve obtained this key, make your way into the diner & unlock the freezer.
After obtaining the Abomination Carcass, head on over to the workbench in Ashwood to upgrade Ol’ Tessie. Now you’ll be able beam zombies away using this new & delightfully destructive upgrade.
Free Essence & Equipment
You’ll want to locate a fumigator, scattered around several locations on the map. Once you’ve located it, you’ll be able to use them on little plants growing around the map. They’re located on the ground & will be glowing green.


After spraying the green plant spore on the ground with the fumigator, a small defend sequence will begin you’ll need to defend the plant until it reaches max size. Once it does, it will reward players with 5,000 Essence & some equipment. Once it reaches maximum size, players can even earn Aether Tools or Pack-a-Punch crystals.
If you begin this process & then activate the field upgrade ‘toxic growth’ over the top of the spore, it will make the process much easier.
Tank Dempsey Side Quest
If you’re playing as the Dempsey operator, you can embark on a mini side quest to earn some loot to use. You’ll want to make your way over to the Crashed Rocket area on the map, & find some bodies on the ground. They’ll be along the wall of the playable area, & have dog tags just to right of them. They’ll be next to some rocks under the metal tubing.


Once you interact with them, you’ll be thrown into a mini-forest, being hunted down by the undead. All while Dempsey is chastised by the final boss of the map, & his past traumas. After you’ve defeated all the undead, you‘ll be treated with a variety of rewards including essence, salvage, possibly even legendary weapons.


Friendly Klaus
Remember Klaus from Mauer Der Toten back in Cold War? Well, he makes his return here in Ashes of the Damned. To free him, make your way over to Ashwood. Make your way upstairs & into the holding cell area. You’ll find Klaus tied down to a chair, awaiting to be freed. Once interacting with this, make your way back to Janus Towers.
An Uber-Klaus will spawn in from a pod that you just defeat. It will be near the pathway to Blackwater Lake. Once defeated, it will drop a Stabilizer Chip. This chip can be taken back to Klaus in the jail cell. He will now be available as an ally to summon.
Vending Machine
Similar to maps on Black Ops 6 Zombies; you may spot a couple of Vending Machines on Ashes of the Damned. The locations of these Vending Machines are as follows:
- To left of entrance into Janus Towers (if you’re facing the tower itself).
- In Exit 115, right outside of the workshop.
It will be near the side door under the gas station.


Players can purchase Melee Macchiato, & melee these vending machines for a variety of potential rewards. Base rewards like Essence, salvage, & equipment are there; while possible higher tier rewards such as Wonder Weapons, Perks, or even Upgrade Crystals.
Free Wisp Tea
If you head over to Vandorn Farm, make your way upstairs in the main house & continuously interact with the static TV. Do this until two people are visible, then until there’s only one again. After doing this, head downstairs under the main barn & to the ghost playing tic tac toe.


Once the ghost disappears, head back upstairs & interact with the TV again until neither people are present. Make your way outside & past the power generator where you’ll see the ghostly twins playing together. They’ll eventually disappear & the free Wisp Tea will drop, along with other loot.


Craft Free Perks
There’s a way to obtain one free perk per game, & the best part is that you can craft it!There are 4 core perks that you can craft, all requiring 3 ingredients to create. Here is each perk you can concoct, as well as their respective ingredients:
- Quick Revive
- Toilet Cleaner – Located on a table in the server room, at Janus Reception.
- Fish – Located on the back dock of Blackwater Lake.
- Syringe – Located on a shelf at the Cosmodrome, in the same room as the code cipher on the television.


- Juggernog
- Leaf – Over in Janus Reception head up the left-side raised sidewalk section headed towards Blackwater Lake.
- Milk – If you head into the barn of Vandorn Farm, & look in a crevice between the doorway & staircase downstairs.
- Eggs- The eggs can be located inside of the Diner at Exit 115. They’re located in an ingredient shelf.


- Speed Cola
- The first ingredient is behind & beneath a truck in Blackwater Lake, in front of the cabin.
- The second ingredient is located in a box in Ashwood. This box is located inside of Hargrove’s Mercantile across from Vulture Aid.
- The third ingredient can be found on the main counter in the diner at Exit 115.


- Stamina Up
- The first ingredient is located in a box within the underground area of Vandorn Farm. It will be on the wall to the right of the Arsenal Machine.
- The second ingredient (a bag) can be found in Ashwood. It will be located behind the counter in Hargrove’s Mercantile.
- The final ingredient (a gasoline can) can be located right outside of the mechanic shop at Exit 115. It will be to the right of a side door, coming from the Cosmodrome.


Once all the ingredients are collected, make your way back to the diner at Exit 115. Head behind the counter, & interact with the drink machine. This will drink the brand-new pork you’ve just crafted! It’s worth noting, you can only craft one perk per game, so choose wisely.
Chompy
Scattered across the map are little trash cans named Chompy. One is located at Vandorn farm. If you melee the can open, & toss your equipment inside, you could be rewarded with Essence, salvage, & in rare occasion, even a Wonder Weapon.

Perma-Perks
One of the beat features from Black Ops 2 Zombies returns here in BO7, Perma-Perks! Perma-Perks can be earned only once you’ve obtained every perk on the map. After you’ve solidified your Perkaholic, begin taking on the T.E.D.D. Challenges. Reaching the legendary reward status, you’ll be able to begin earning permanent perks.

RC-XD Race
If you’re heading out of Blackwater Lake & towards Ashwood, you may spot these cabins in the fog. There is one in particular with two floors you can enter. On the second floor, you can find a suitcase, with an RC-XD controller next to it.


Interacting with this will not only give you a calling card, but will also trigger an RC-XD race for you & your teammates. Similar to the bowling EE in Liberty Falls, you can earn better tier rewards for finishing at a higher position than your teammates.
Permanent Double Points
To begin this, you’ll need to purchase Death Perception. You’ll next need to locate paw prints, glowing because of the perk. These paw prints are found in the fog, & on the pathways headed to various areas. These are the pathways the paws have been found so far:
- On the pathway to the Cosmodrome headed from Ashwood.
- On the pathway to Exit 115 headed from Ashwood.
- On the pathway to Exit 115 headed from the Cosmodrome.

Once you locate these paw prints, directly follow across them until you reach the last one & stand on it. Upon doing so, you’ll be transported into a forest, where you’ll be greeted by a Zursa HVT. You’ll spawn in with only a knife. This presents you with two options:
- Either you can test your strength against the Zursa with your melee weapon.
- Having Melee Macchiato beforehand is helpful.
- Bringing in Aether Shroud also makes things even easier.
- If you also bring in the Necrofluid Gauntlet & only use the melee attacks, it also deals more damage.
- Or, you can grab your loadout & take out the Zursa with more ease.
If you choose to take out the Zursa with your loadout, the enemies essence will float towards a chest, revealing several goodies like scorestreaks, self revives, high tier rarity weapons, or even a wonder weapon.
If you choose to defeat the Zursa with only your melee, you’ll be rewarded with the Claw Talisman. This Talisman will provide you with double points for all melee kills you get in your game. This double points can be stacked with double points, as well as the Melee Macchiato augments that provide extra points.

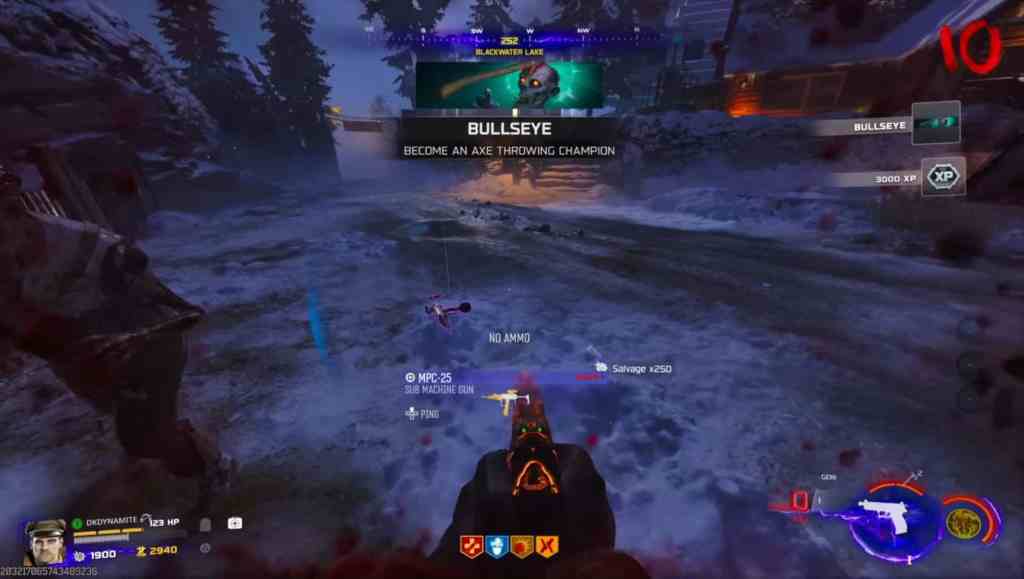
Mister Peeks Axe Throwing
If you head over to Blackwater Lake, & head towards the work shed, you’ll spot a trophy on one of the shelves. Interact with it, & it will begin to glow purple. You then need to head outside & grab the tomahawk lodged in the tree stump on-side of the shed.
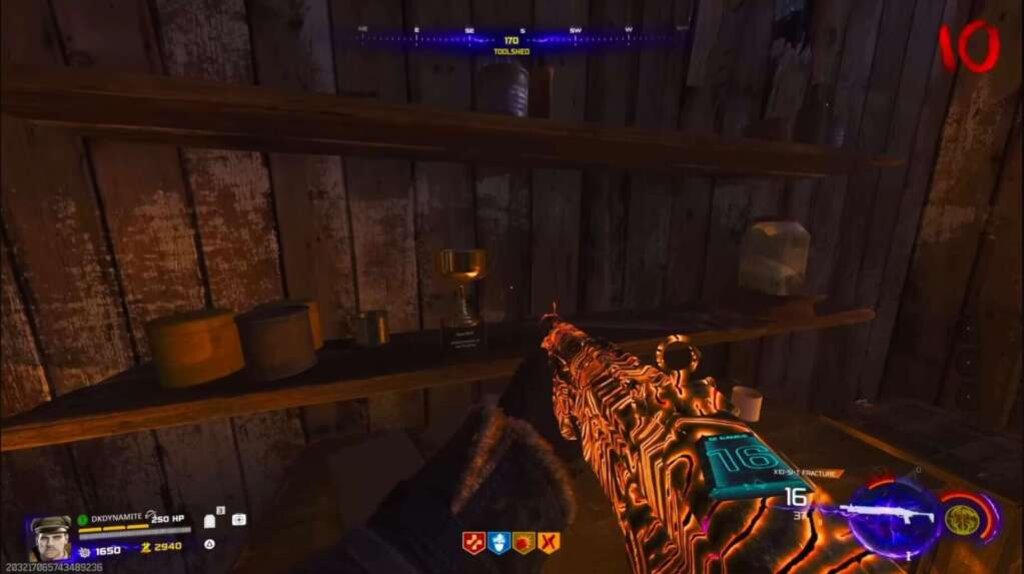
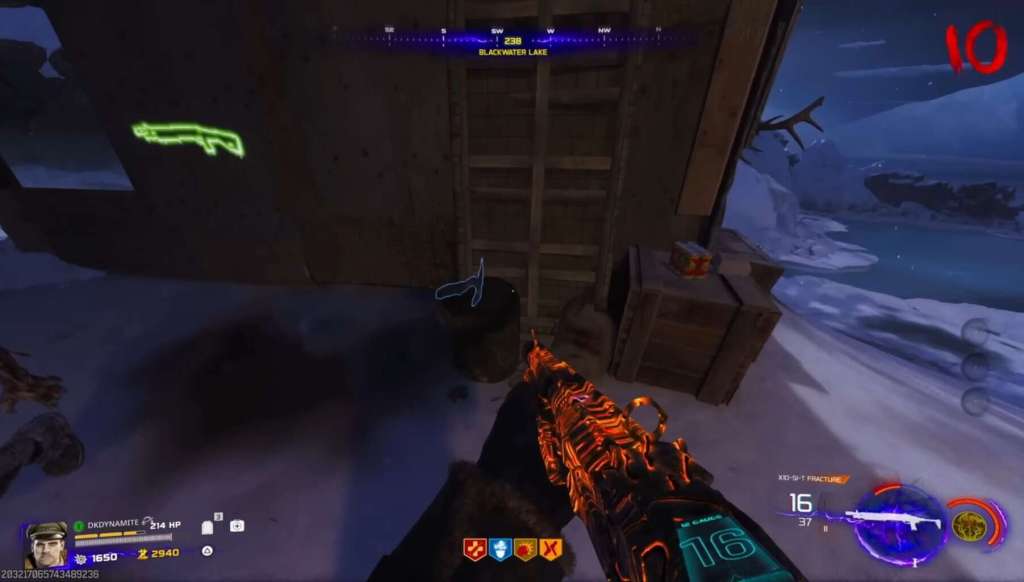
If you head back towards the road, you’ll spot some floating & glowing targets directly ahead of the main cabin. Your goal is to throw the tomahawk at the floating targets. For solo players, you may wish to throw a monkey bomb or decoy to keep the zombies off of you.
After hitting enough targets, Mister Peeks will appear & drop some valuable loot. You’ll also be rewarded with a Calling Card.
All Free Powerup Locations
Here are all the locations for free powerups you can earn within Ashes of the Damned:
Free Max Armor

The free Max Armor is located within a shipping container on the grounded ship. This ship is located in the fog.
Free Nuke

To gain a free Nuke Powerup, you need to look at the top of the church in Ashwood. It’ll be in the belfry area.
Free Double Points
The free Double Points can be located from a cabin out in the fog. This cabin is accessible once you leave Blackwater Lake, & you’ll need to look from the second floor, into the forest.
A screenshot will be provided soon.
Free Insta-Kill

To gain a free Insta-Kill, head over to Vandorn Farm & look up towards the silo. Within the hole at the top, you can spot the hidden Insta-Kill icon. Shoot it & receive your reward!
Free Full Power

If you make your way over to the Zarya Cosmodrome, look down below & out boundaries towards a doorway. There, you will spot the free Full Power icon. Shoot it & receive a free Full Power!
Free Bonus Points
Be sure to check back once the map releases!
Free Max Ammo

To access the free Max Ammo, you’ll need to look into a panel right above Quick Revive, located at Janus Reception.
Free Firesale
Be sure to check back once the map releases!
Forced Zursa Spawn
Instead of waiting until Round 16 to spawn the Zursa in the map for the Easter Egg, you can now force spawn the Bear as early as you like. You’ll first need the Necrofluid Gauntlet. You need to take the Gauntlet & fire it at three separate skulls, & retract the shot. The skulls can be found at the following locations:
- The first skull is underneath the rocket at the Cosmodrome.
- The second skull is located outside of a barrier to the right of PHD Flopper. It’ll be on a beam up high.
- The final skull is located in a zombie spawn point, to the right of the rocket. It’ll be tucked away to the right of the hole.


Restart Clock Step
For anyone who’s been struggling with the clock step for the main Easter Egg, a solution has been found. It was only assumed you could attempt this once, then have to pass rounds if failed. It appears to be on a timer however. If enough time passes after failing, the clock will begin to chime again.
This will allow you to shoot the clock with Tessie again. The only difference is you must shoot the Gauntlet at a different face on the clock. This can be repeated until all four faces have been shot.
Restart Lightning Step
If you’ve had trouble getting the lightning step at the Diner done for the main Easter Egg, a solution has been discovered. If you take Ol’ Tessie & fire it at three separate sparking light poles, you’ll be able to reignite the lightning if you happen to have failed the step.


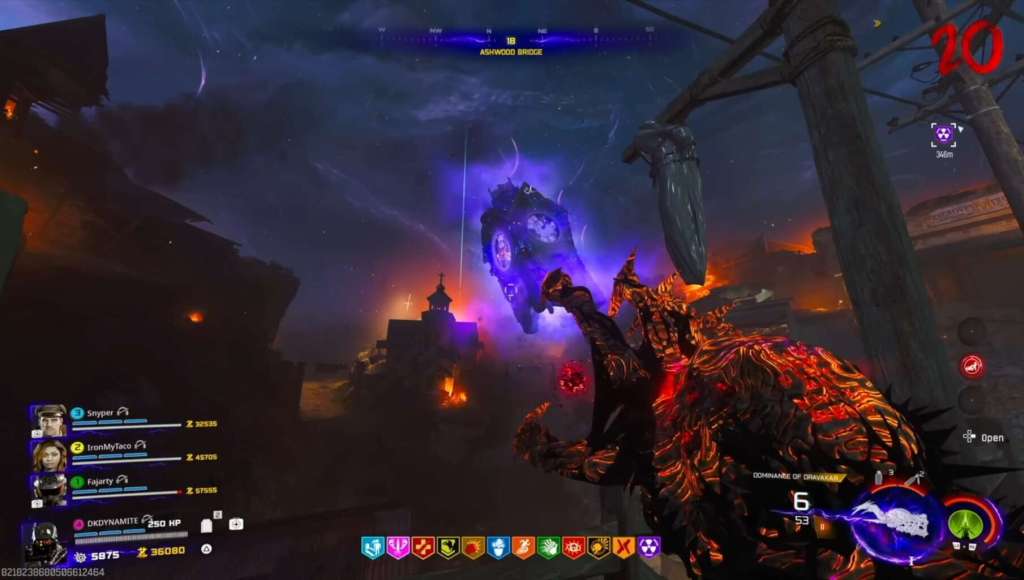
Round 100 Boss Fight
There’s a boss fight that awaits players at Round 100. The main quest boss fight is amplified up to maximum of you take on this challenge. Even faster super sprinters, as well as tougher attacks will make this fight one for the real hardcore players.
THE END
That’s all the currently know Side Easter Eggs here in Ashes of the Damned. For a full visual guide on these side quests, check it out below:

To stay connected with Black Ops 7 Zombies news & information check out our Twitter, and our YouTube Channel for all things Call of Duty!