

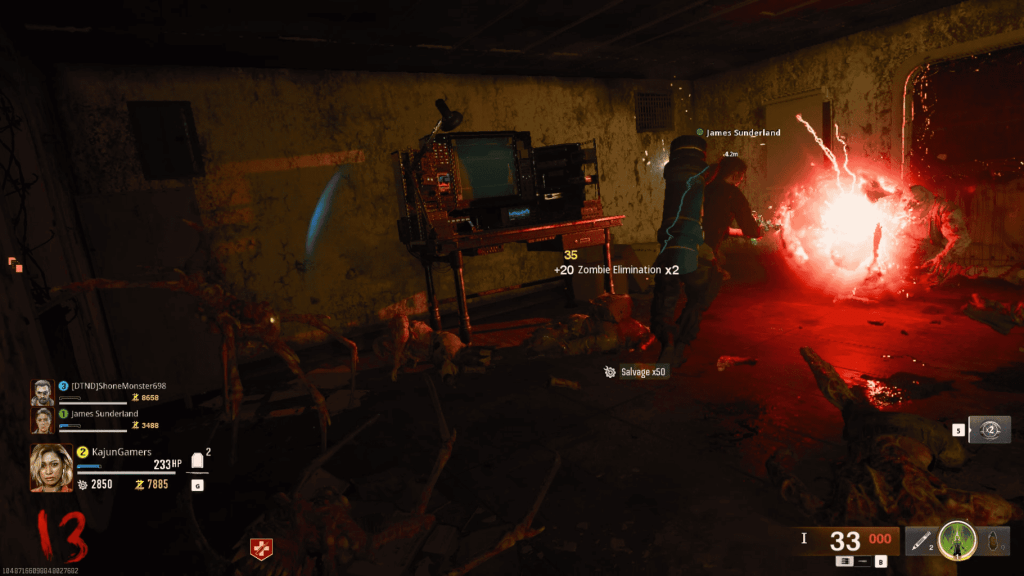
After 6 years, Ex-Requiem Members Grigori Weaver, Dr. Grey, Major Carver, Dr. Strauss, & Raptor One are broken out of Terminus Island by a mysterious new character, Maya. Joined by the returning Dr. Peck, the crew must fight their way off the Island, as well as finding Maya’s missing brother. Today, we’re going over how to complete the Terminus Main Quest. Here’s what you need to know heading into the Island:
First Things First: DRI-11 Beamsmasher
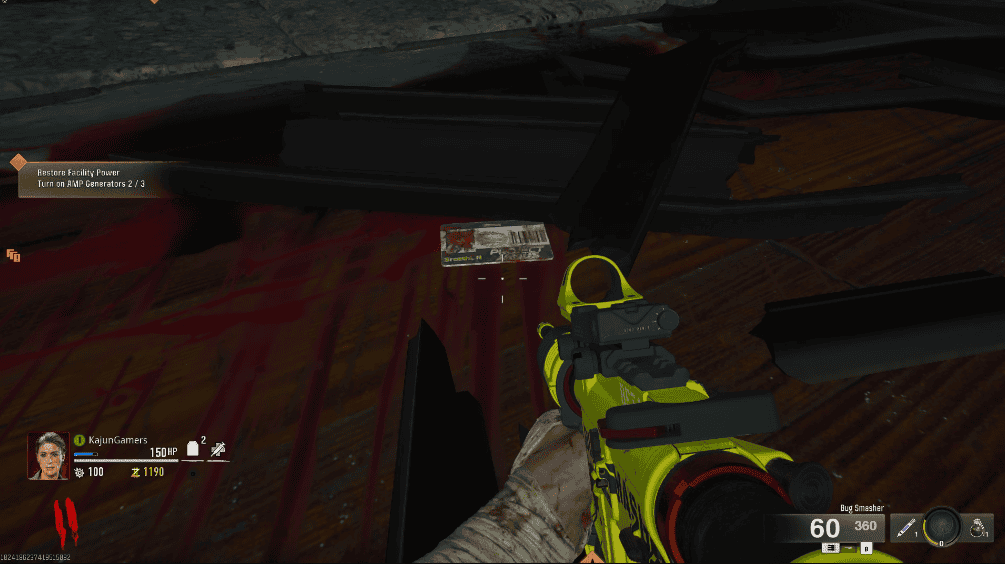
Before you can begin the main quest of Terminus, you’ll have to acquire the DRI-11 Beamsmasher. you can either do this by getting it from the box or embarking on a side quest to build it. If you choose to build it, here’s what you must do, & where you must go:
Electric Boxes
You need to open up Dr. Anya Tonovsky’s lab. To do this, equip Dead Wire to your weapon & head to the PAP lift downstairs. There are 3 electrical boxes you need to shoot in a specific order. The first will be in a window behind the lift activation panel. Shoot it & immediately turn to your right, where you’ll spot the second one. The third will be at the top of the lift on the same side as PAP. *You’ll need to shoot all 3 as the lift is moving.
Make your way into the living quarters & above the device you use to power the area, you’ll see the 4th box. Shoot it, head outside to the Rec Yard, & to your right you will find the final electrical box. *This is timed, so try to shoot these in quick succession.
EMF FOB & Multiphasic Resonator
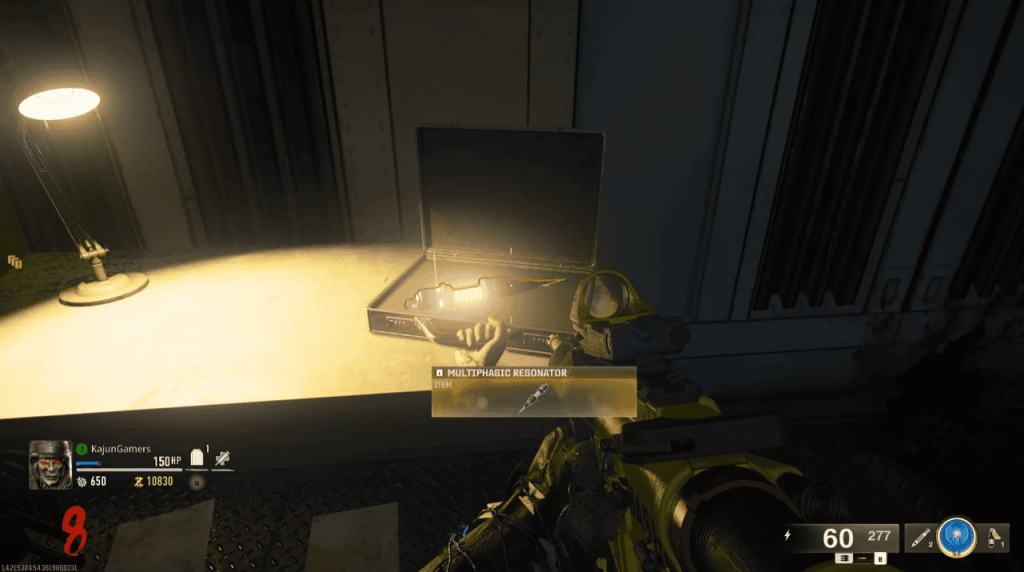
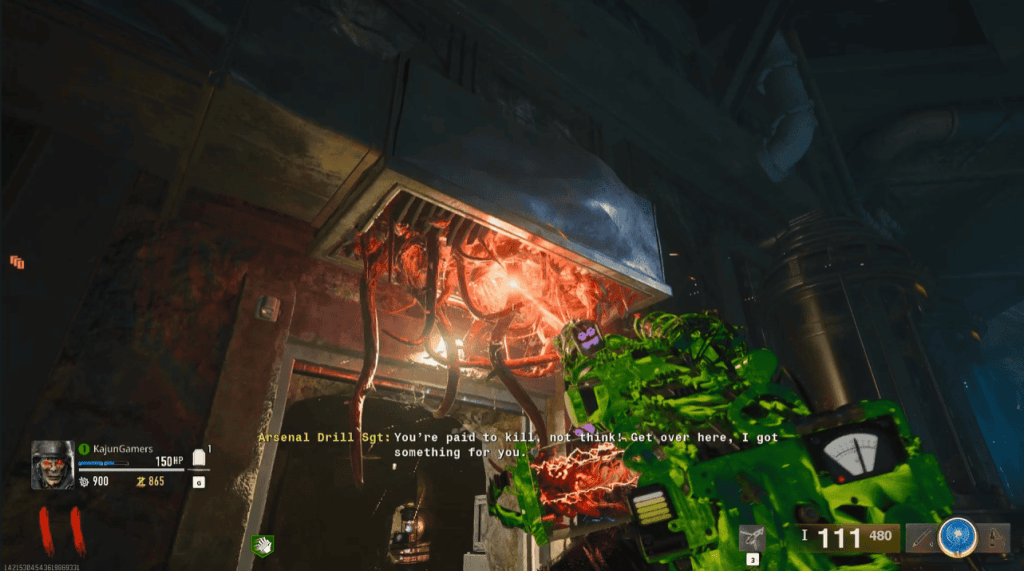
After entering Tonovsky’s hidden lab, you’ll find her wedged beneath a fallen filing cabinet. She’s turned sadly, & you must kill her to grab the EMF FOB she still clings onto. After grabbing it, head through Engineering & across the Sea Bridge into the Sea Tower (Right above the Docks).
On the other side of the room, you’ll find a briefcase with Anya’s hand still attached. Open it up & grab the Multiphasic Resonator. This will spawn a group of vermin, so watch your back. Head back to the lab & interact with the terminal immediately to your right. This will trigger dialogue stating you need a code.

Cracking the Code
Three computers lie scattered in separate locations on the main island. These computers hold certain symbols that players must use in a math equation.
- Terminal X is located next to the set of stairs leading down to the Docks.
- Terminal Y is located right outside of the Interrogation Room, leading to the Rec Yard & Mess Hall
- Terminal Z is located outside of the Stamina Up room, to the right.
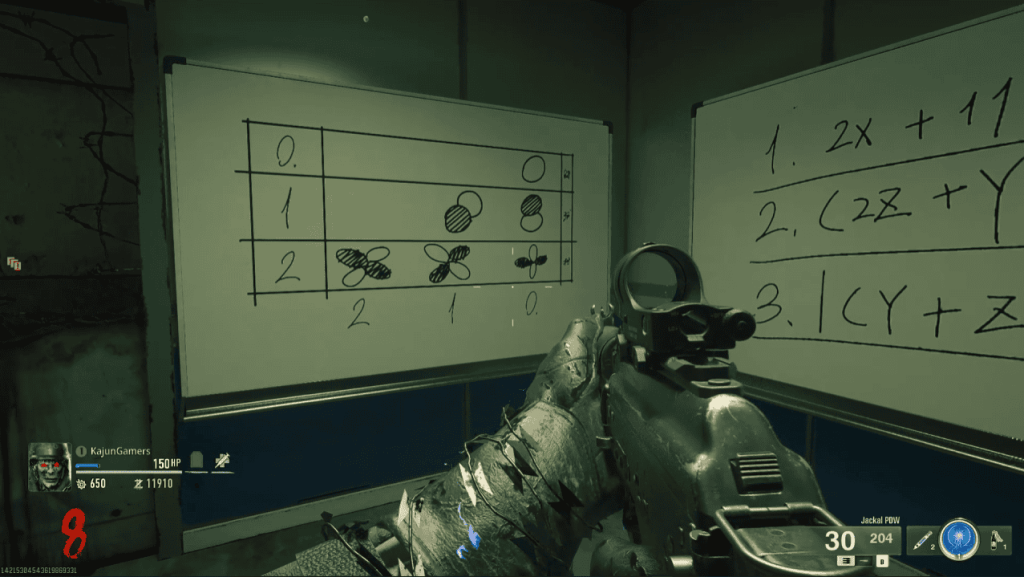
Each computer screen will have a symbol on it. These will appear as sticky notes on terminal back in Tonovsky’s lab. You’ll use these symbols, along with their corresponding letters (X, Y, Z) to solve the following 3 equations:
- 1. 2X+ 11
- 2. (2Z + Y) – 5
- 3. |(Y + Z) – X|
There are three numbers along the x-axis (the vertical line) & three numbers along the bottom (the horizontal line or (y-axis) on the white board on the wall of the secret lab. Now, how this works is simple: Each number on the vertical line (the left set of numbers) will be the first digit in the sequence, while the set of numbers on the bottom are the second digit. Use the sticky notes to determine which symbol represents them & look for the overlap point between the numbers on the board.
For example, the symbol on the bottom left would be equal to 22. This is because the 2 on the vertical line(x-axis) & the 2 on the horizontal line(y-axis) overlap on that symbol. Another example: Say the symbol to the right of 2 & above the 0 is Z. This would mean Z = 20. 2x + 11 =? Well, if (X) is 22, then it becomes 2(22) + 11 which equals 55. So, your first number in the code would be 55. Repeat this step for Y & Z to find the entire code combination.

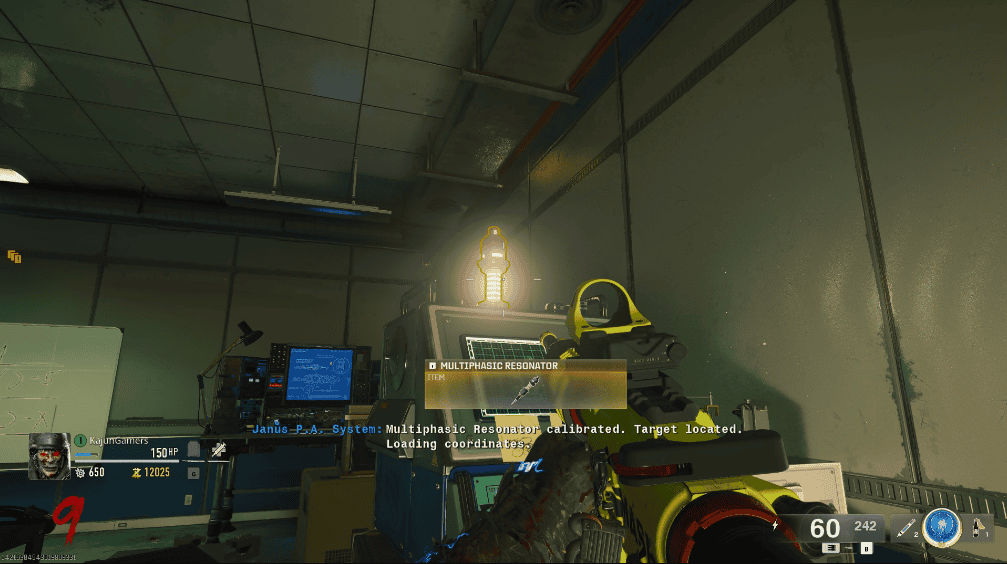
After solving, this will trigger the Resonator on top of the terminal will to begin to charge. Progress a round & the Resonator on top of the terminal will be available for pickup.
Charging the AMP Munition
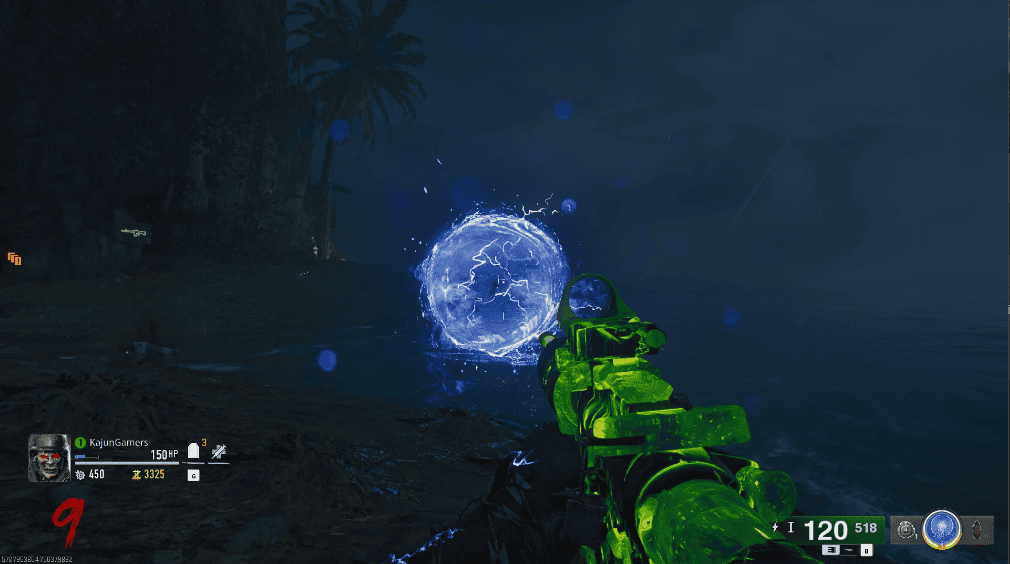
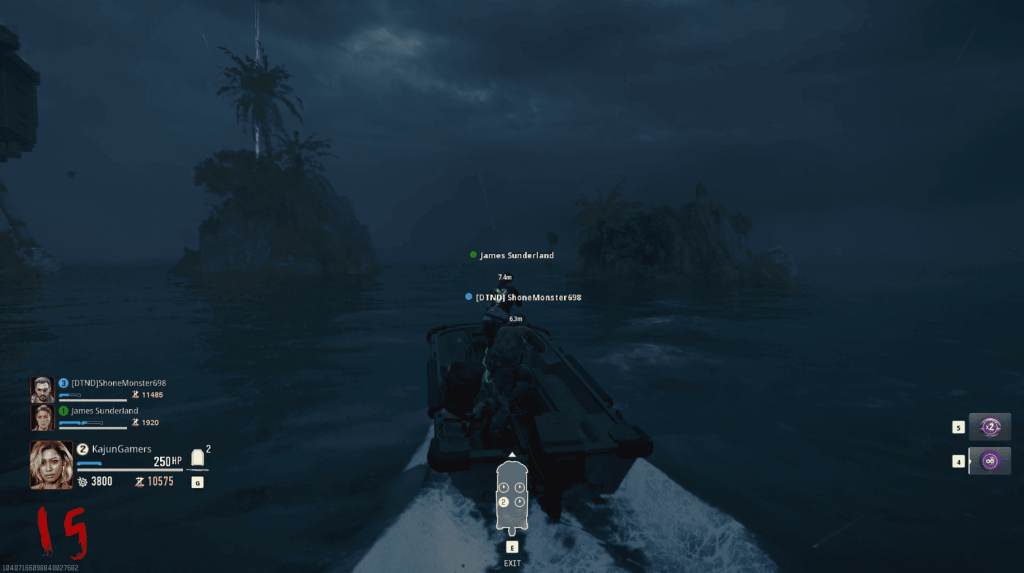
After collecting the Resonator, make your way over to Rock Castle Island & interact with the Blue Orb that spawns. This will place the Resonator on the ground & spawn an endless horde until the Orb is charged. The orb will shoot a random zombie & surround it with a blue aura. Kill this zombie & it’ll drop a blue energy ball. Grab it off the ground & walk through the blue orb with it. Repeat this a second time & this step will be complete. You’ll need to pick up the Resonator & repeat this process two more times on two different islands: Crab Island & Tomb Island.
After completing this at all three orbs, the fully charged AMP Munition will drop. Take it to the workbench in Tonovsky’s lab & craft your brand new DRI-11 Beamsmasher!


Main Quest
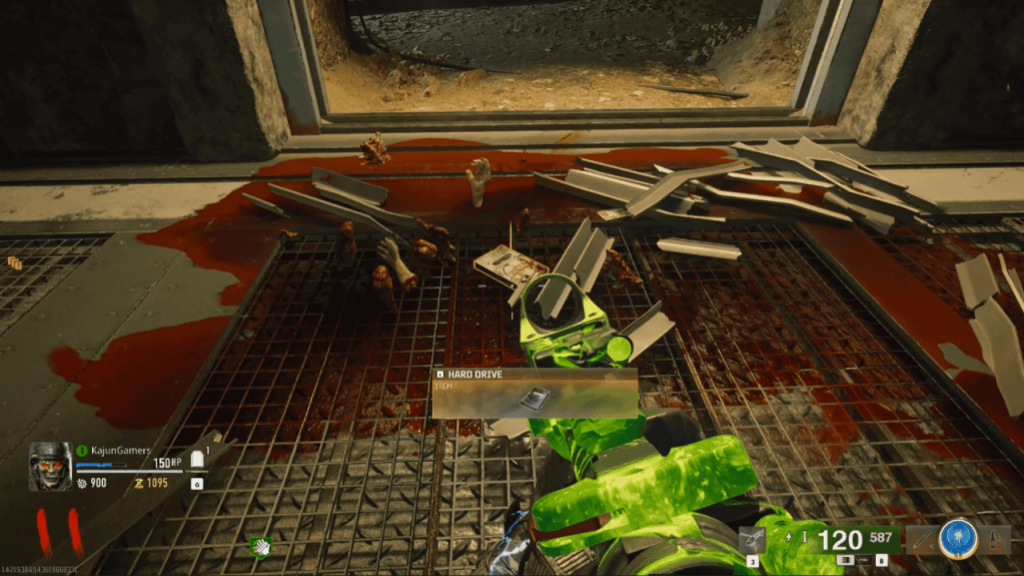
After attaining the DRI-11 Beamsmasher, head to a Tentacle Trap located above a select doorway on the island. *There is a trick to ensuring you’re using the right trap. On the ground beneath the trap, look for an ID Card. This ID Card will belong to the individual who possessed the hard drive & was subsequently gobbled up by the tentacle trap. Shoot the tentacle trap after activation with the DRI-11 Beamsmasher & it will drop the hard drive to collect.
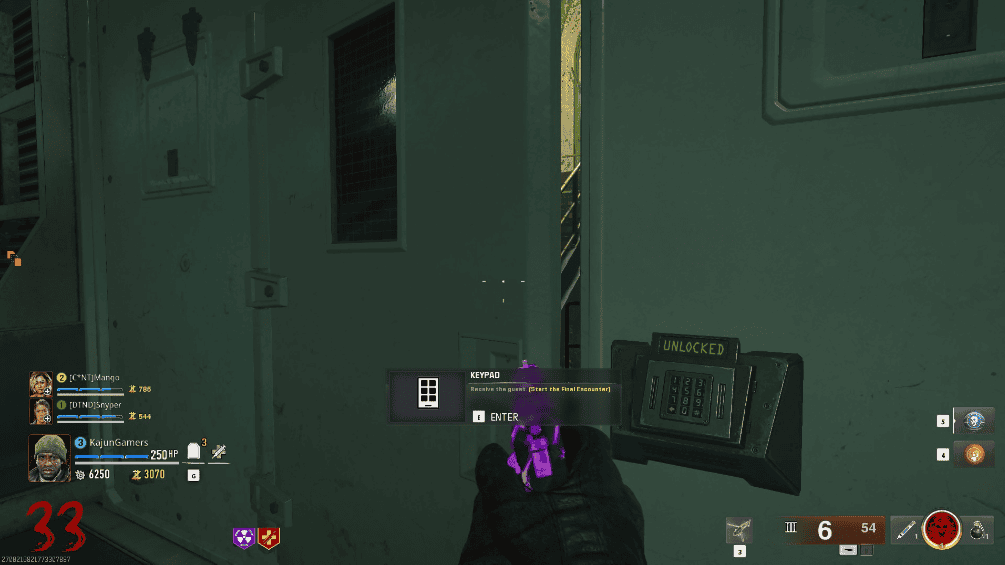
Take this hard drive to Dr Peck next to the spawn room. He will tell you that Nathan should be in the lab, and he will open the observation pod in the center of the room. Head down to the Biolabs & interact with the central keypad.
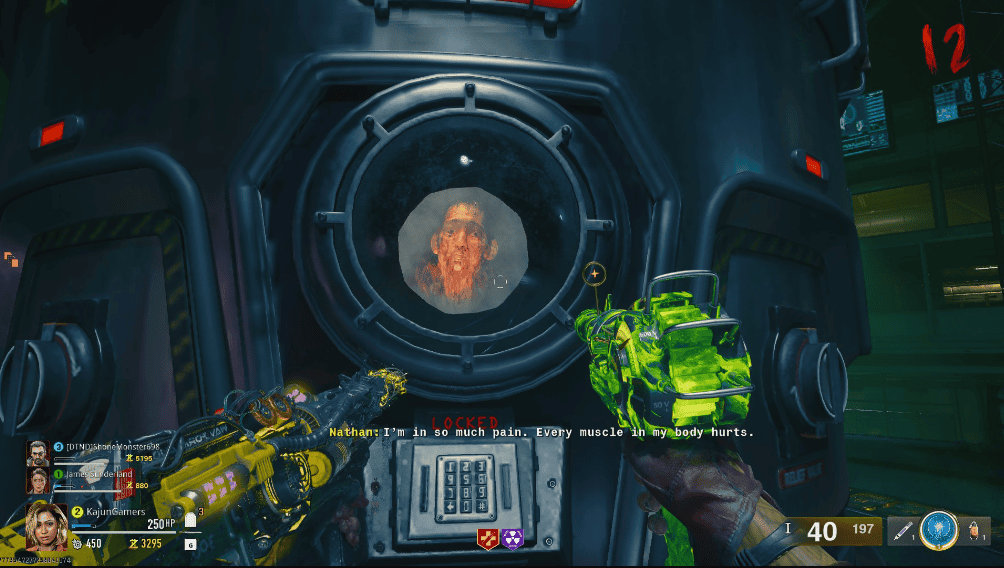
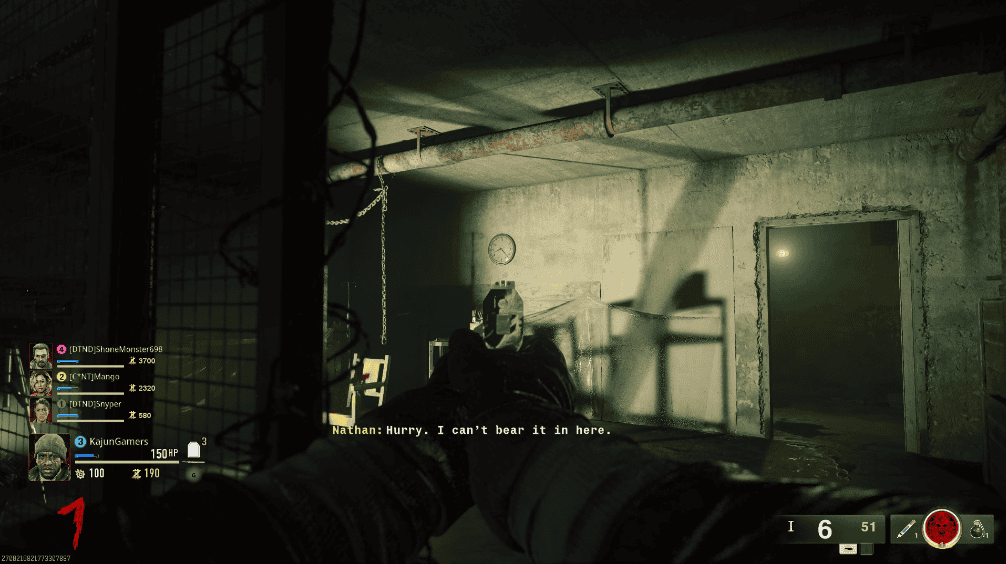
Talk to Nathan who will ask you to rescue him. You will need to enter a code to open his pod, with a hint given by a radio in the central area.
- The first digit is what number the hour hand on the clock in the interrogation room has recently passed or is sitting on.
- The second digit is the number on a playing card found in the mess hall on the poster board.
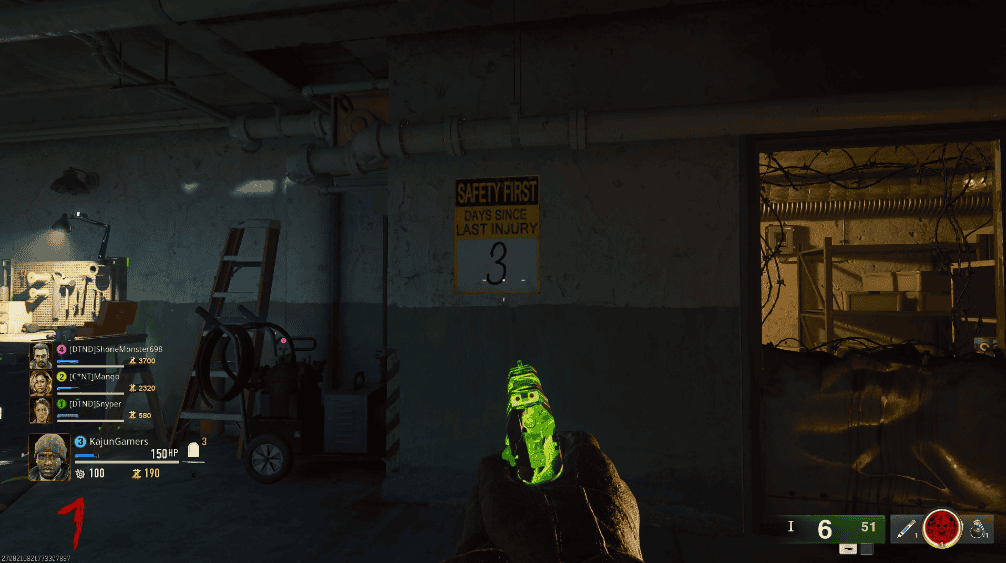
- The third is the number on the ‘days since last accident’ in engineering.
All players must go to Nathan’s pod and turn the handles around it at the same time by interacting. This will release Nathan, who is an amalgam miniboss. Defeat him and you will get a mid-game cutscene. After the cutscene plays, Nathan will have dropped a keycard into the water directly below. Take this keycard to ‘Communications’ & interact with the terminal near the entrance of the room.
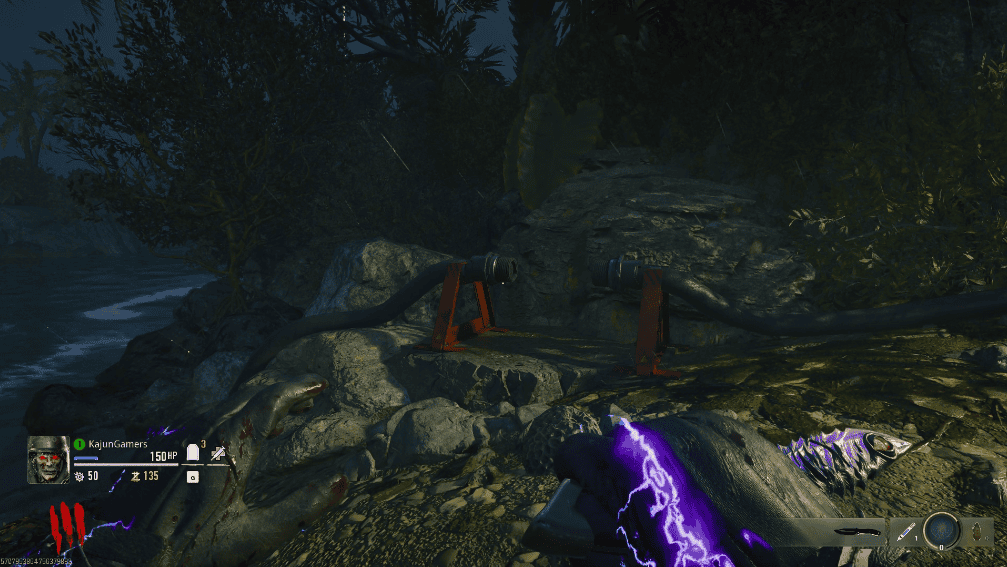
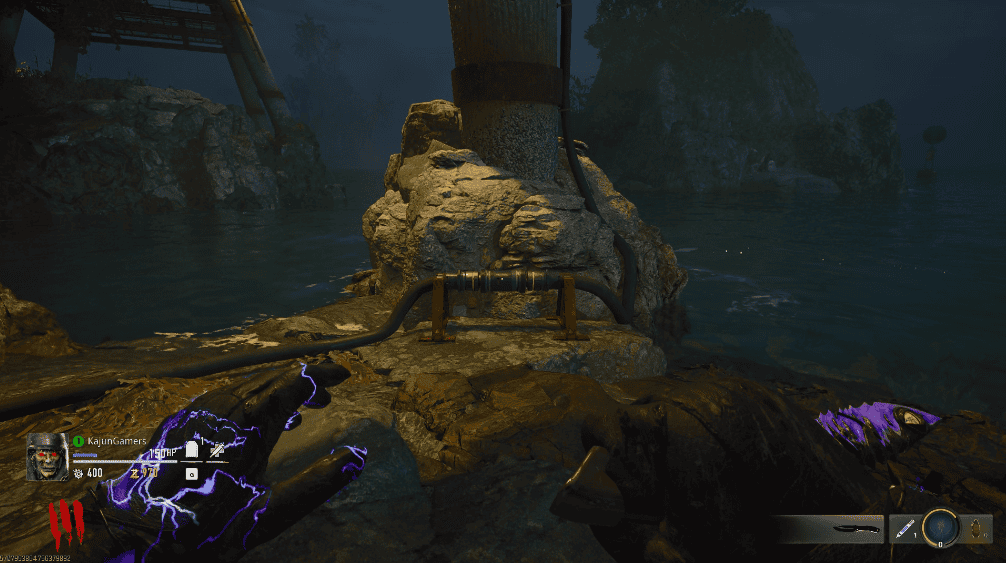
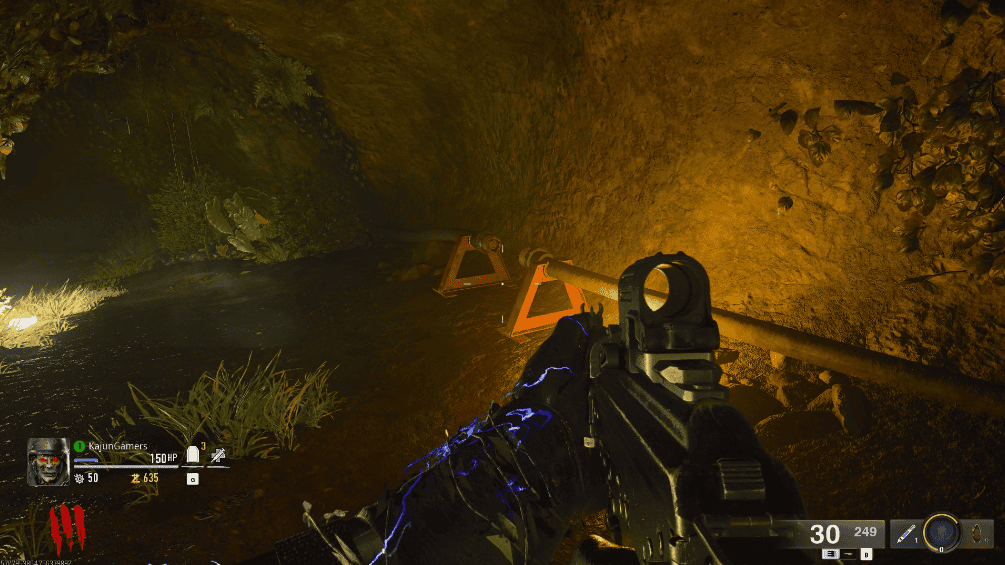
After this, head to the shipwreck and go to the open hole underside filled with water. A hatch atop the ladder will open, go ahead & interact with the nodes on the table. After surviving a lockdown sequence, the hatch will reopen. Take these newly collected node connectors to broken pipes in the following possible locations:
- Crab Island in the south, directly opposite the workbench.
- In the docks area, on the other side of the boat purchase.
- Inside the Sea Caves (With Speed Cola), on the right-side heading towards the Biolabs.
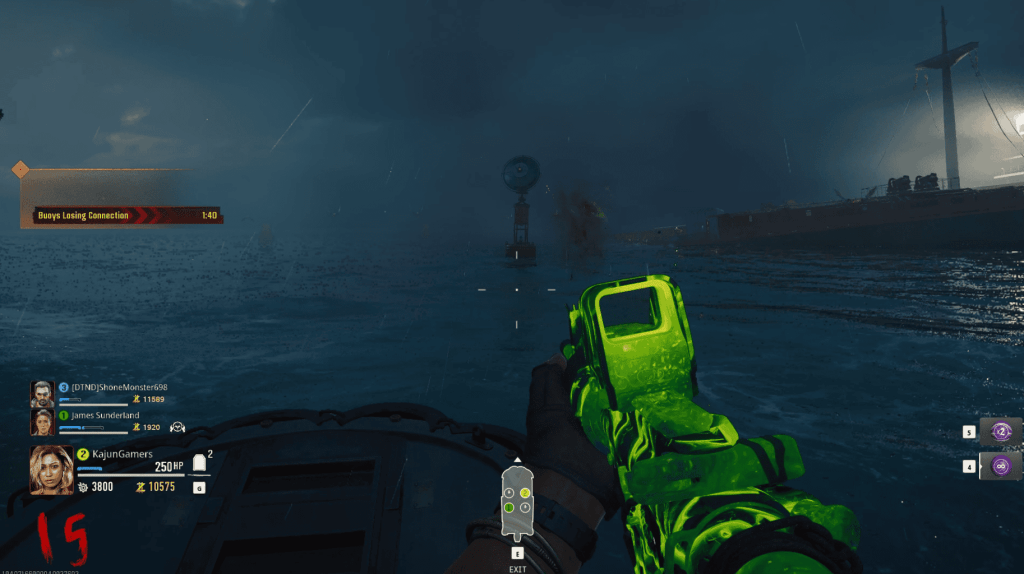
Head to the Guard Station where Peck is, next to spawn, and grab the hacking device he passes to you through a slot. The player who picks it up must find & hack 3 buoys that are out in the sea. They will be flashing, indicating they are the buoys to hack. Be aware of your surroundings as parasites will be swarming the buoys. Also be on the lookout for the beast that lurks in the deep, as it may attack you during this step.


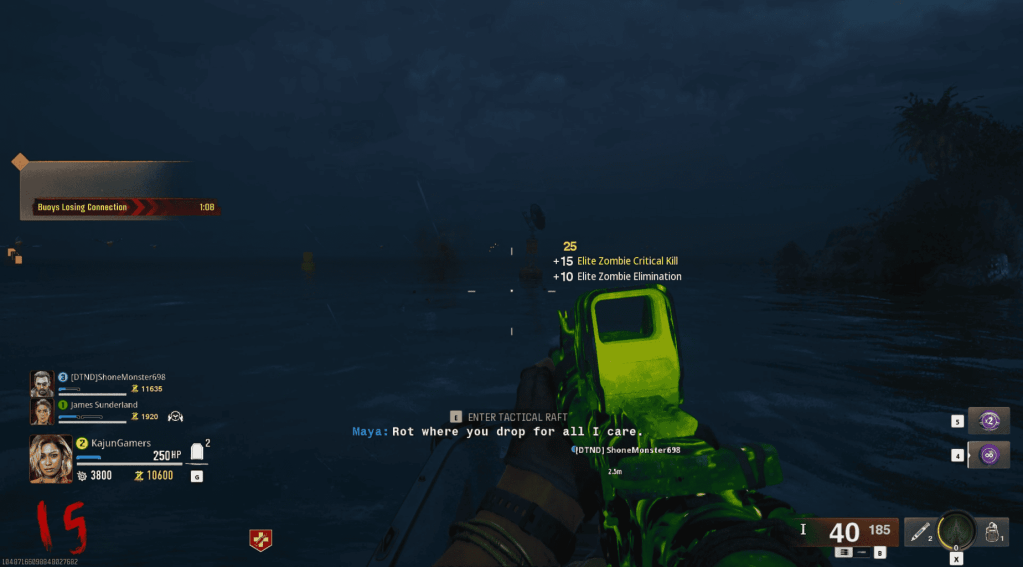
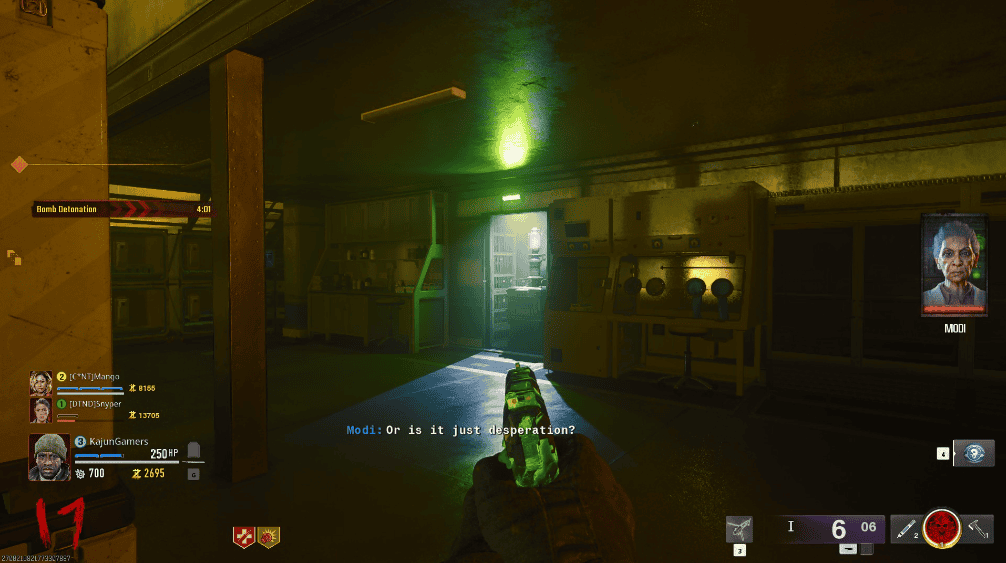
After hacking all 3 buoys, immediately head towards the Biolabs as Dr. Modi will initiate a self-destruct protocol. To disable the protocol, three doors (with numbers on them & keypads beside them) will open, & behind them will be bombs. These doors will also have green lights above them. Two are on the very bottom level, on the left and right ends. The other bomb will be the second level, directly below the main observation deck.


After defusing the bombs, the final fight will be but just one interaction away. Head to the bottom level of the lab where a large door will now be cracked open. Interacting with this will take you to the boss fight area & enter you into:
Boss Fight | Patient 13

The boss fight has three phases, in which all three them, the boss has critical weakpoints to do significantly increased damage. In-between each phase there will be a number of zombies and tentacles at the side which are easy to kill. He also will move to different sides of the arena, depending on where you are. He constantly does a big slam attack, so avoid the middle if you see him rearing back.
- In the first phase, the critical points will be red orbs on either side of the boss. Monkey Bombs can help as they can divert zombies’ attention off of you, as well as Idle Eyes, while you deal damage to patient 13. After depleting enough of its health, it’ll submerge for a while, leaving you to fend off the zombies & tentacles.
- The second phase brings him back to the forefront. However, his mouth will be the critical point this go around. Swarms of zombies & usually by this point, Manglers will join the fray. The tentacles also are doing projectile launch attacks. Shoot his mouth as much as possible, & he will disappear. He’ll return with a new gloss of paint & with the tentacles on his back being the new critical points!
- In the third phase, the boss will use a large, telegraphed attack in which you must hide behind cover to avoid being killed. Jumping into the water also works. After he uses this attack, his eyes will become critical weak points. He will use his arms to block either side of the platforms, leaving you stranded in the middle area of the boss fight arena. By this time, an Amalgam or 2 will have appeared in the battle, new problems to avoid.
- After defeating Patient 13, the cutscene will trigger & congratulations, you’ve completed the Terminus ‘No Mo Modi’ Easter Egg!
THE END
Below is an in-depth guide to completing the Easter Egg:

Stay connected with any new updates on Black Ops 6 as they release on our Twitter, and our YouTube Channel!